There are two main methods by which a system can be upgraded to Windows 10.
- In-Place Upgrade, where Windows 10 is installed on a system that already has Windows 7 installed. In most cases, this will preserve all user applications and data, as well as some user customization.
- This method assumes that Windows 7 is up to date.
- This method generally takes less time to complete and is recommended whenever possible. Please note that in some cases the Windows upgrade tool will not allow the user to proceed, in which case the upgrade must be done by Installing Windows from Scratch. Note: Users may need to reinstall applications due to changes in system permissions.
- Installing Windows 10 from Scratch involves erasing all data from the computer's drives, and installing Windows 10 on the blank drive. This typically takes more time to complete and requires the user to reinstall all applications, configuration settings, and data.
In most cases, IT recommends that users first attempt an in-place upgrade. Installing Windows 10 from Scratch should be Plan B.
Please note that regardless of which method is used, users should ALWAYS back up their important data before attempting the upgrade.
Procedure Summary
- Pre-upgrade:
- Perform a computer assessment to list all hardware, software, and data on the system
- Procure third-party application upgrades or peripheral hardware if necessary due to incompatibility with Windows 10
- Ensure that all data and files are backed up
- Purchase a Windows 10 License if needed (it usually is not required)
- Prepare Windows 10 Install Media
- Install Windows 7 Updates
- Perform diagnostics on your computer to ensure it is sound
- Upgrade to Windows 10
- Post-Upgrade
- Verify that the upgrade was successful
- Ensure that all Berkeley Lab IT-recommended applications are installed
- Ensure that the system is configured according to Berkeley Lab IT recommendations
Full Instructions
Preparing for a Windows 10 Upgrade
Perform a Computer Assessment
Assessment Considerations Software Assessment
What applications will be needed in Windows 10?
Are any applications now redundant because of new Windows 10 features? Are all applications compatible with Windows 10?
https://developer.microsoft.com/en-us/windows/ready-for-windows#/
Do you have the installation media if you need to reinstall after the upgrade?
Do you have the license keys available? Procure any Windows 10 compatible software if needed Hardware Assessment
Is all computer and peripheral hardware compatible with Windows 10?
https://www.microsoft.com/en-us/windows/windows-10-specifications
Are drivers available for specialized peripherals and devices? Run hardware diagnostics to ensure the hardware is sound for Dell equipment, see https://www.dell.com/support/home/ca/en/cabsdt1/quicktest Procure any Windows 10 compatible hardware if needed Data Assessment
What data is currently on the system? Where is the data stored? How much storage is needed? Do you have the adequate backup capacity to prepare for the upgrade? Back Up all Data
Option Description Recommended for most users: Druva inSync Backup - For most users, the best way to back up the files you need is to use Druva InSync, the Lab's recommended desktop backup solution.
- Please note that by default, Druva will only backup data in a few select locations. Review the Druva settings and compare to the Data Assessment performed earlier.
- Information on purchasing and configuring Druva is available here: Workstation Backups - Druva
- Druva keeps all data for at least 90 days
Copy to External Hard Drive
- Copying select files and folders to an external hard drive can be an inexpensive option, particularly for users with a lot of data to back up. External drives are easily purchased through the eBuy Staples or CDW-G stores.
- Unlike Druva backups, external hard drives cannot be accessed over the web, which may be an added convenience.
Clone the Original Hard Drive
- Advanced users may prefer to clone the entire hard drive before performing the upgrade.
- Cloning the original disk ensures the ability to revert back to the original hard drive if something goes wrong with the upgrade to Windows 10, but does require more advanced skills to avoid damaging your system.
- Before commencing this process, ensure that the new drive is of equal size or larger than the original drive. Hard drives and docking bays are easily purchased through the eBuy Staples or CDW-G stores.
- Berkeley Lab IT recommends Clonezilla as a free, open-source tool for cloning drives. Other popular cloning software is reviewed here: Cloning Software for Window 10, 8, 7.
- Users may wish to use either of the original or replacement hard drive. In most cases, either should work.
Windows 10 Licensing
In many cases, the Microsoft Windows license that was provided with your computer can be used to activate Windows 10 at no cost. For example, most Dell computers purchases by the Lab with Windows 7 Professional can be upgraded at no cost.
For systems that do not have an eligible license, a Windows 10 Professional licenses can be purchased from software.lbl.gov for $138.62: https://go.lbl.gov/PurchaseWindows10.
Once purchased the media and license key are mailed to you via interoffice mail. Please allow time for this process.
Prepare Install Media
Obtain at least a 16GB USB flash drive.
Create Windows 10 installer following Microsoft instructions, Install Windows from a USB Flash Drive, or
Create Windows 10 installer using the Windows 10 Media Creation Tool, see https://www.microsoft.com/en-us/software-download/windows10ISO.
Ensure that Windows 7 is fully patched before upgrading
Using Windows Update, install all available Windows 7 patches. This may require several hours to install, and involve multiple reboots. This step is highly recommended and will increase the chances of a successful upgrade.
Run hardware diagnostics (Optional)
This will ensure that there are no hardware issues
Upgrade to Windows 10
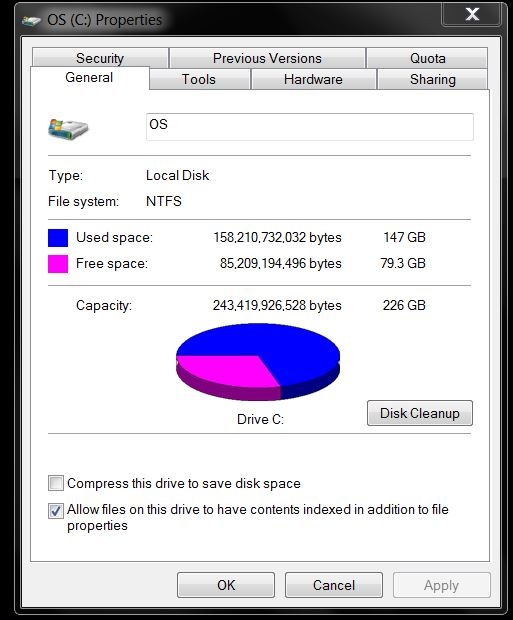
Instruction Image Check Disk Space:
Locate your local drive
Right-click and select properties
Allow for at least 32GB of space
Perform Win 7 Updates:
Launch Control Panel
Select System and Security
Select Check for Updates
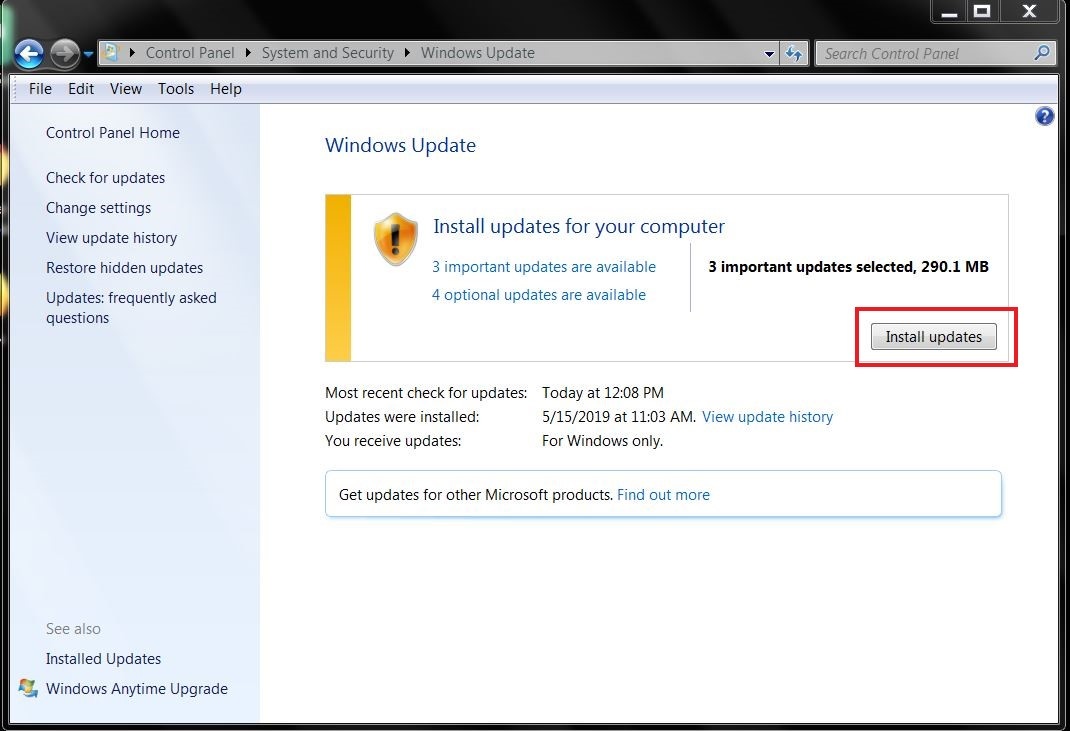
Select Install Updates
Repeat this until Windows 7 is up-to-date
Note: Computer might need to restart after some updates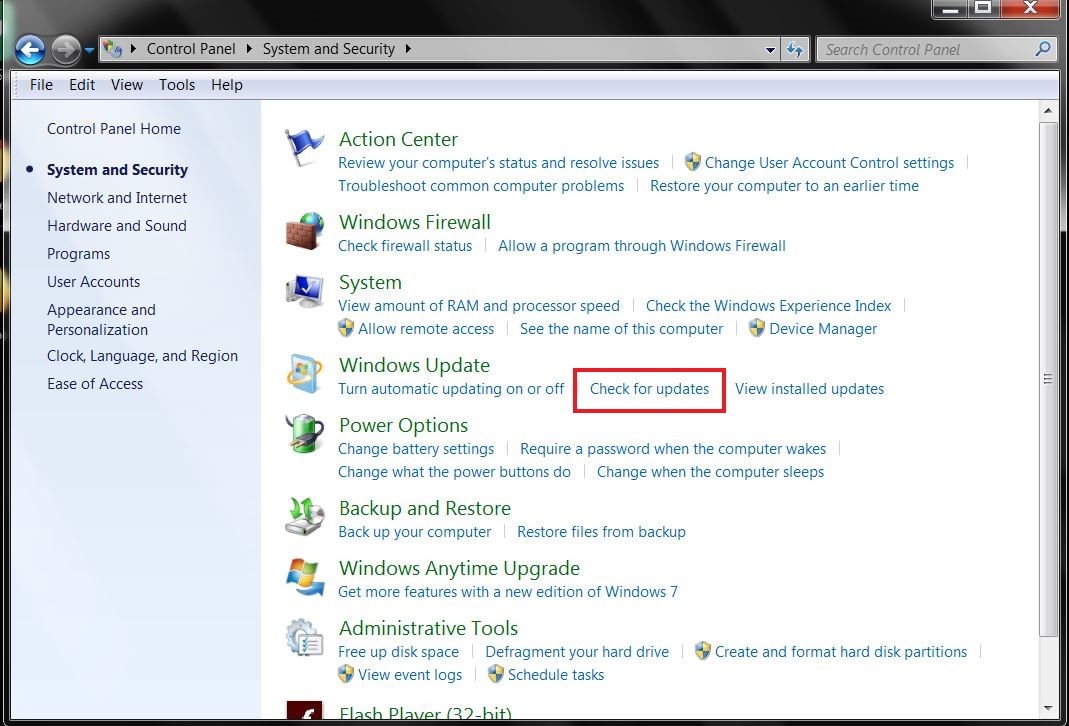
Boot computer into Windows 7
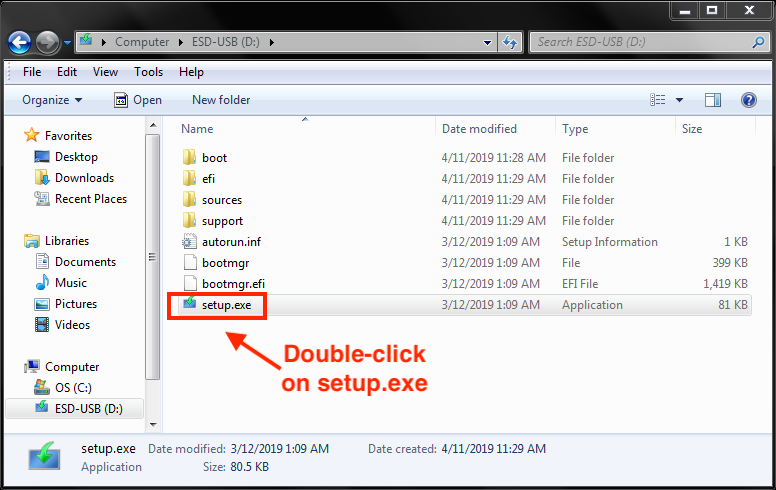
Insert either Windows 10 install flash drive prepared earlier or Windows 10 DVD
Open Explorer to Windows 10 media
Find setup.exe and double-click then follow installation instructions
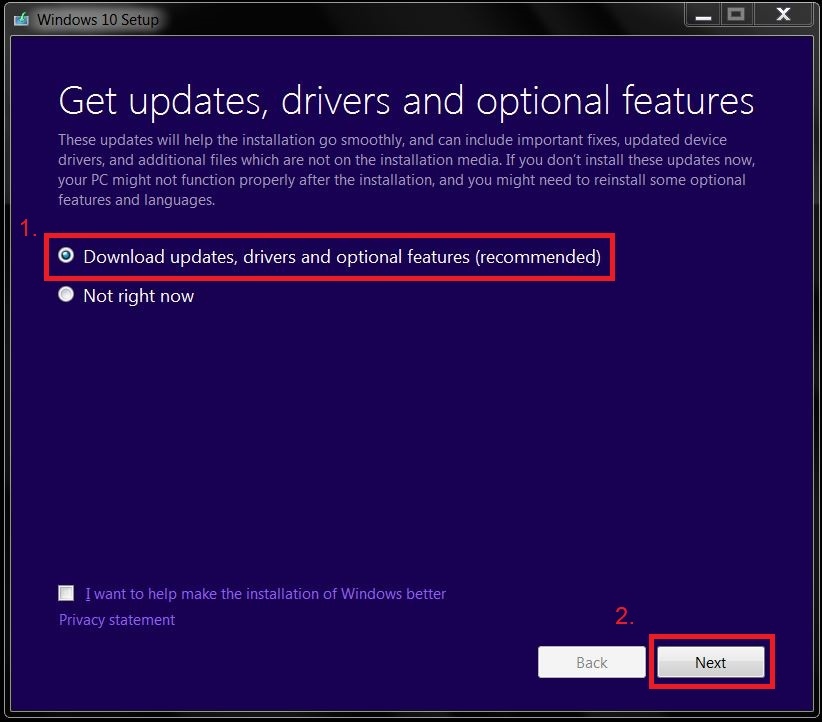
Select Download updates, drivers and optional features
Select Next
Note if Windows prompts you to enter an activation key, you will likely need to purchase a new license
Review and accept the Windows 10 license terms and Accept 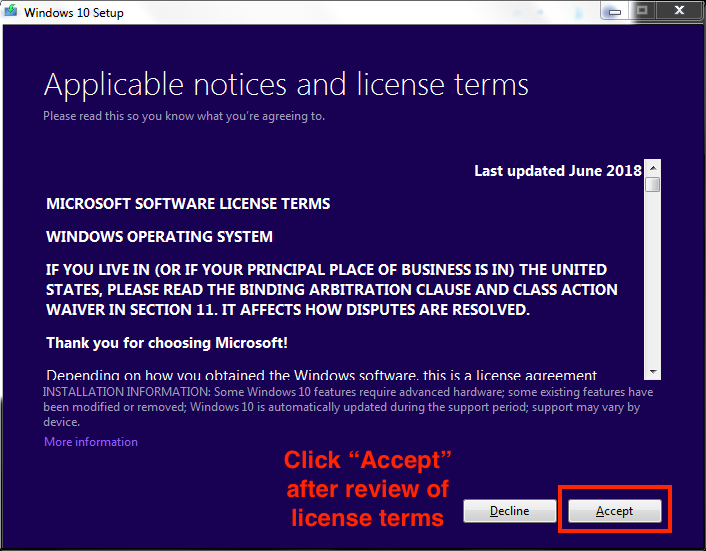
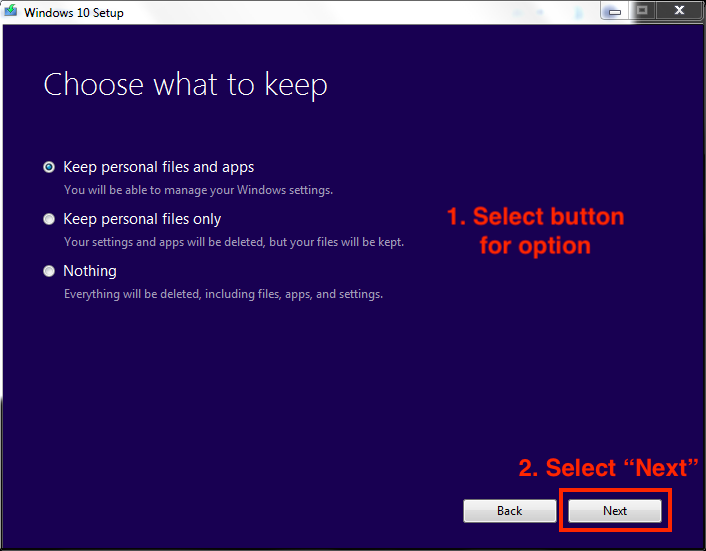
Choose What to Keep:
Choose option 1 to keep all current files and apps
Select Next button to confirm
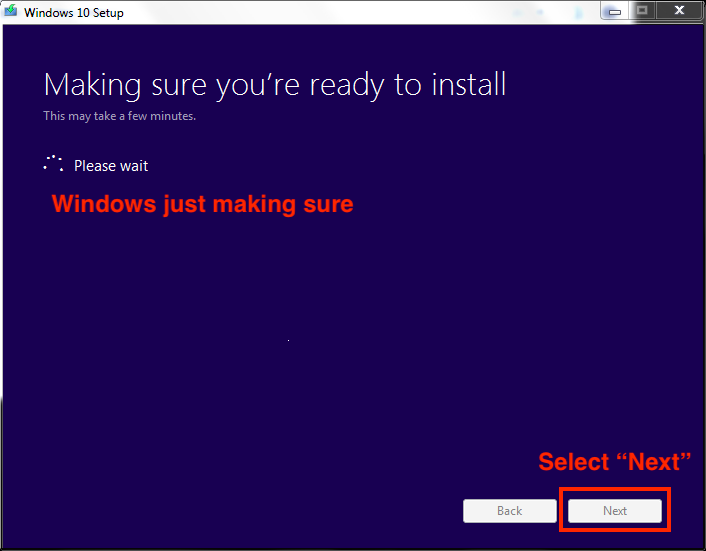
Windows making sure one more time that you are really ready to perform the upgrade Select Next
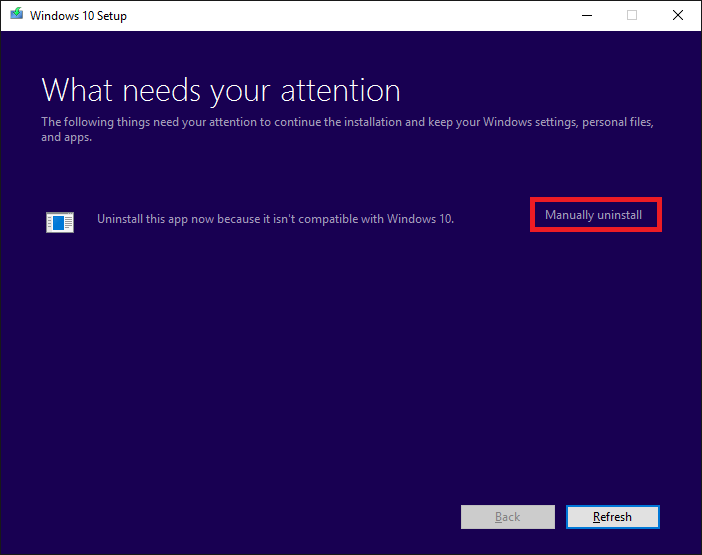
Windows in place upgrades will typically tell you what applications were uninstalled due to incompatibilities. Take note of what applications are in the list and find newer compatible versions.
Your application settings may still be present. If they are not, you may be able to be imported from the backup you made.
Make a list of all of the applications that you need to do your job. After the upgrade test each one of the applications to make sure it functions as you expect.
For any incompatible software you will need to manually uninstall and then you will be able to proceed with the upgrade
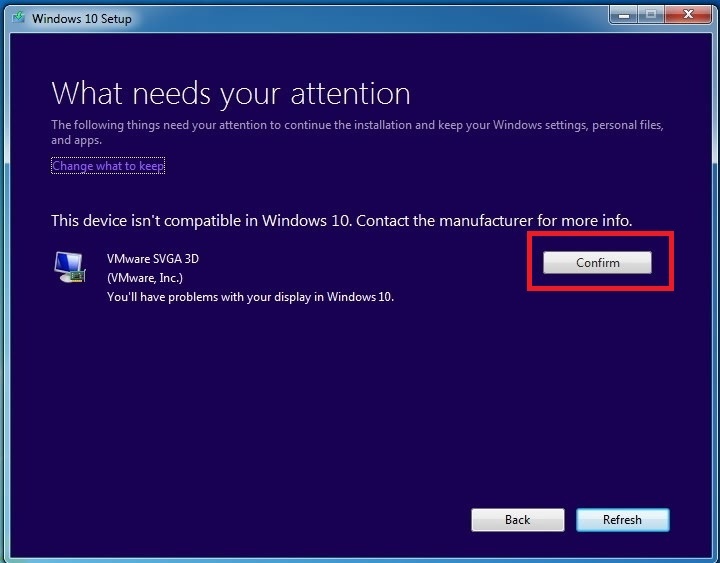
For any incompatible hardware you can confirm and the installer will proceed with the upgrade
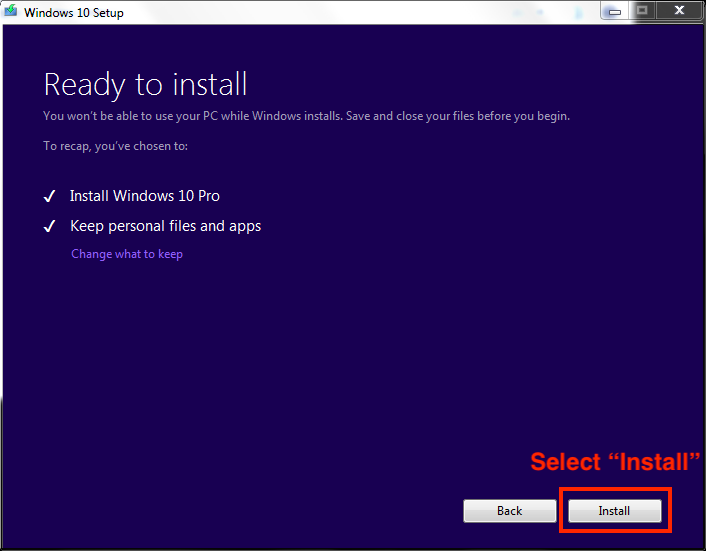
Windows 10 performed its inventory and is ready to Install
Note that Windows will display an error message if any hardware is incompatible
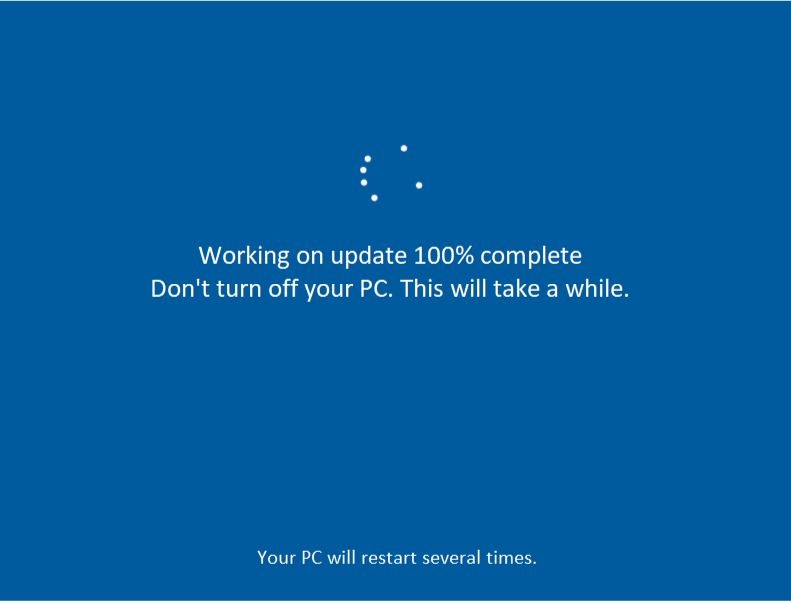
Updates:
Process is almost complete pending updates
PC may restart during this process
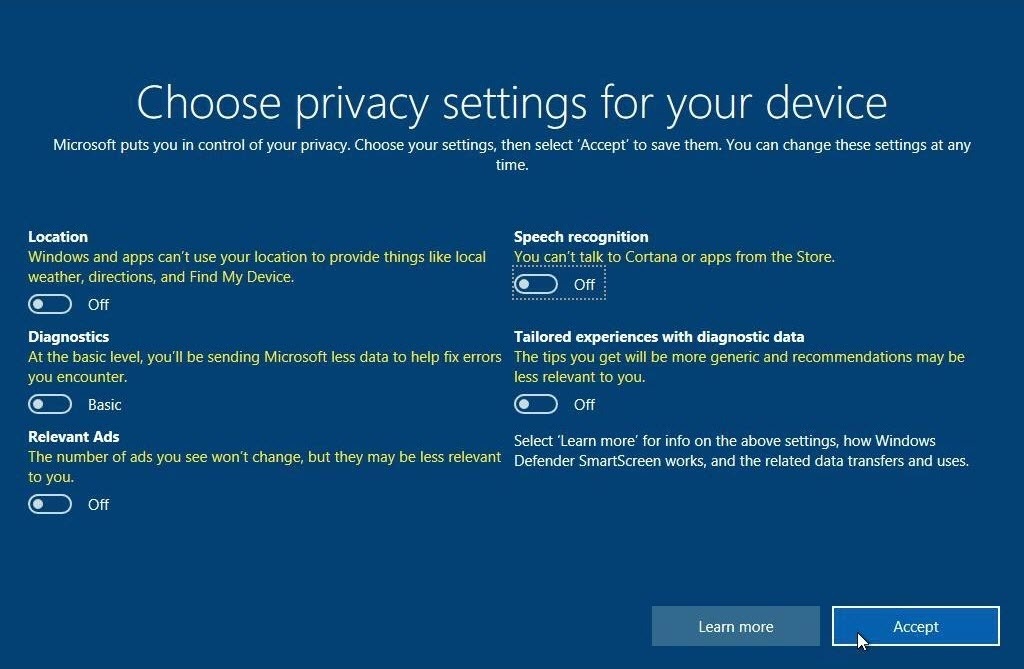
Privacy Settings:
Change all settings to No
Select Accept
Post-Upgrade Steps
- Restore all hardware, software, and data that were identified in the Computer Assessment.
- If Windows prompts you to enter an activation key, you will likely need to purchase a new license.
- Ensure that all Berkeley Lab IT-recommended applications are installed
- Download BigFix from software.lbl.gov. IT highly encourages all users to install BigFix on all Windows systems. The Passive Mode client is recommended for systems that are used for experimental data collection or other special tasks that should not be interrupted.
- Ensure that the system is configured according to Berkeley Lab IT recommendations
When possible, change the system's hostname to match the Lab-standard naming scheme for Windows 10 systems:
{LDAP_UserName}-W {last2digits of the DOE number}Example:User Joe A. Smith has upgraded to Windows10on his system with DOE number1234567. The recommended hostname would be jasmith-W67.- Whenever possible, IT recommends that systems be added to the ActiveDirectory domain. Note that for users in Operations Divisions, the use of Active Directory is mandatory. Instructions to add a system to the domain are here: AD User Procedures.
- For systems that cannot be added to the domain, use BigFix Offers to configure the system, including
- Recommended security settings, which include Windows updates
- Windows Firewall settings
For additional recommendations, review Berkeley Lab's IT Best Practices