Table of Contents
Introduction
This document shows you how to migrate logins in a 1Password 4 vault to a LastPass vault.
Getting Started
There are four steps to the process:
Export 1Password information to a csv file
Open the csv file using a text editor, such as Notepad
Copy and import the contents of the csv file into LastPass
Clean up -- this last step is IMPORTANT.
CRITICAL SAFETY NOTE:
The export-import process involves unencrypting all of your login information and then copying that information into LastPass, which re-encrypts it. The csv file created by this process MUST be MANUALLY erased following successful import into LastPass.
CRITICAL SAFETY NOTE:
Step 1: Exporting a csv file from 1Password
Logging into your 1Password account
Select “Logins” in the left view selector pane

Select “File”, “Export” and either “All Logins” or if you want to only bring over some information “Selected Logins.” If you choose “Selected Logins” you need to select which login to export behorehand.
Click "OK" then choose a location/name for the csv file
Note that .csv files are unencrypted text files -- you will want to make sure and erase this file once the import into LastPass is complete. These instructions will address this in step 4. Once this csv information is ingested into LastPass it is re-encrypted in the LastPass vault.
Step 2: Opening the csv file
Right-click on the exported csv file→ Open with→ Notepad
Select the contents of the document (Ctrl-A)
Copy the contents of the document to your clipboard (Ctrl-C)
Step 3: Importing the csv file information into LastPass
Start up LastPass and log in to your vault.
From the menu on the left side of your vault, select “... More Options"→ Advanced-> Import
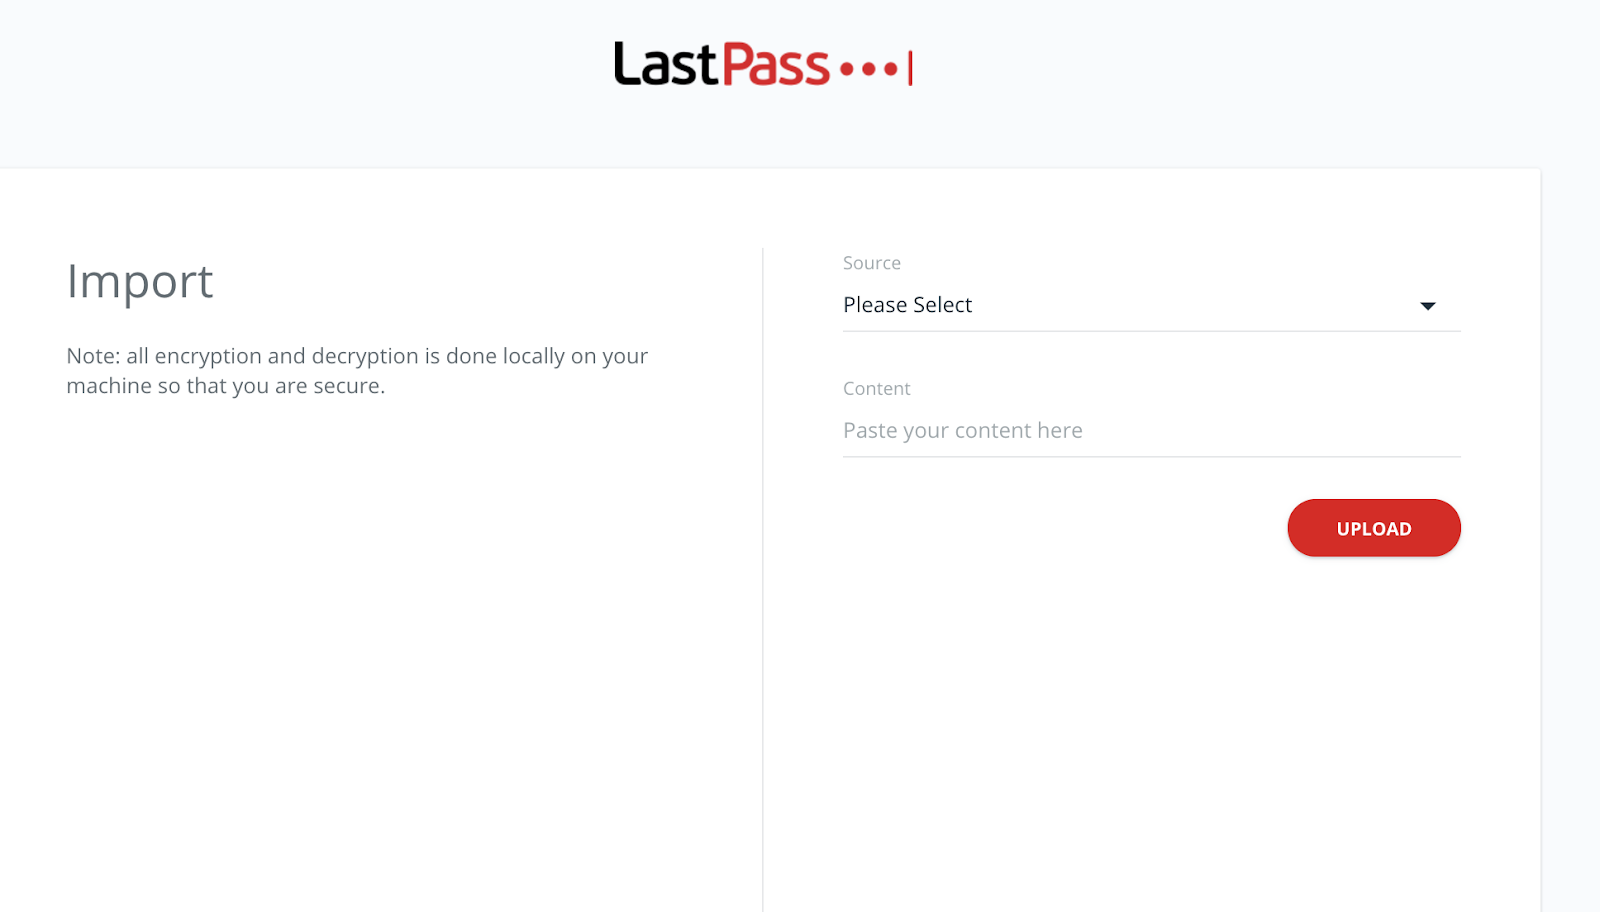
After selecting import you will get a new browser tab with the import tool.
Select “Generic CSV File” under the “Source” drop down list
Paste the contents of the csv file you have in the clipboard (Ctrl-V) to the "Paste your content here" box OR if you do not see the "Paste your content here" box, then browse to and select your exported CSV file
Click “Upload”
At the preview screen, if everything looks good, click "Import All"
If successful, you will see a confirmation message
Click "Go to my vault" and you will see your new entries

Step 4: Cleaning Up
Close the csv file, delete it and EMPTY the Recycle Bin -- IMPORTANT as the file contains all of your password information in an unencrypted format.
Make sure you have put the csv file in the Recycle Bin and emptied the Recycle Bin! This is vital as otherwise all of your login information are unencrypted and at risk in this file.
Uninstall 1Password. If you choose, you may now uninstall 1Password. Instructions for Mac, Windows and mobile application installations are here.
Additional Help Resources
If you would like help with any of this process, please contact the IT-User Support Help Desk at x4357 or email [email protected].