Purpose of Knowledge Article
- A guide on how to install CrowdStrike Falcon via BigFix Offer on macOS
Resolution
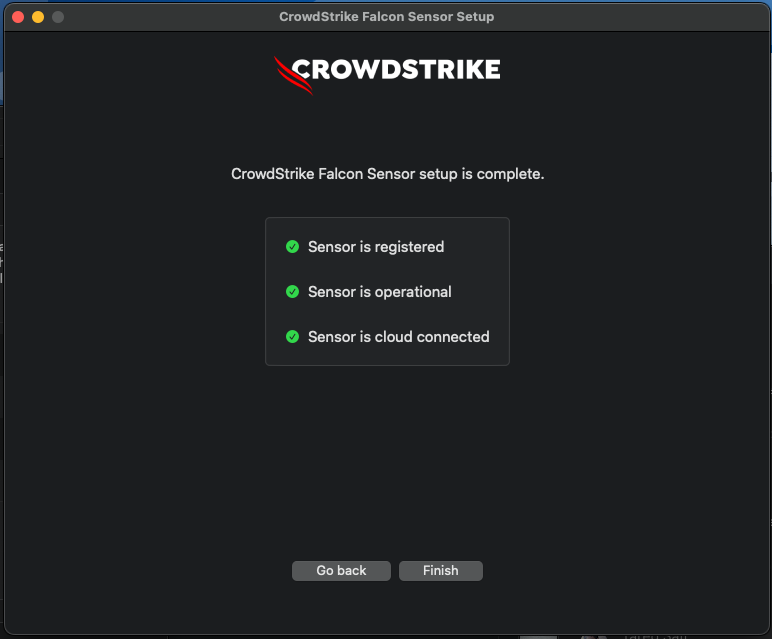
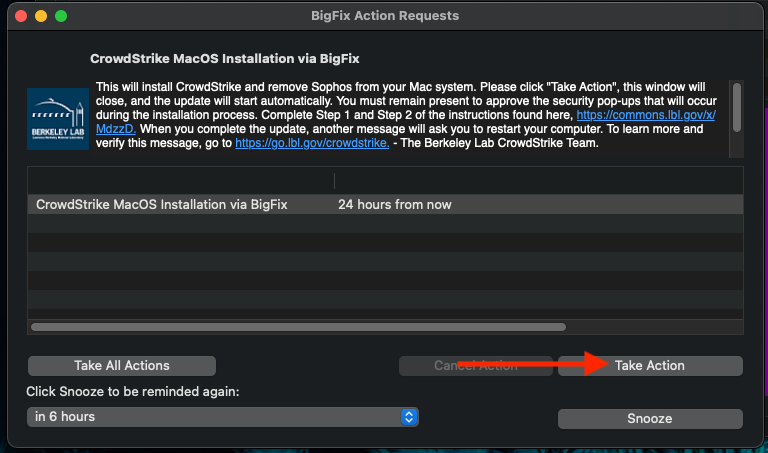
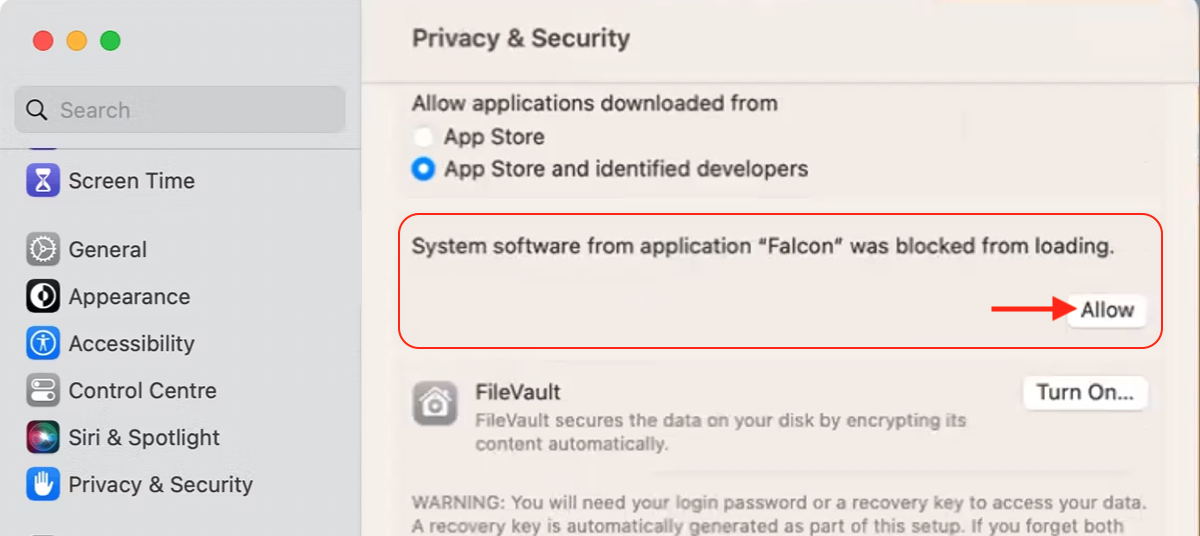
Click Take Action The installation will run in the background and it may take a few minutes before you see the next window. You can click on the Progress tab in BigFix to see the status. Click Allow to the popup saying "com.crowdstrike.falcon.app would like to filter network content" OR Click Allow to the popup saying "Falcon would like to filter network content" Note: you may see this popup more than once macOS 11 Big Sur/12 Monterey: macOS 13 Ventura: macOS 11 Big Sur/12 Monterey: macOS 13 Ventura: macOS 11 Big Sur/12 Monterey: macOS 13 Ventura: BigFix will prompt you to restart the computer, click Snooze Continue to Part 2 - CrowdStrike Falcon Permissions Guide on how to give CrowdStrike Falcon permission on macOS 11 Big Sur and 12 Monterey Check the box for Agent, or Falcon Sensor Note: instead of Agent, it may also be called Falcon Sensor Click Open Now, both the box for Agent (or Falcon Sensor) and Falcon should be checked You are done, close System Preferences Note: if you have Sophos, you will need to restart the computer for Sophos to finish uninstalling. Remember this screen? You can click Finish now Guide on how to give CrowdStrike Falcon permission on macOS 13 and newer Toggle the slider to on for Agent, or Falcon Sensor Note: instead of Agent, it may be called Falcon Sensor instead. You will only see on of them, not both. Click Open Now, the sliders for Agent (or Falcon Sensor) and Falcon should both be toggled on You are done, close System Settings Note: if you have Sophos, you will need to restart the computer for Sophos to finish uninstalling. Remember this screen? You can click Finish now If you do not see this screen, see Is CrowdStrike Falcon Running? and do method 1 for Apple.1 Click Dismiss when you see the BigFix CrowdStrike Falcon offer 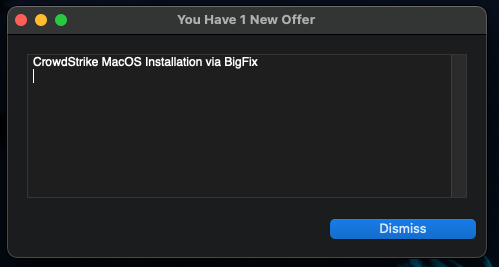
2 Click on BigFix icon on the top right corner of the menu bar 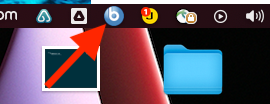
3 Select "CrowdStrike MacOS Installation via BigFix" 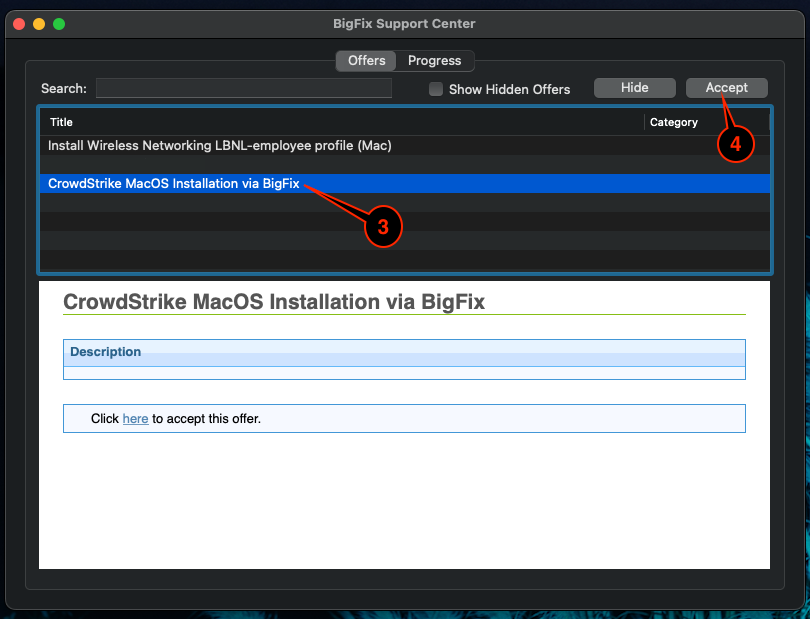
4 Click Accept 5 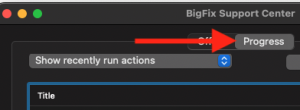
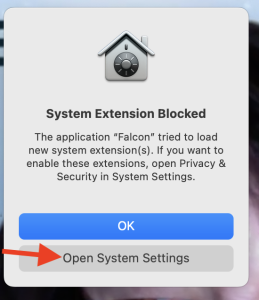
6 Read the message in the following popup then click OK 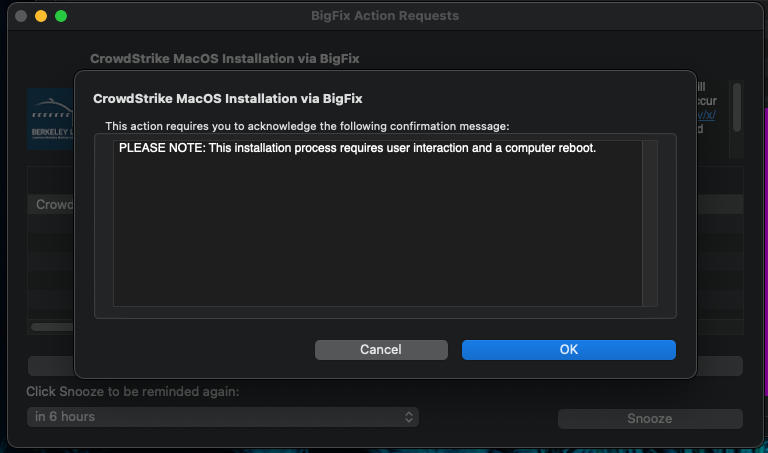
7 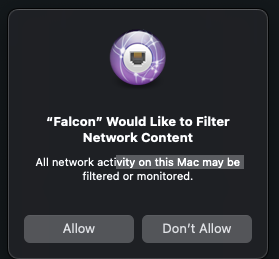
8 macOS 11 Big Sur/12 Monterey macOS 13 Ventura 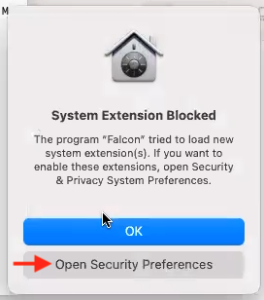
9 macOS 11 Big Sur/12 Monterey macOS 13 Ventura 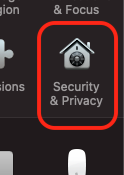
10 macOS 11 Big Sur/12 Monterey macOS 13 Ventura 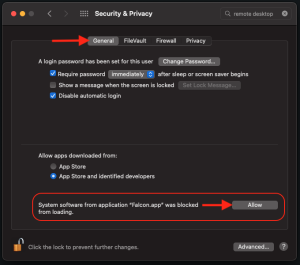
11 Click Dismiss 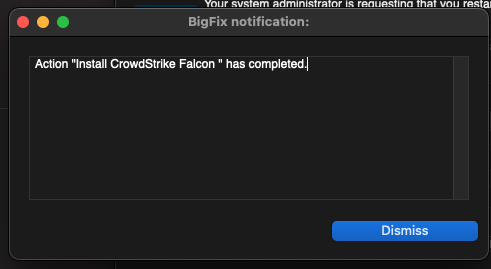
12 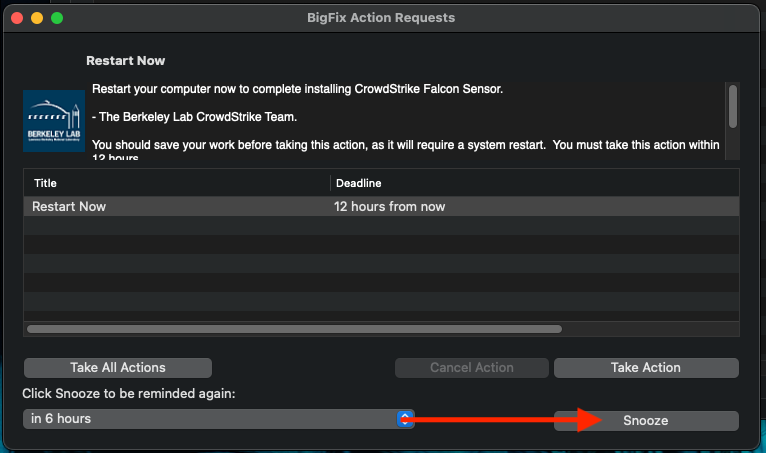
Purpose of Knowledge Article
Resolution
1 Click the Apple icon on the top left corner 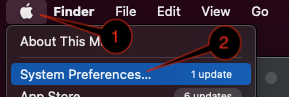
2 Click System Preferences 3 Click Security & Privacy 
4 Click the Lock icon on the bottom left corner 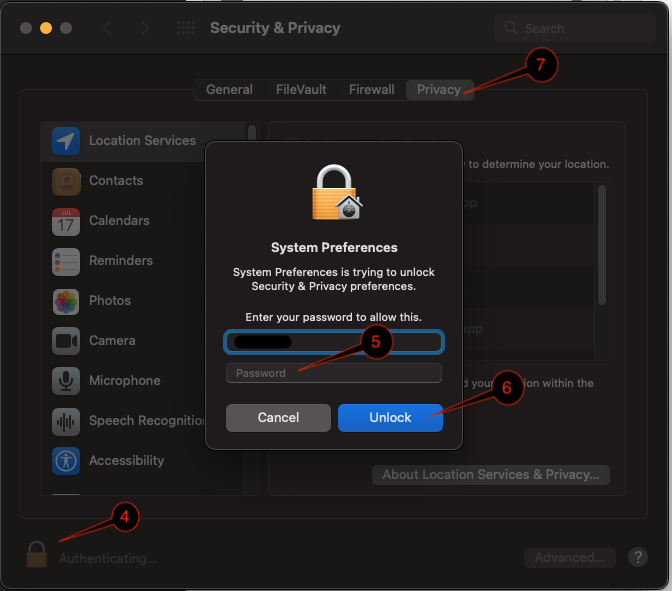
5 Type in your computer password 6 Click Unlock 7 Select Privacy tab 8 On the left column, find and select Full Disk Access 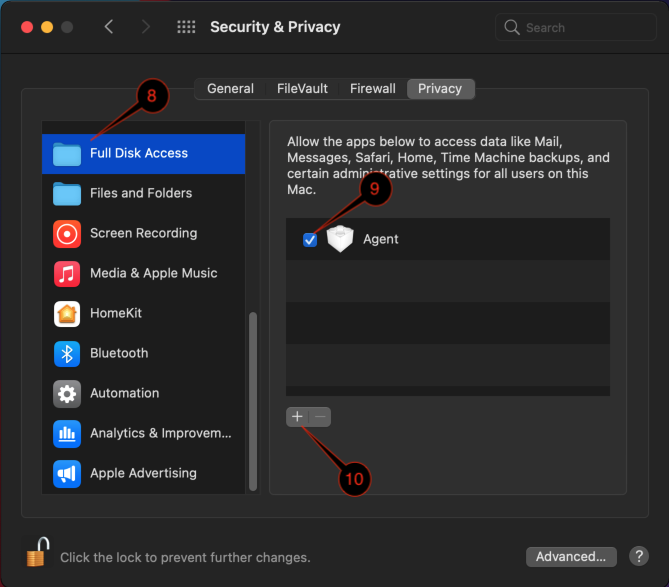
9 10 Click the + icon 11 Navigate to /Application/Falcon or Falcon.app and select it 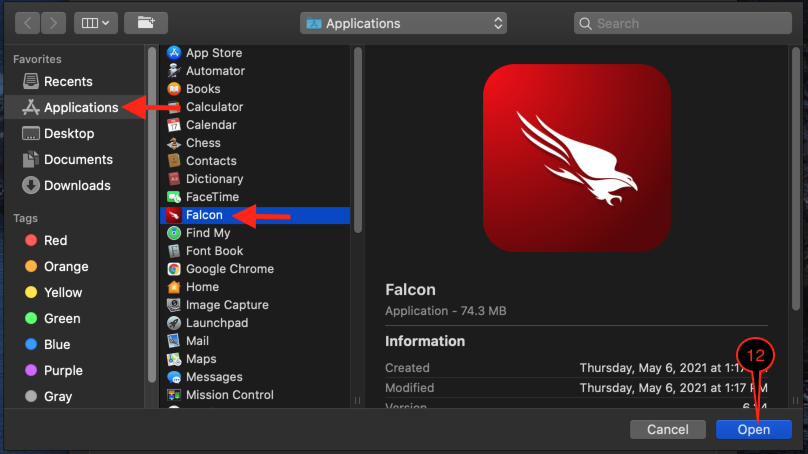
12 13 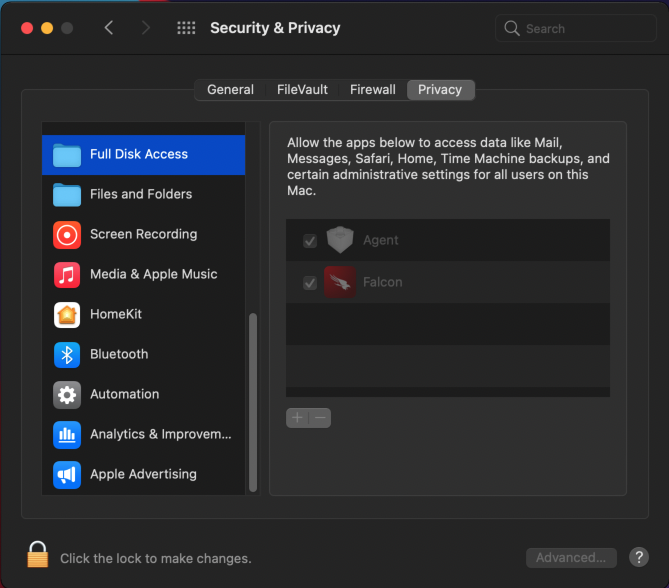
14 
Purpose of Knowledge Article
Resolution
1 Click the Apple icon on the top left corner 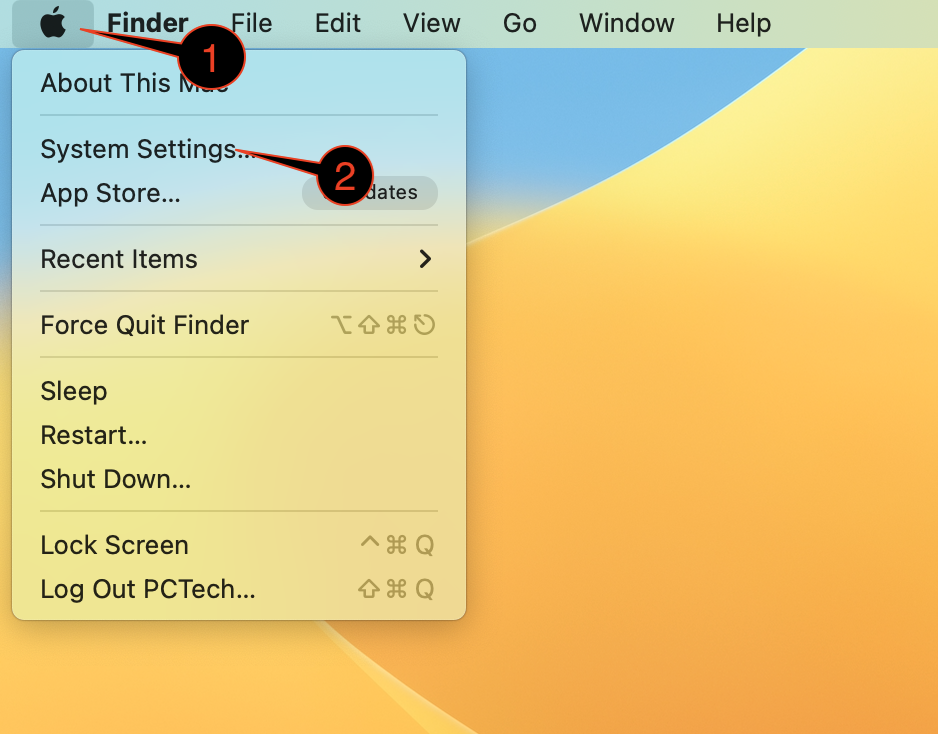
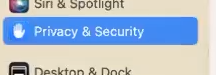
2 Click System Settings 3 Select Privacy & Security on the left column 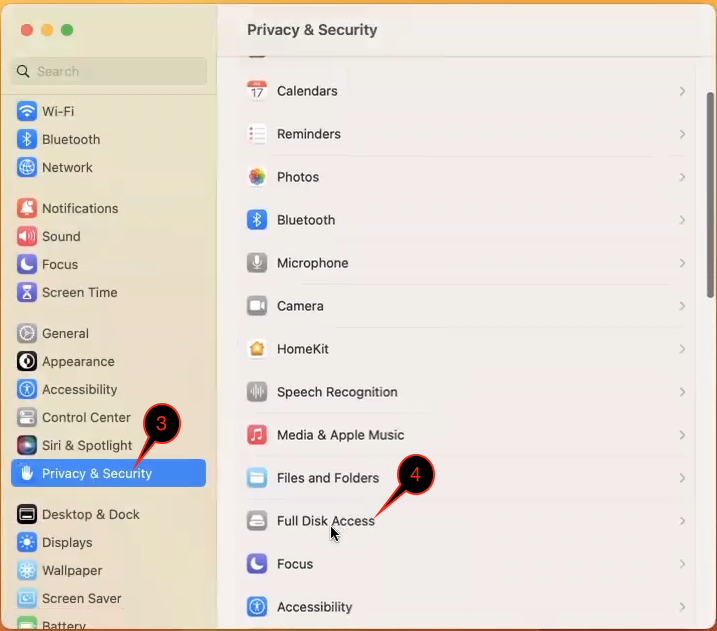
4 Select Full Disk Access on the right side 5 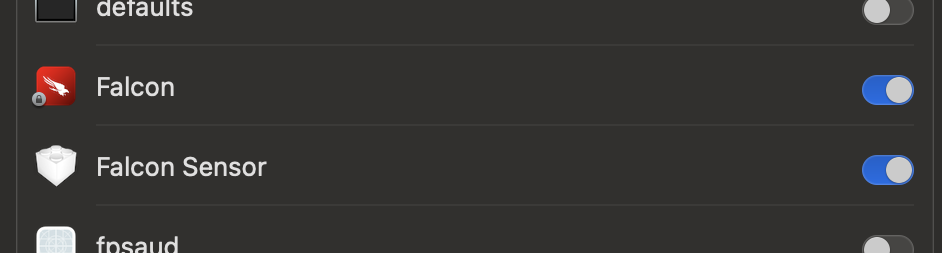
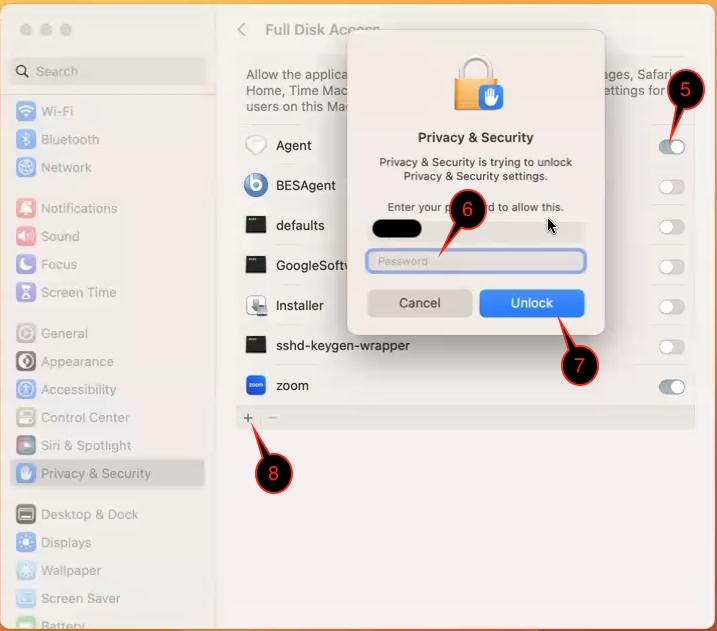
6 Type in your computer password 7 Click Unlock 8 Click the + icon 9 Navigate to /Application/Falcon or Falcon.app and select it 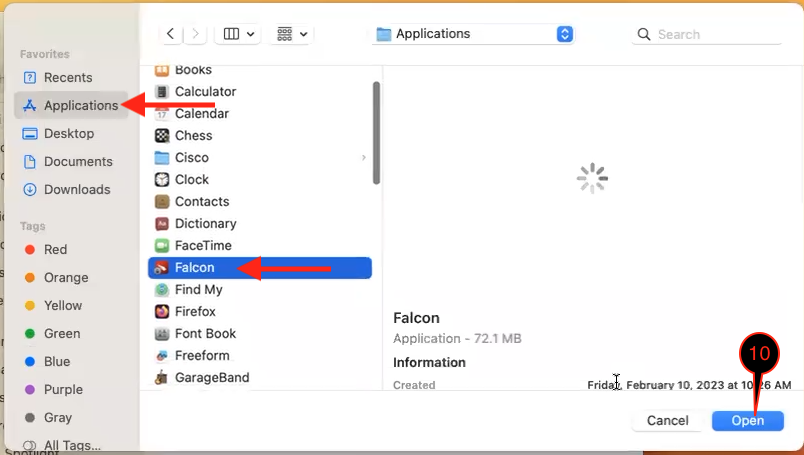
10 11 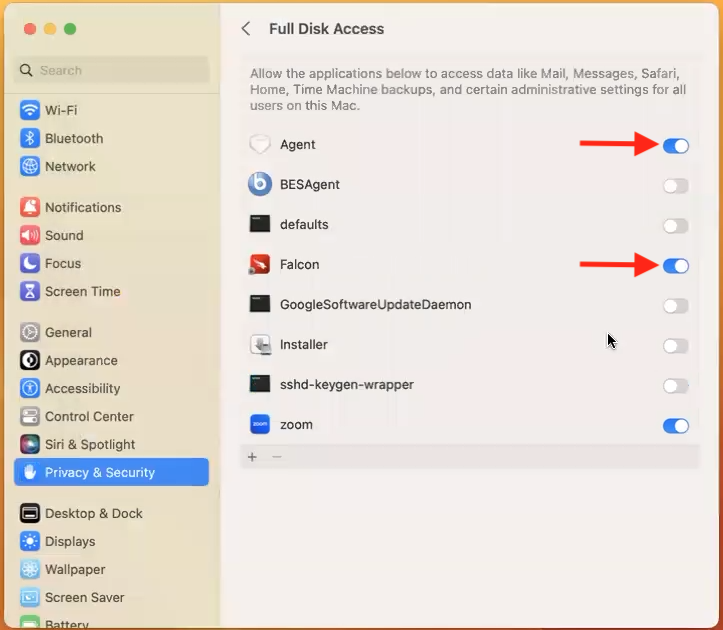
12