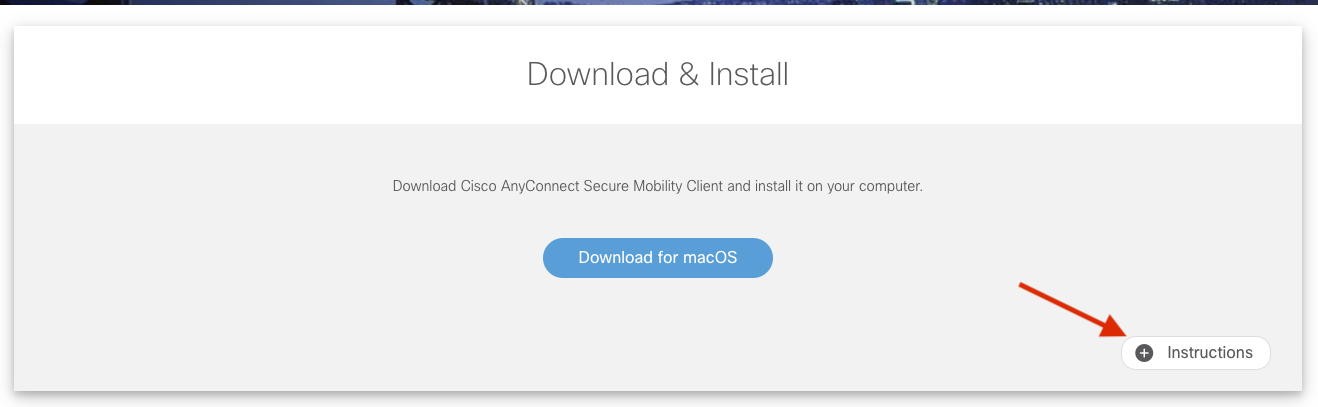
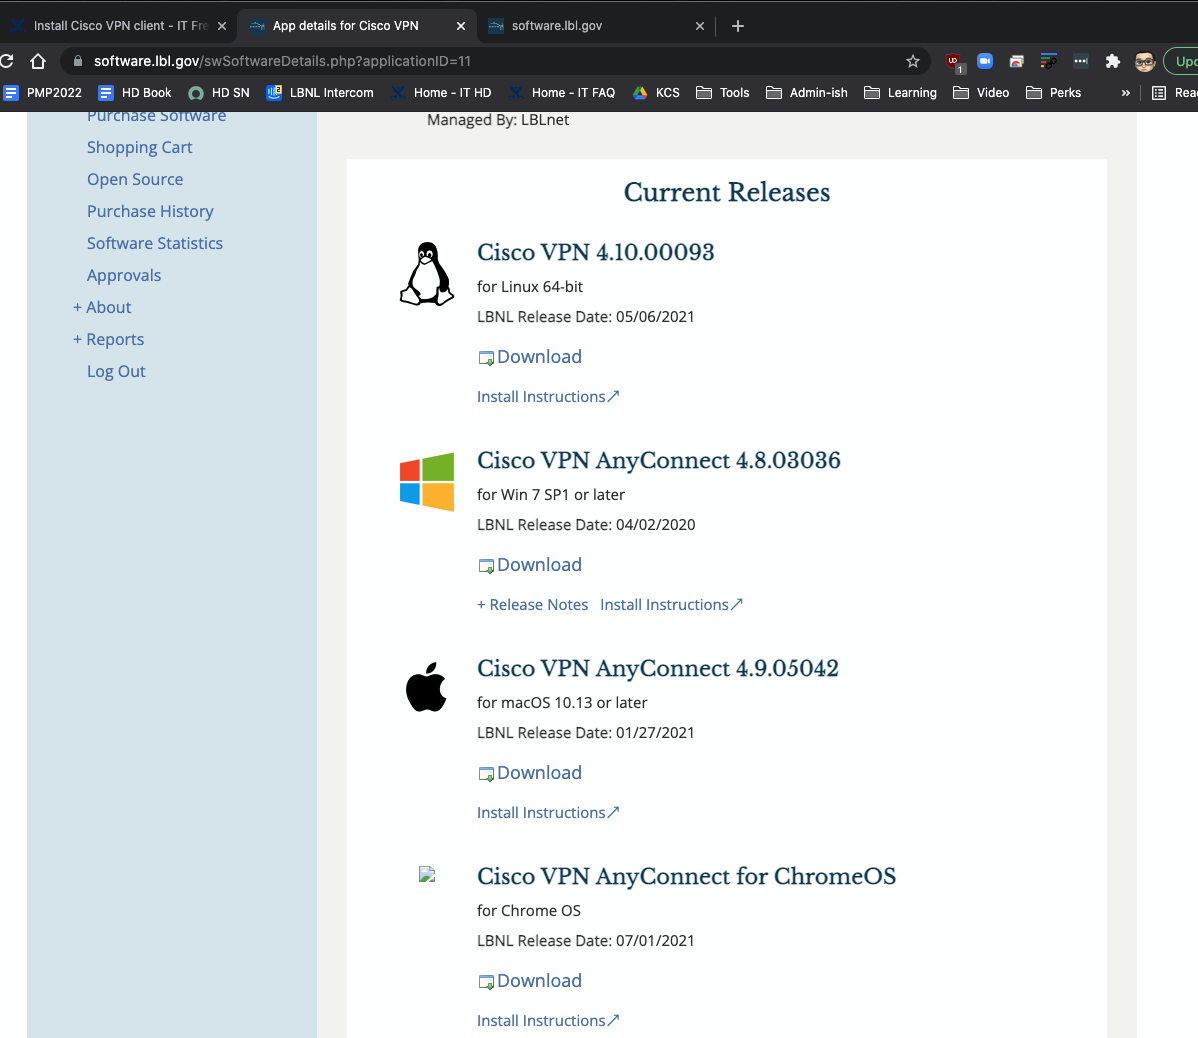
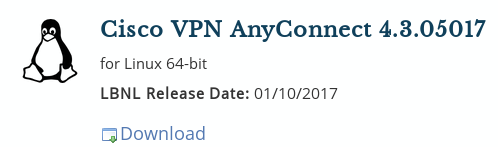
Got to software.lbl.gov and download the latest version of Cisco VPN on available for Windows version you are using under the Current Releases section
2
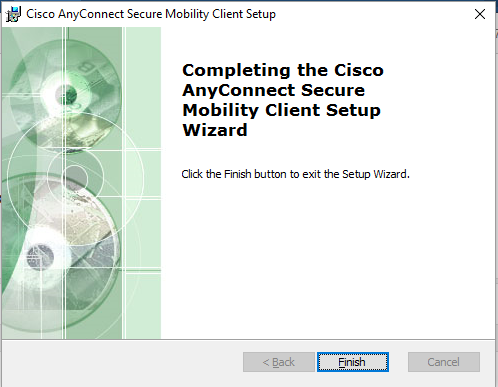
Launch the installer file you just downloaded and follow the on screen instruction to install Cisco VPN
Note:Be sure to answer Yes to the software agreement and answer Yes to allow the installer to make change to the computer
3
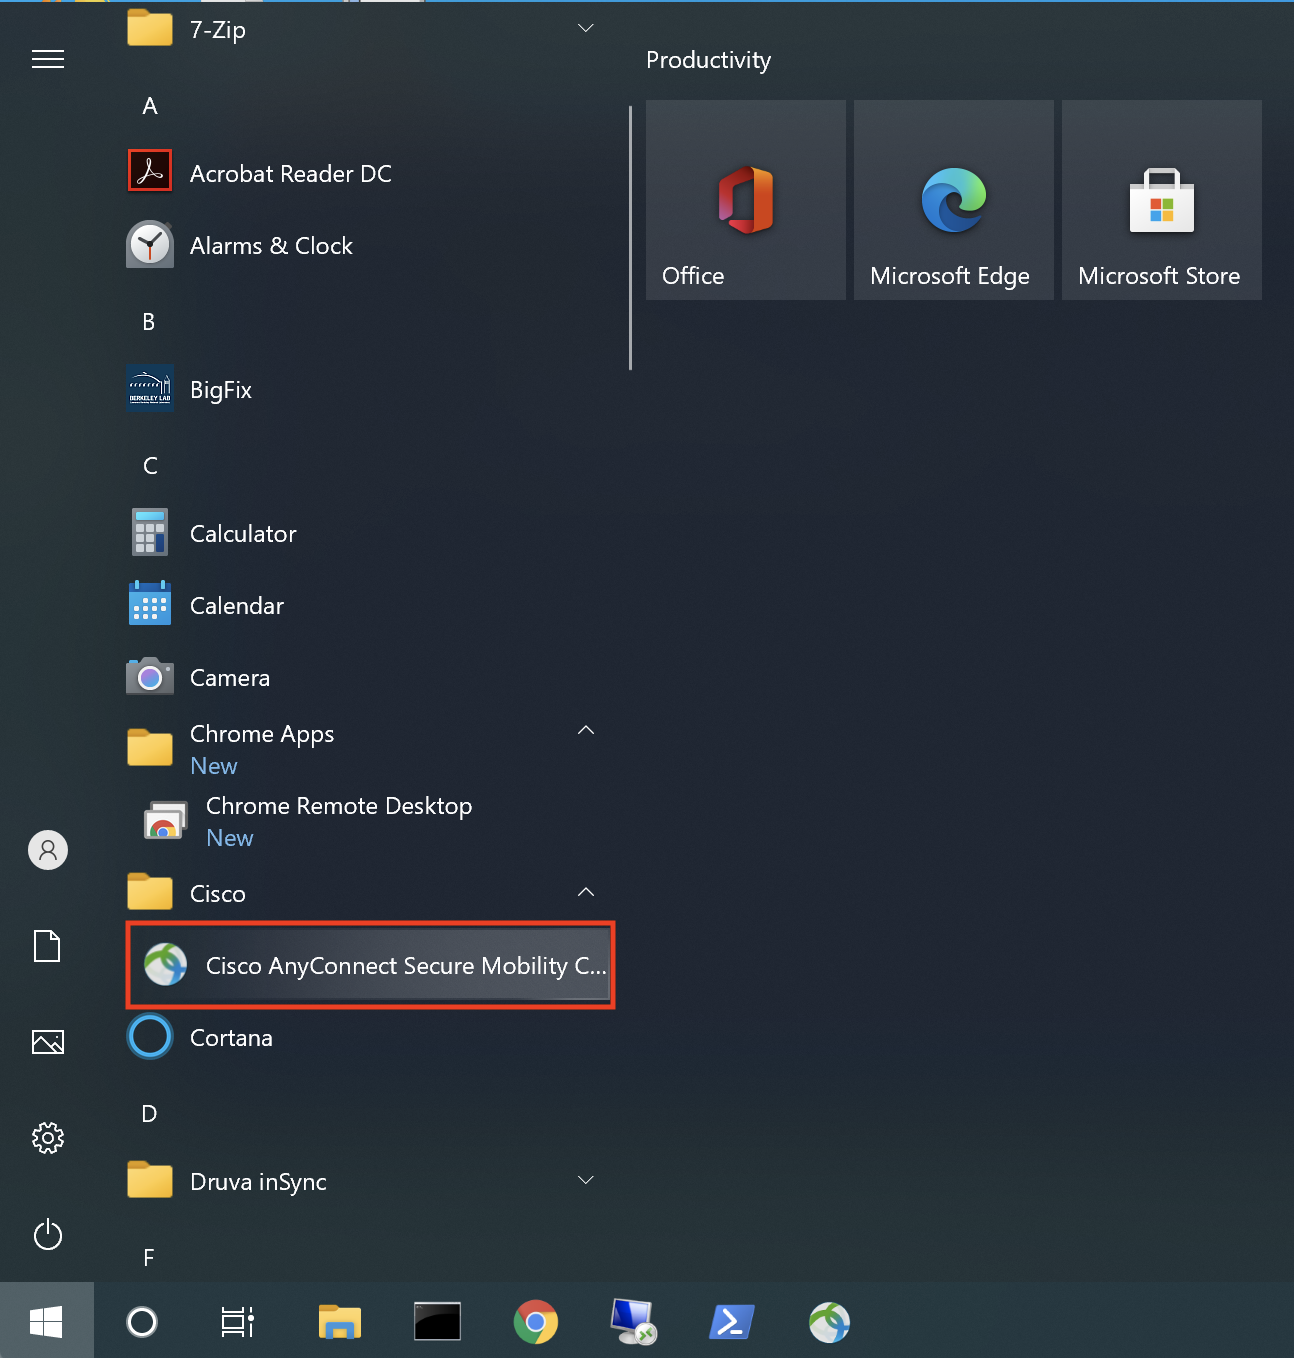
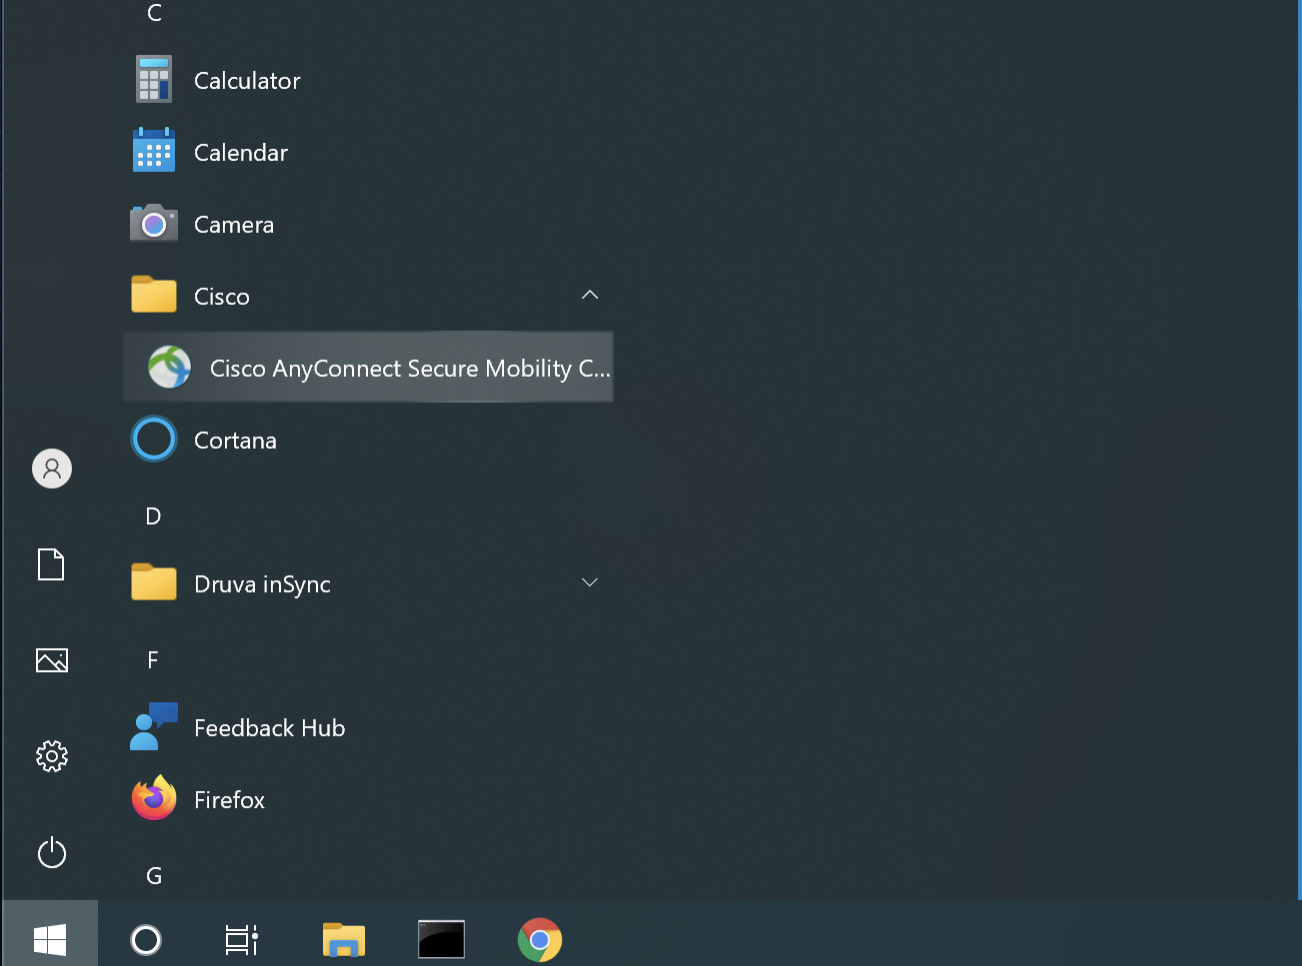
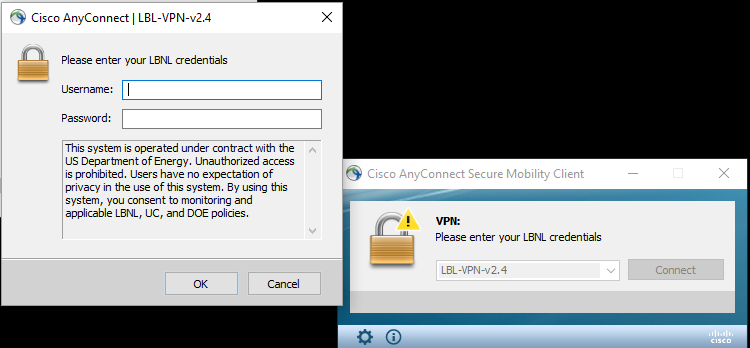
Start the application by going to Windows logo-> All apps-> Cisco-> Cisco AnyConnect Secure Mobility Client
4
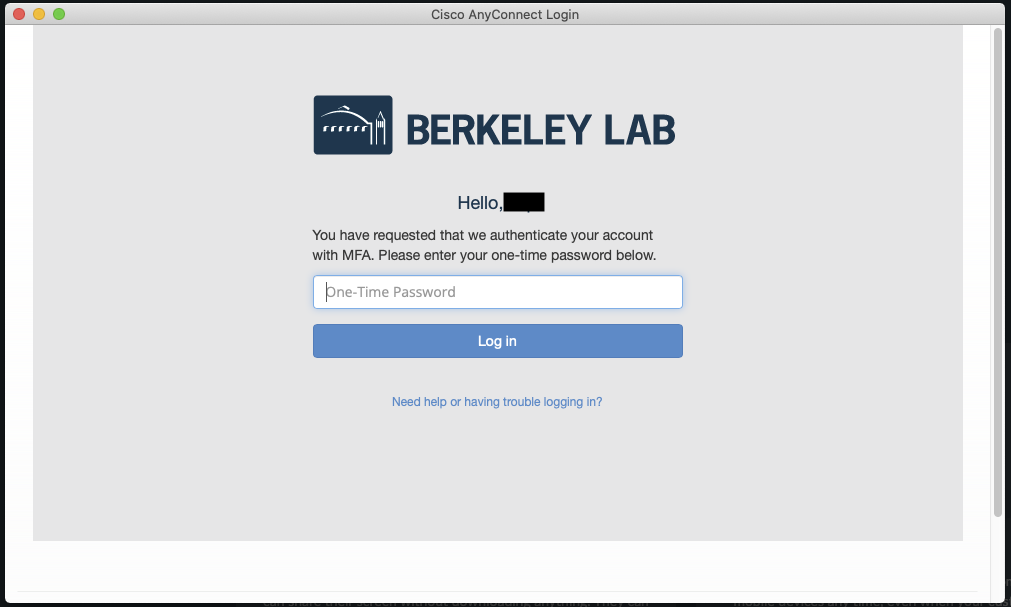
Enter your LDAP username and password to connect
How to install VPN on Mac
1
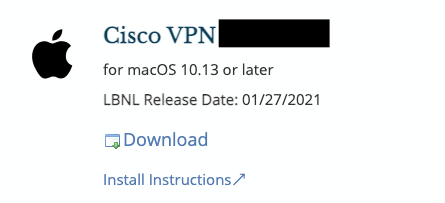
Got to software.lbl.gov and download the latest version of Cisco VPN on available for macOS version you are using under the Current Releases section
2
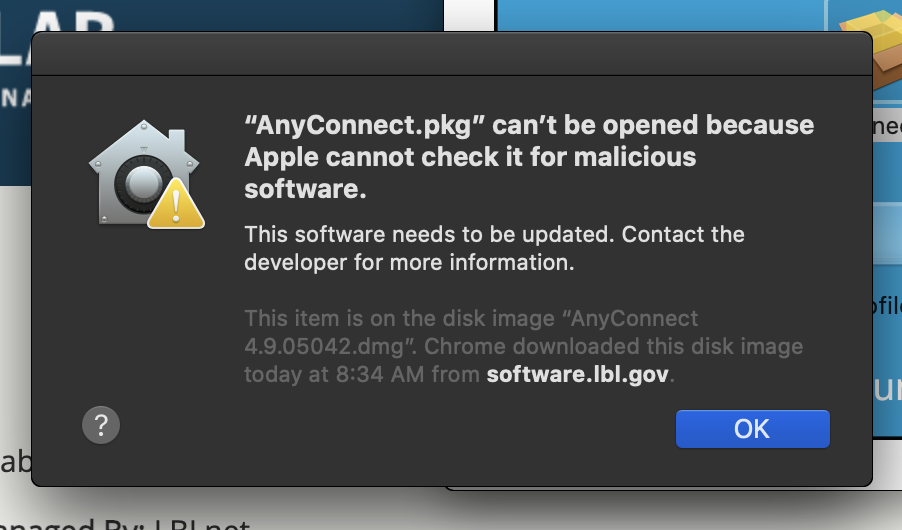
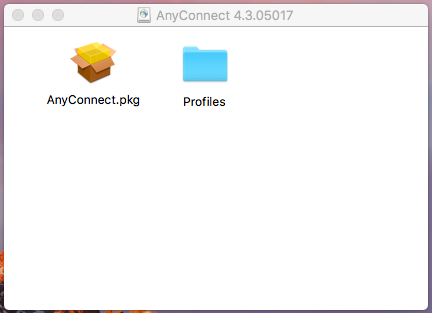
Launch the installer file you just downloaded and double-click on AnyConnect.pkg
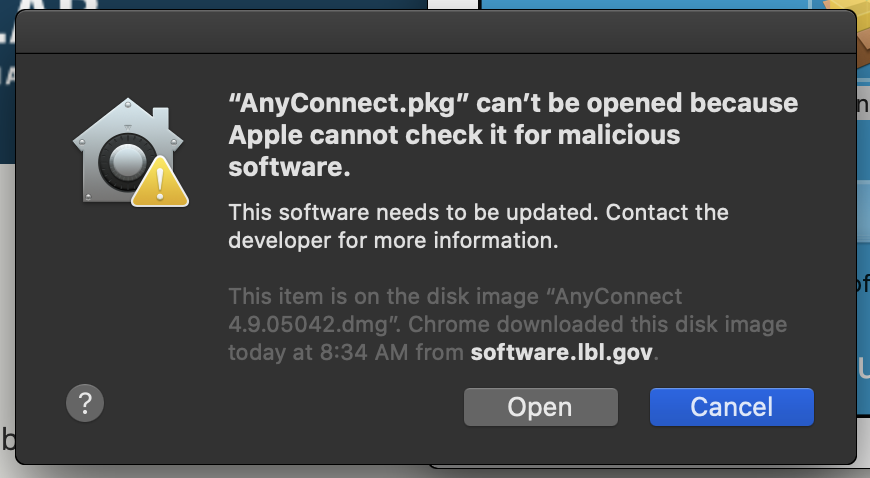
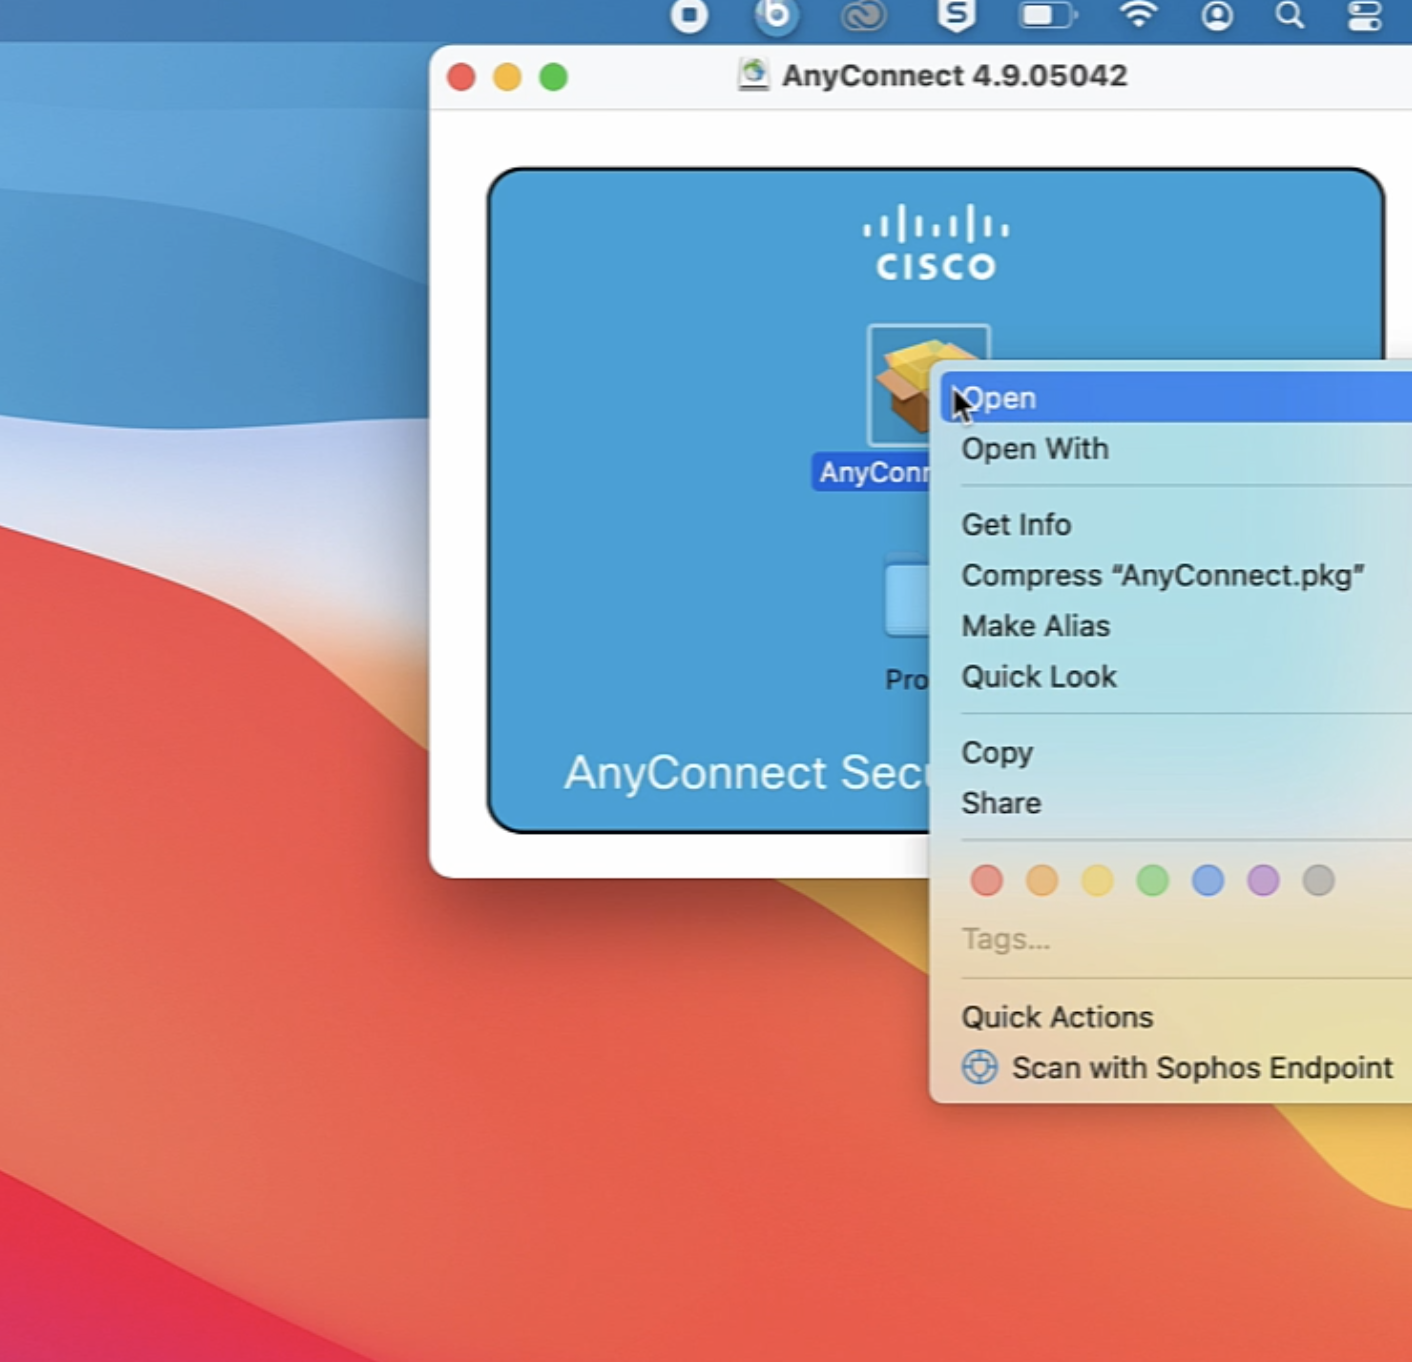
WARNING: If you get a prompt from the Mac Gatekeeper that looks like this:
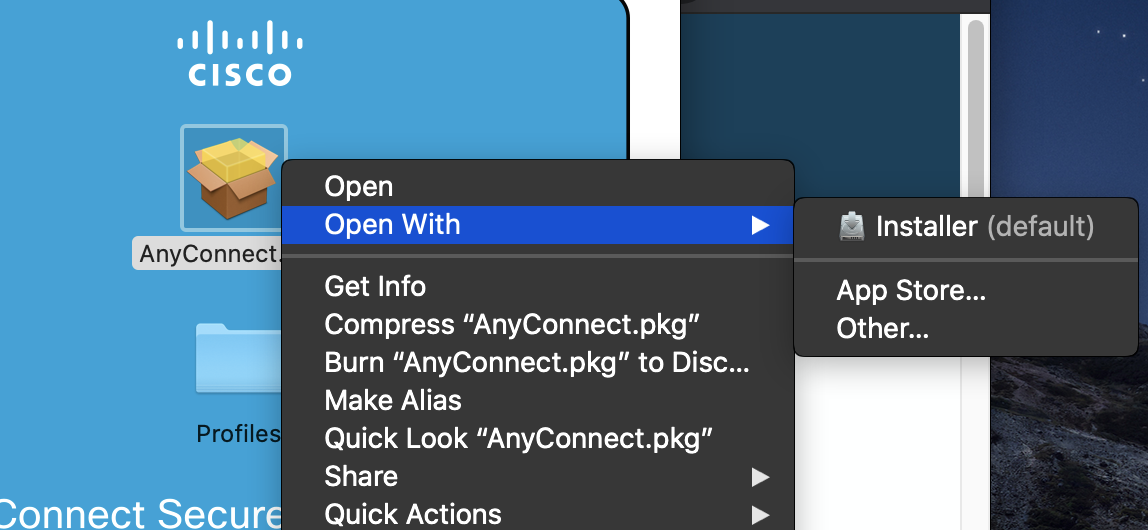
If you do, click ok and right click or control button + mouse click on AnyConnect.pkg. Select "Open With" and then "Installer (default)":
Click Open and continue with the instruction:
3
Follow the on-screen instructions to install Cisco VPN. When prompted for credentials, enter your Mac login name and password and click Install Software
Note:Be sure to answer Yes to the software agreement
4
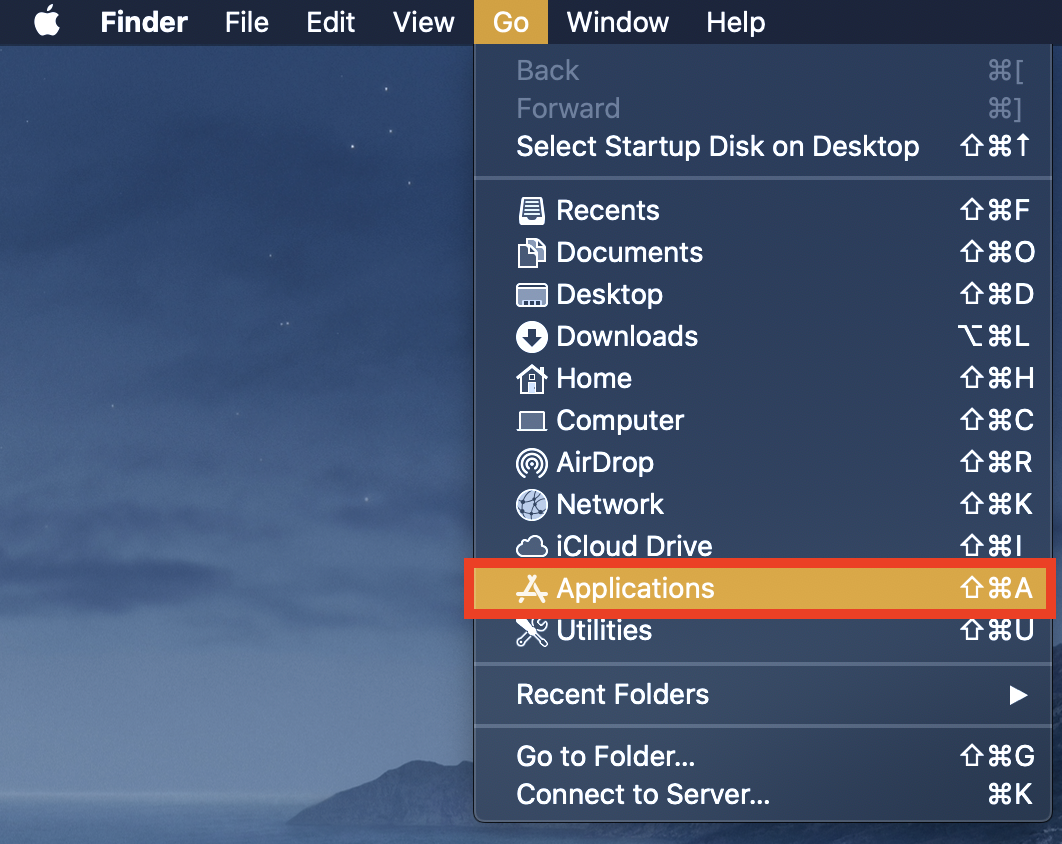
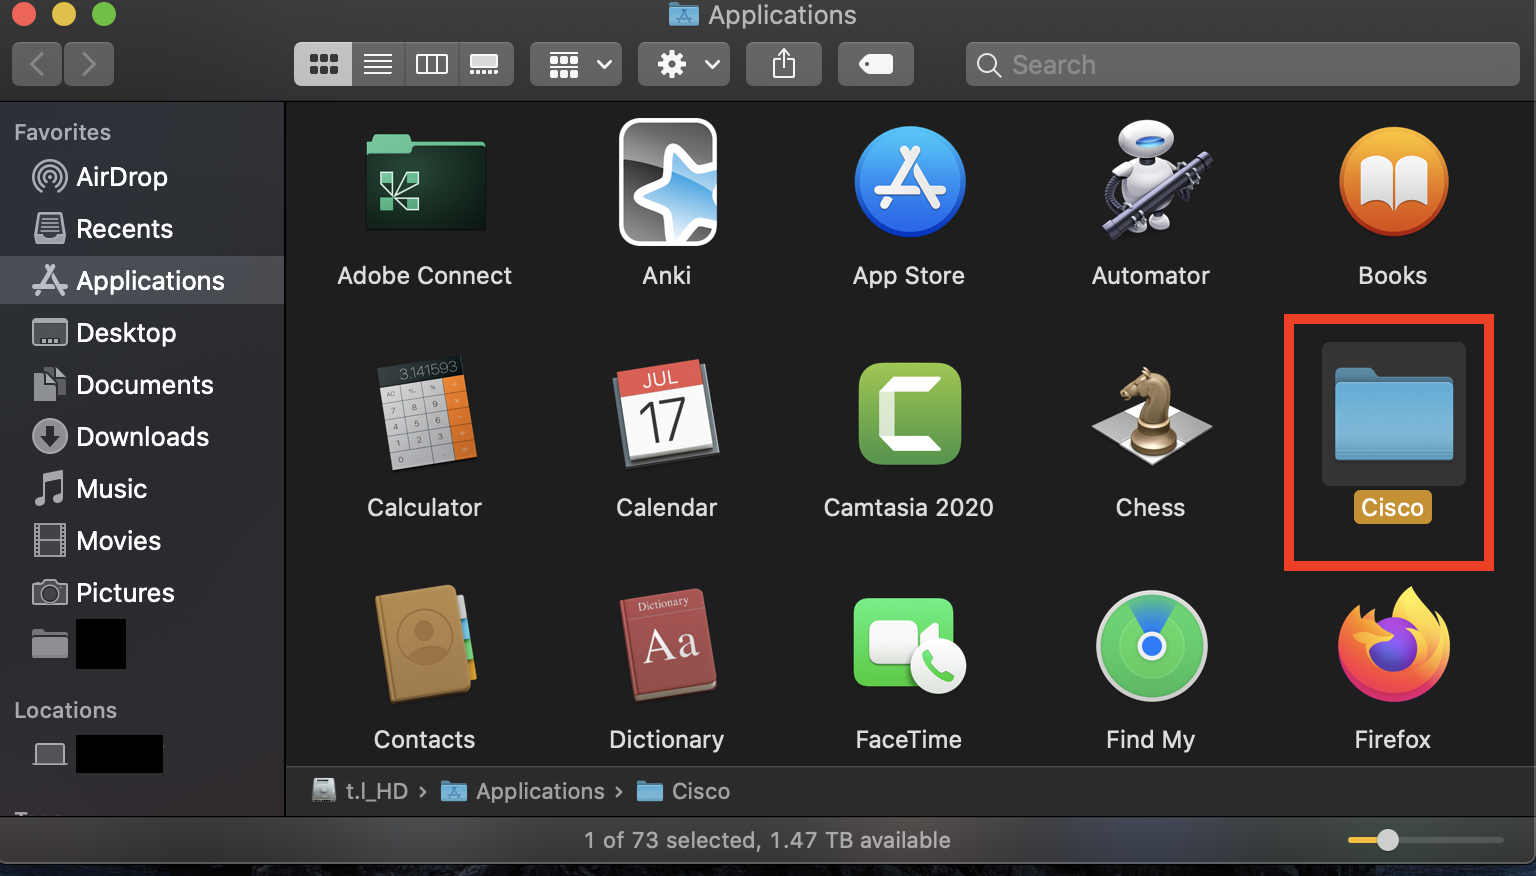
Go to Launchpad or Application Folder and click on the Cisco logo to start the application
Using the search box on the left column, search for VPN and click on the result Cisco VPN
3
Under the Current Releases section, look for Cisco VPN for macOS and download it
4
Double click on the downloaded file and follow the onscreen instruction to install Cisco VPN
WARNING: If you get a prompt from the Mac Gatekeeper that looks similar to this:
Click OK and right click or control button on keyboard + mouse click on AnyConnect.pkg. Select Open With and then Installer (default):
Click Open on the next popup and continue with the instruction:
5
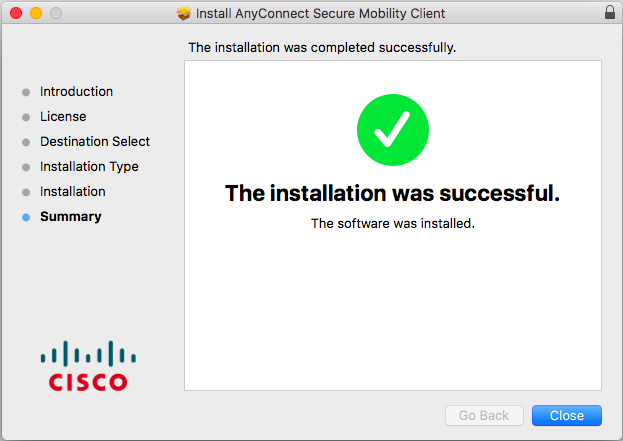
Continue to follow the onscreen instruction. Be sure to Agree to the license agreement. Enter the computer password when prompt, and then click Install software
6
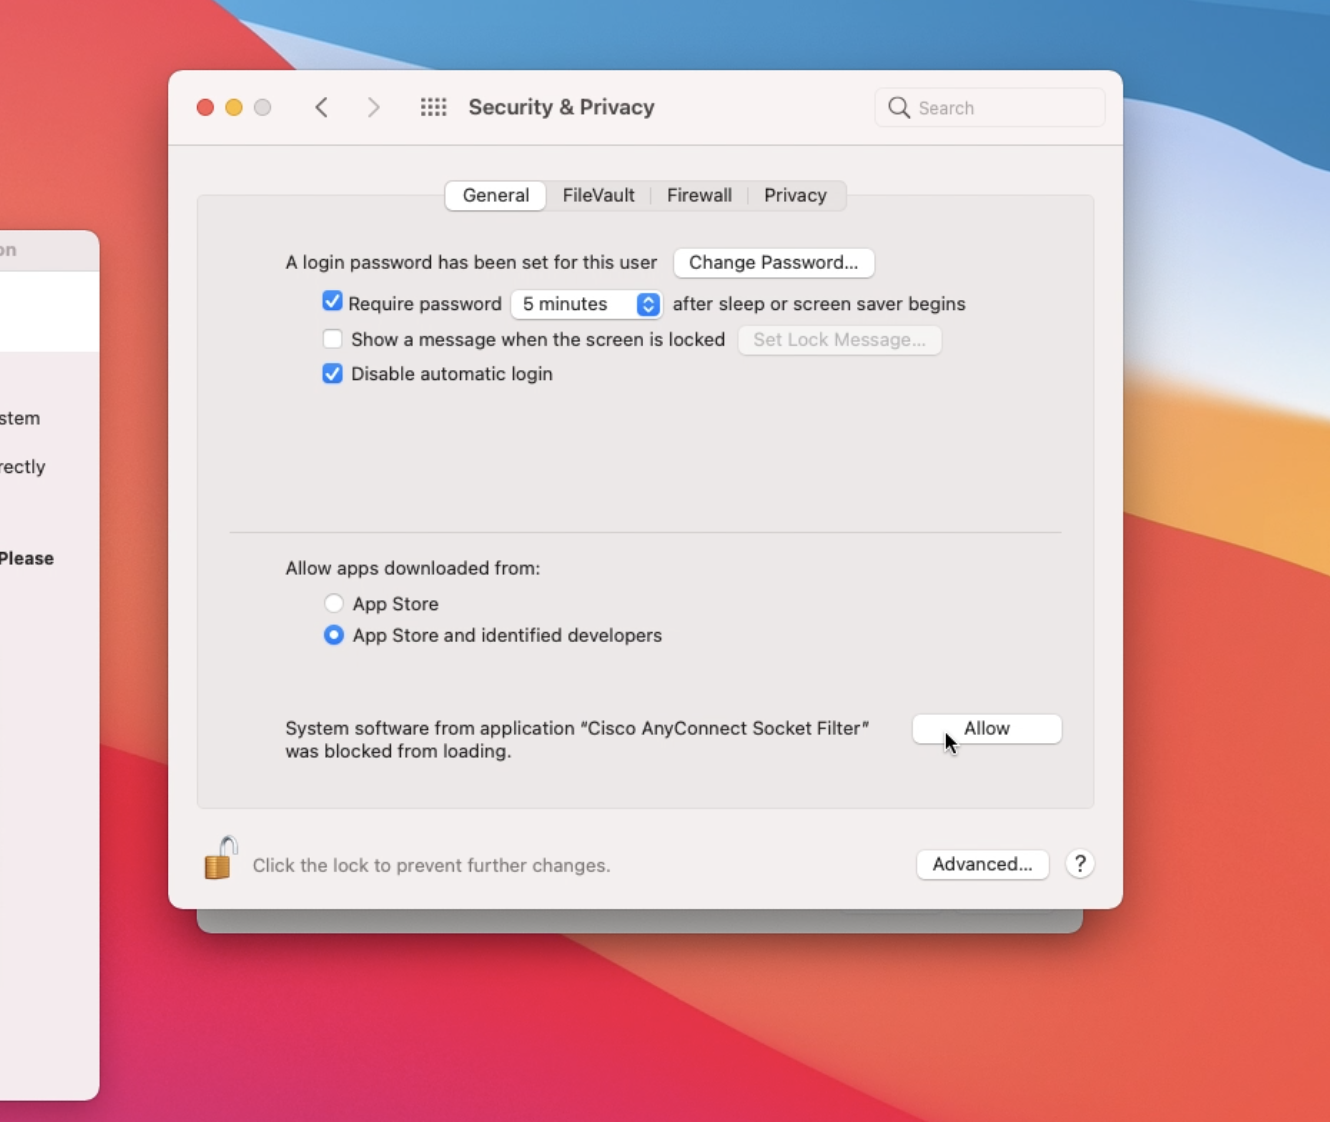
You will see the Attention Required popup window, click Open Preferences and select Security & Privacy.
Click on the padlock icon on the bottom left corner and enter your computer password and then click Unlock to unlock it.
7
Under the General tab, towards the bottom, you should see System software from application "Cisco AnyConnect Socket Filter" was blocked from loading and an Allow button to the right. Click Allow
8
Select Allow to next popup you see
You may see two popups, select Allow to them both
9
Select allow on the notification
10
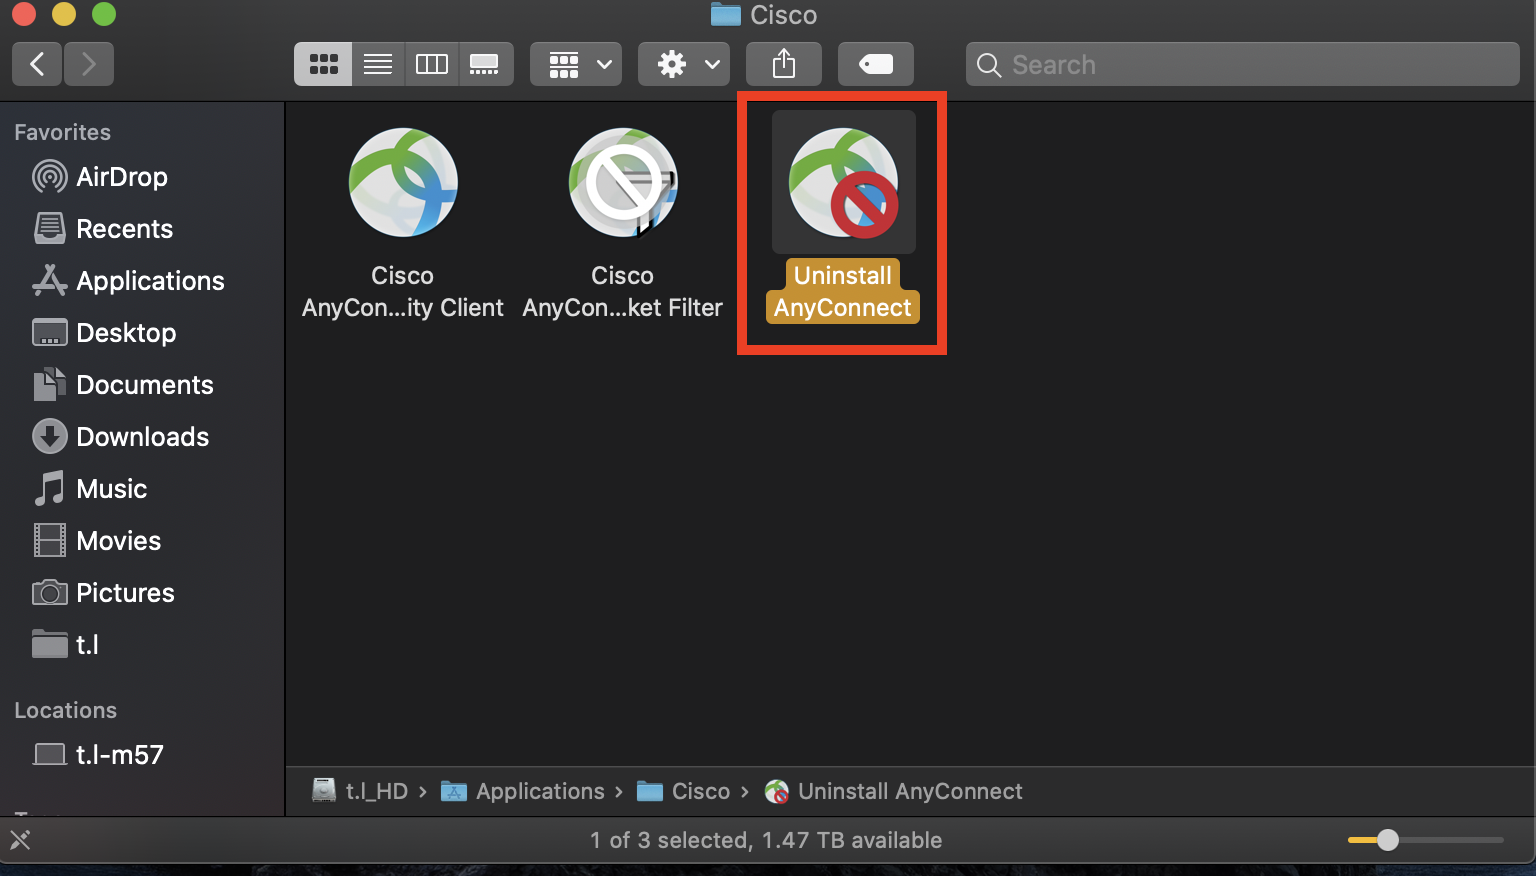
Close the window and then click Move to trash
11
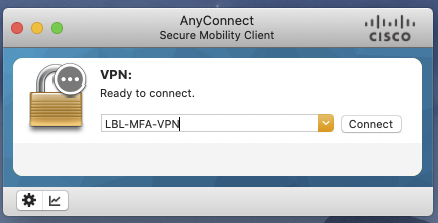
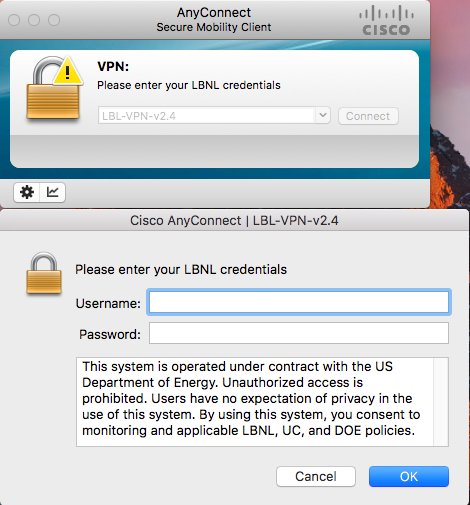
You should now see Cisco VPN in your Application folder on your computer. Launch it and enter your LBL LDAP credential connect to the Lab's network
Using the search box on the left column, search for VPN and click on the result Cisco VPN
3
Under the Current Releases section, look for Cisco VPN for macOS and download it
4
Double click on the downloaded file and follow the onscreen instruction to install Cisco VPN
WARNING: If you get a prompt from the Mac Gatekeeper that looks similar to this:
Click OK and right click or control button on keyboard + mouse click on AnyConnect.pkg. Select Open With and then Installer (default):
Click Open on the next popup and continue with the instruction:
5
Continue to follow the onscreen instruction. Be sure to Agree to the license agreement. Enter the computer password when prompt, and then click Install software
6
You will see the Attention Required popup window, click Open Preferences and select Security & Privacy.
Click on the padlock icon on the bottom left corner and enter your computer password and then click Unlock to unlock it.
7
Under the General tab, towards the bottom, you should see System software from application "Cisco AnyConnect Socket Filter" was blocked from loading and an Allow button to the right. Click Allow
8
Select Allow to next popup you see
You may see two popups, select Allow to them both
9
Select allow on the notification
10
Close the window and then click Move to trash
11
You should now see Cisco VPN in your Application folder on your computer. Launch it and enter your LBL LDAP credential connect to the Lab's network
How to install the Lab VPN on a Chromebook
1
Sign in to your Chromebook, and click the Launcher
The launcher looks like this in your taskbar:
2
Open up the Play Store app
3
Search for Cisco Secure Client
4
Click Install
5
Open up Cisco Secure Client and select the Connections option
6
Click the Plus icon
7
In the Description field, type in LBL_MFA_VPN
8
In the Server Address field, type in mfavpn.lbl.gov
9
Click Done
10
Click the back arrow
11
Slide the toggle to the rightto connect to the VPN
12
Provide your LBNL credential and MFA token
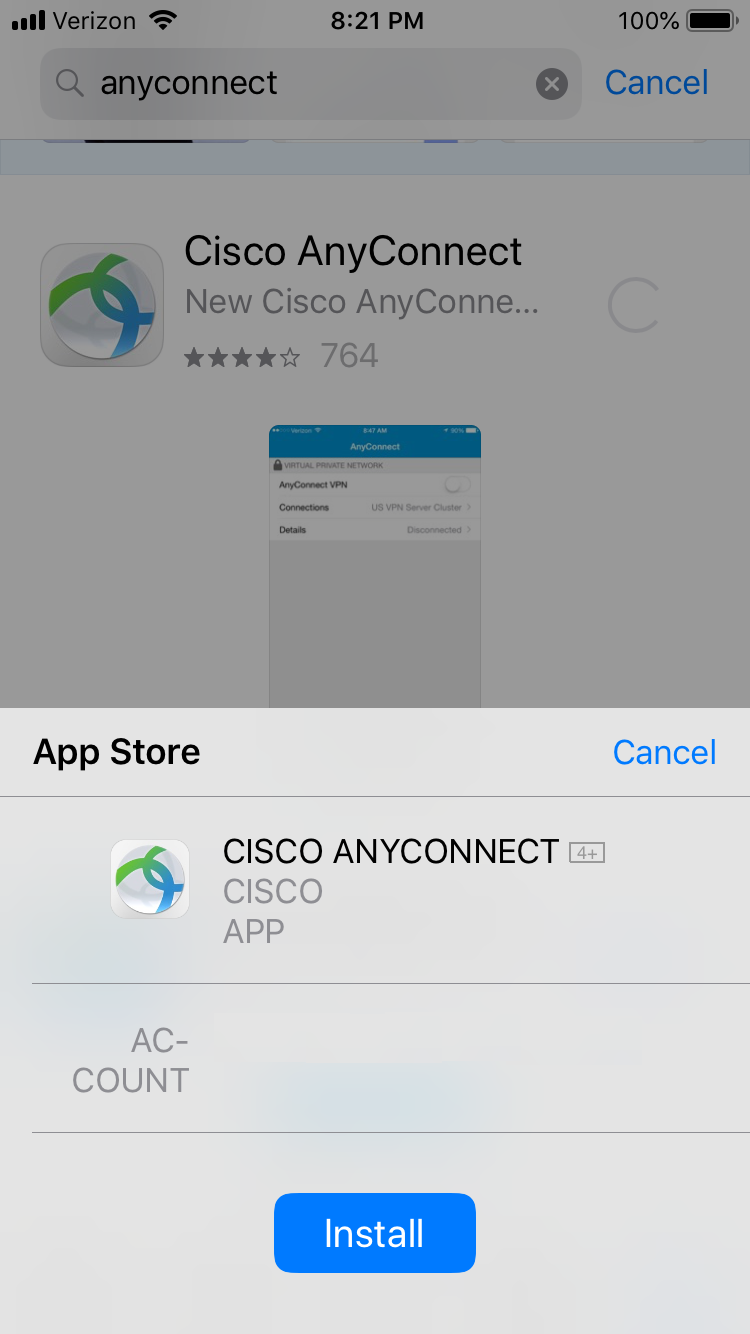
How to install VPN on iPhone
1
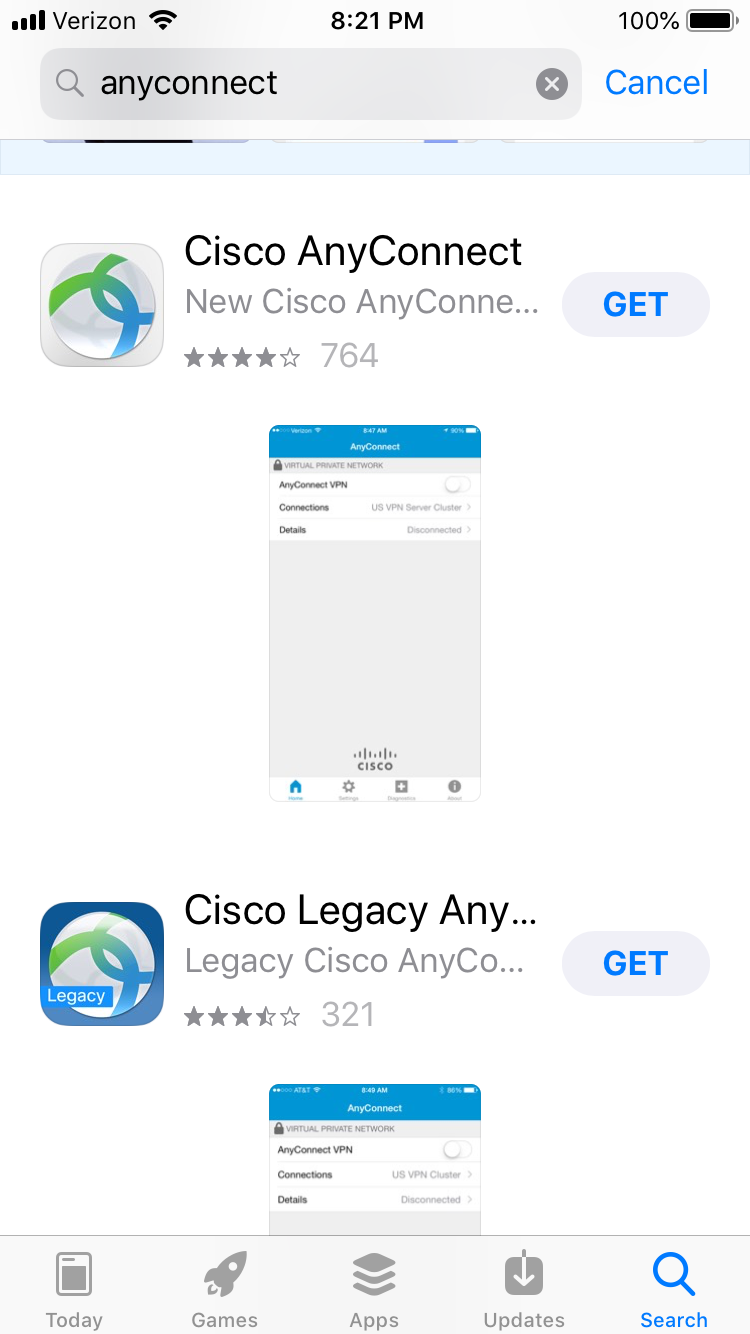
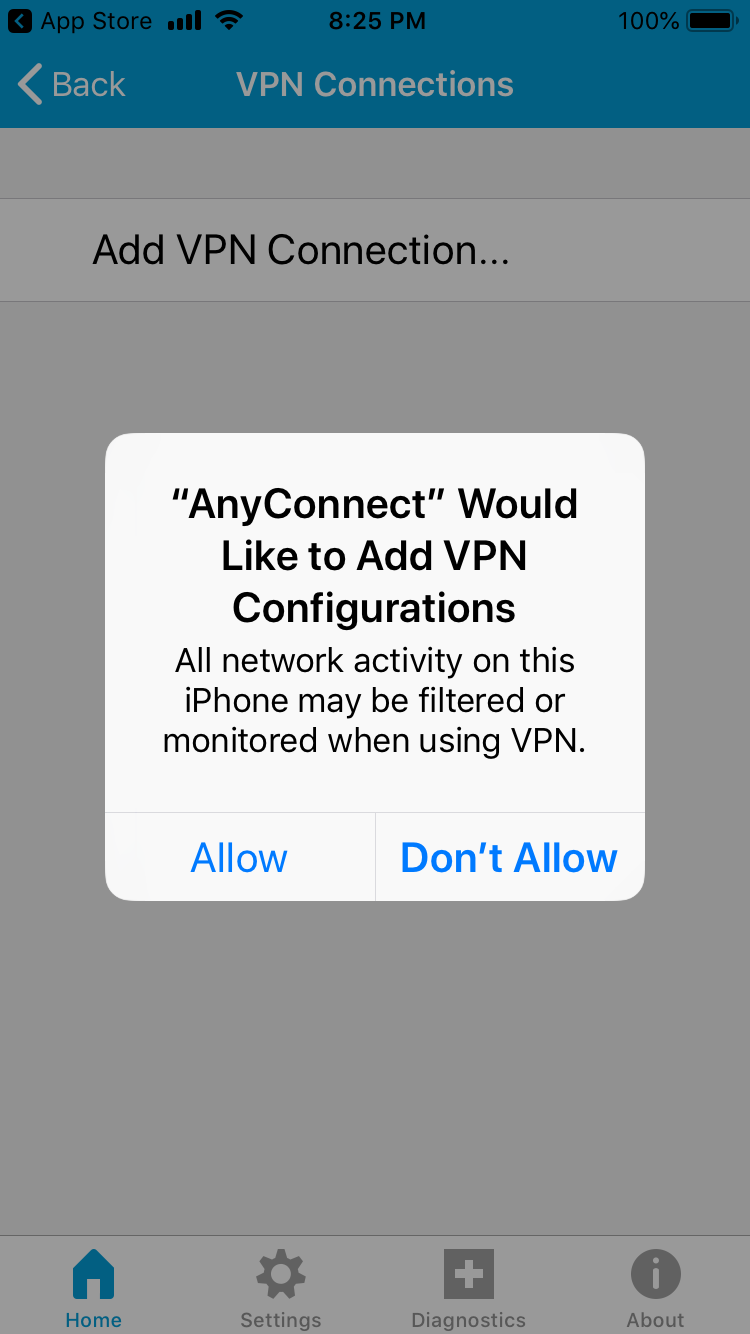
Get the AnyConnect client software from the Apple Store:
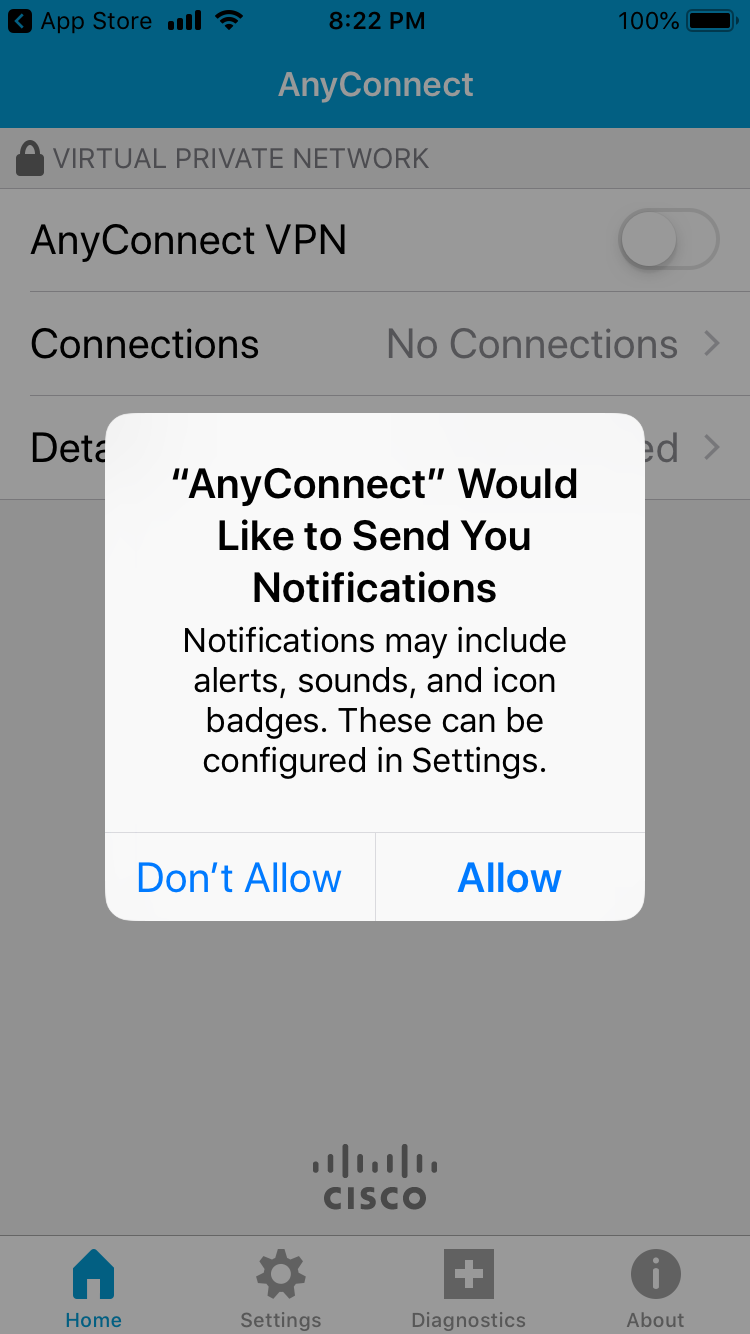
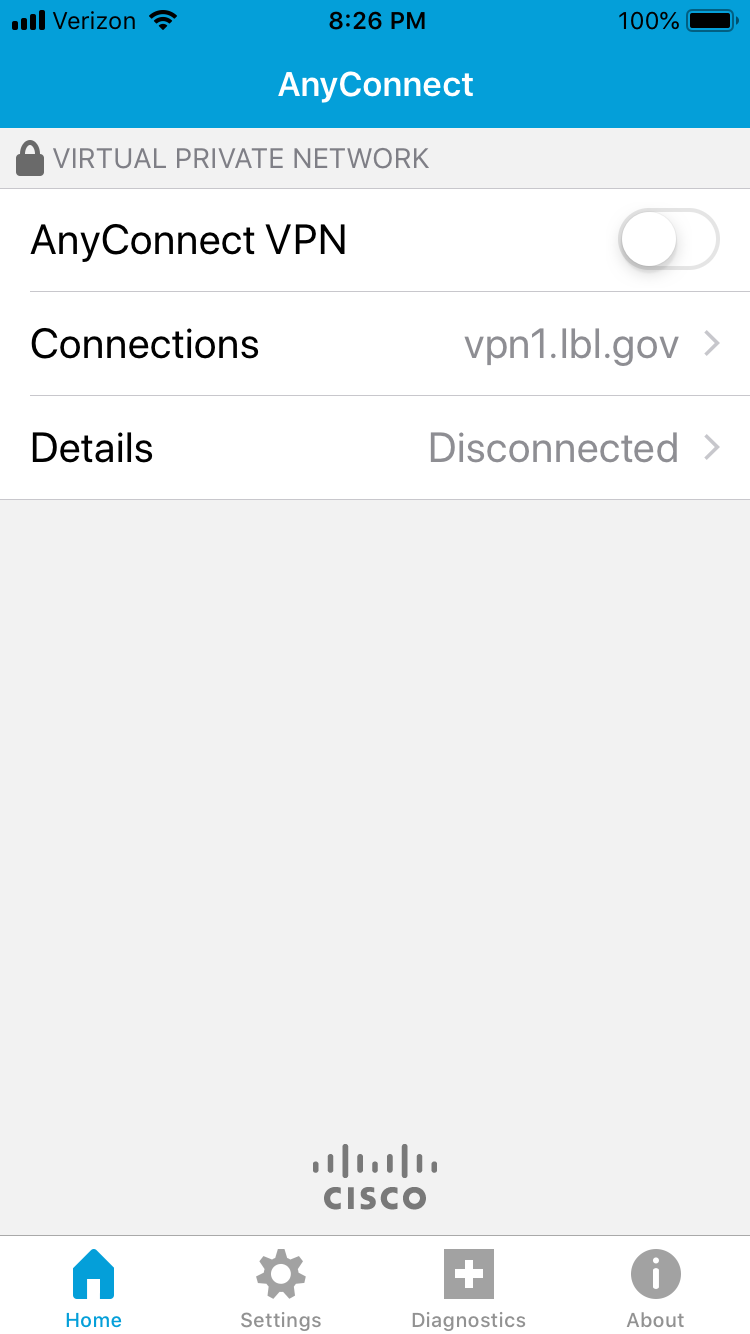
Click the On/Off radio button to the right of AnyConnect VPN:
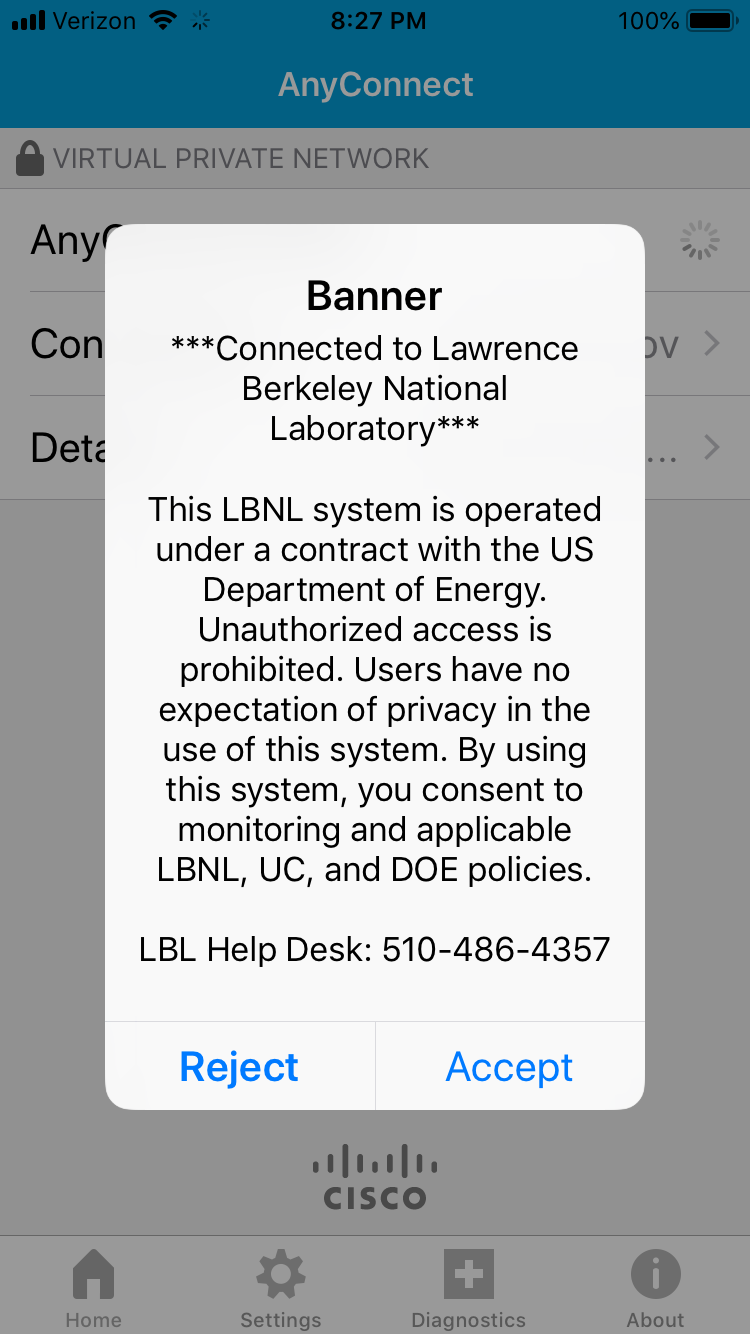
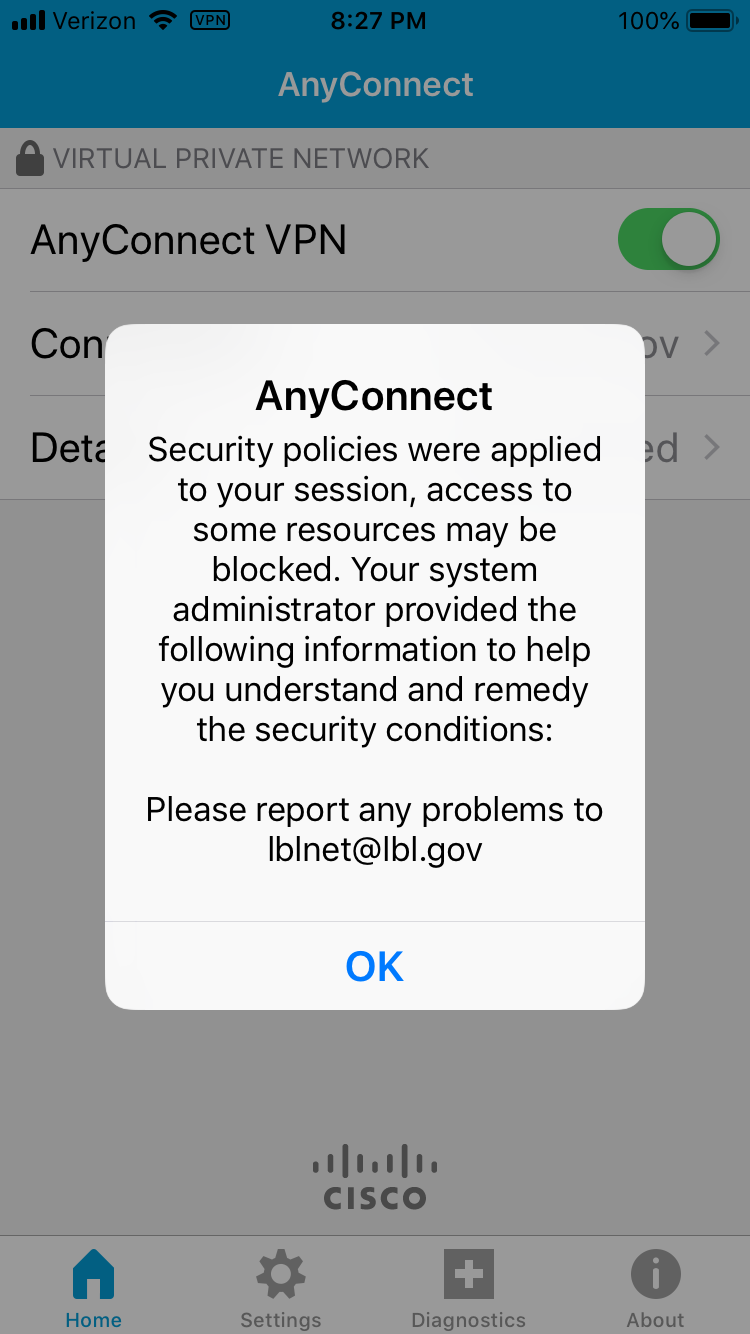
9
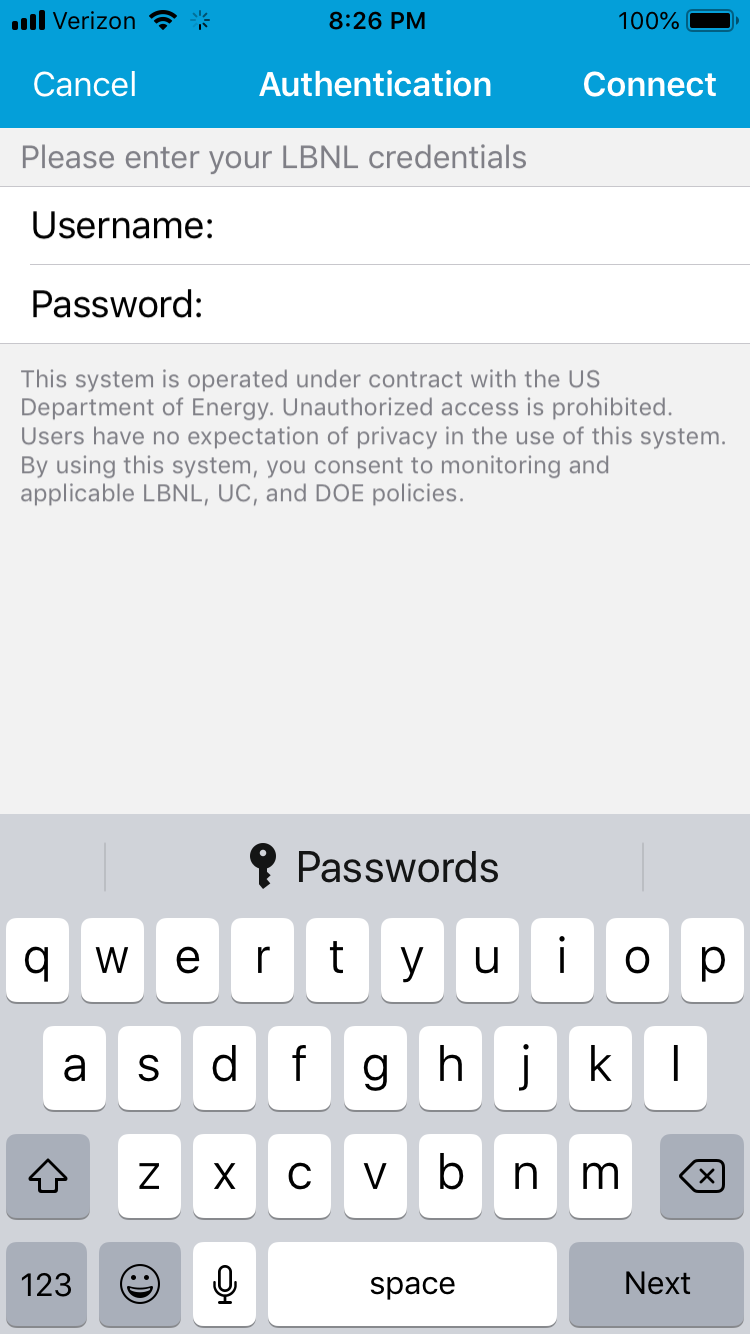
Enter your LDAP(Berkeley Lab ID) username and password:
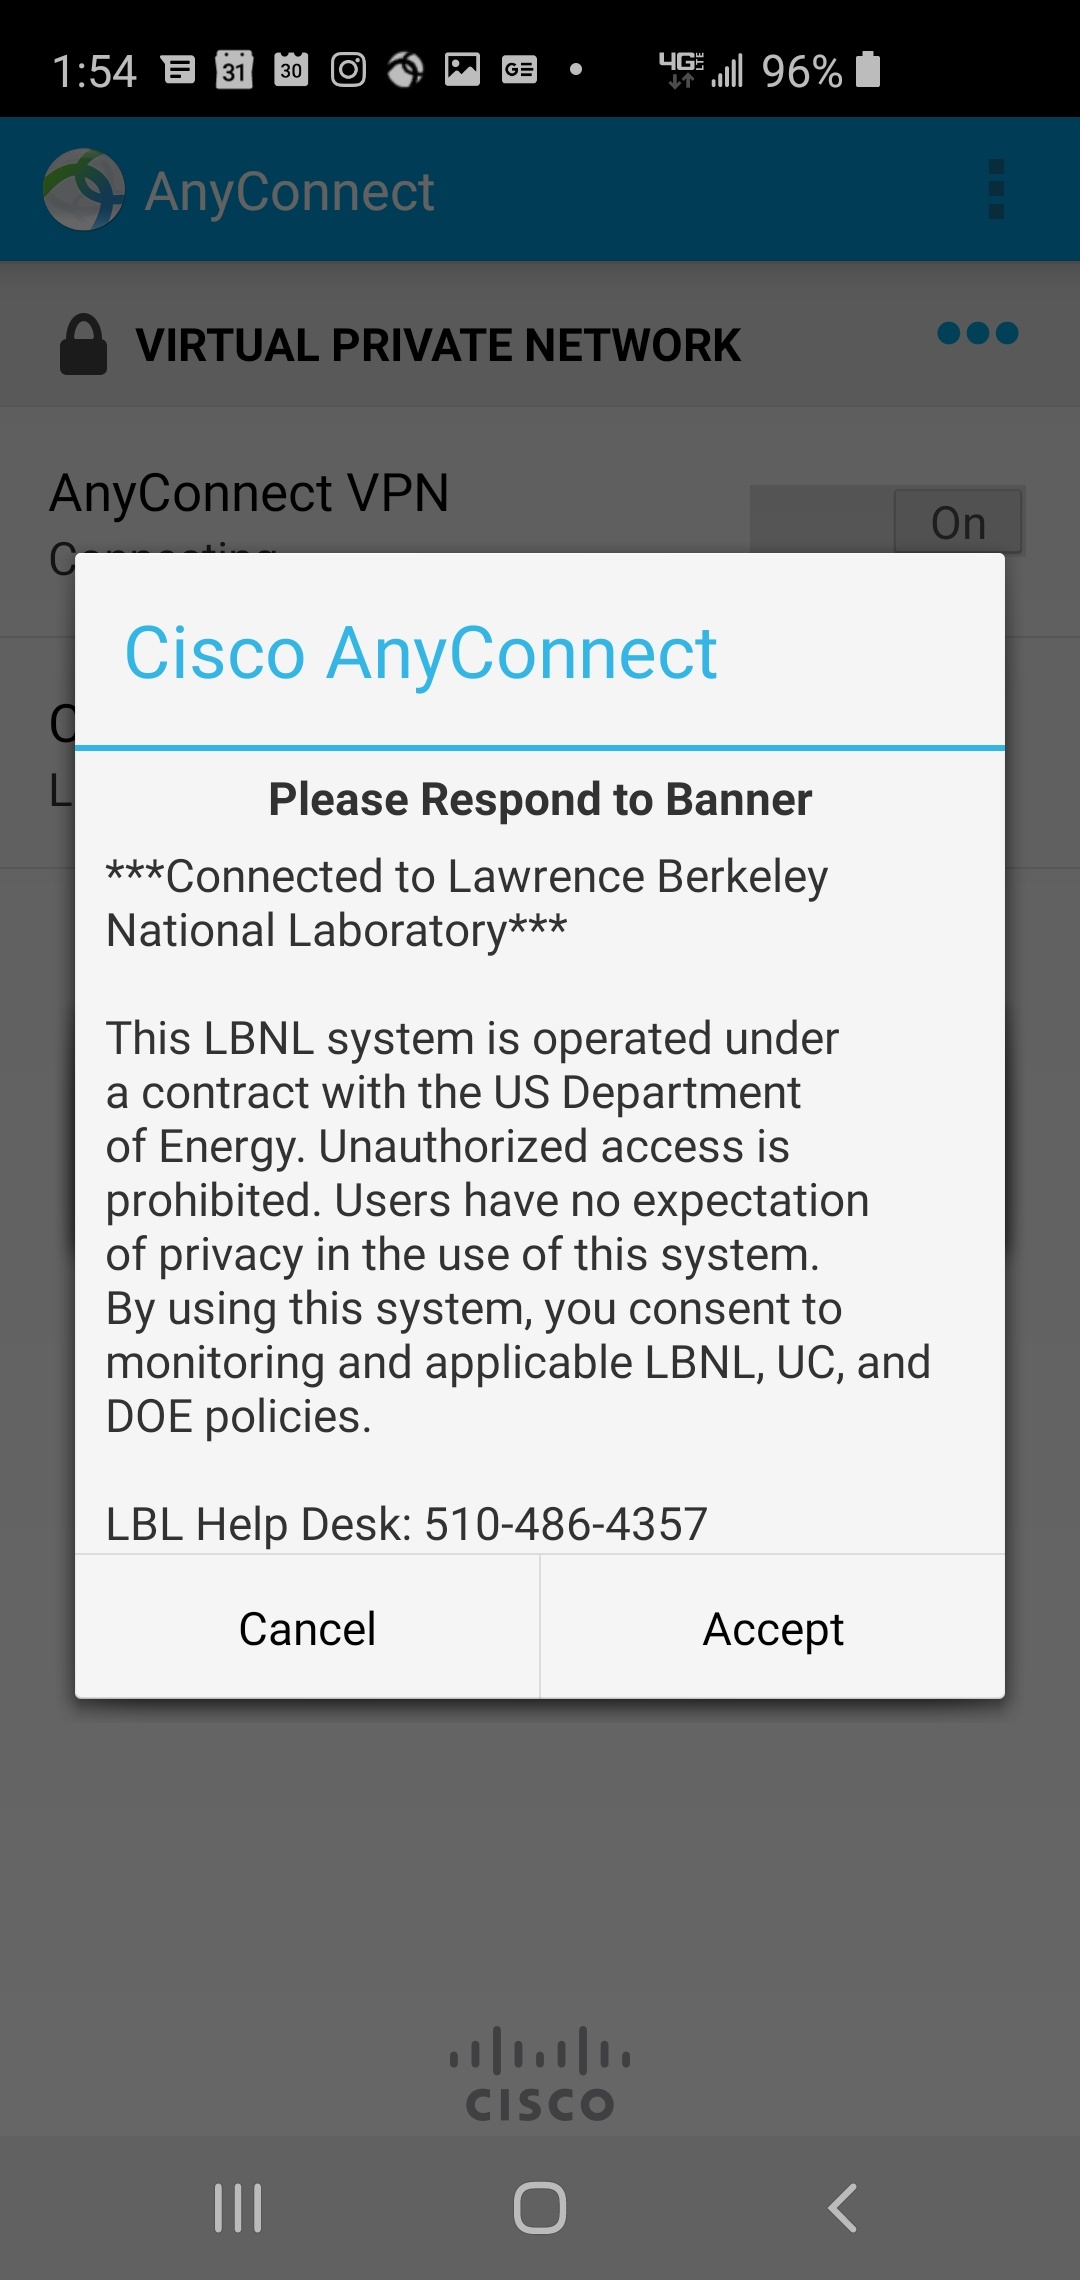
10
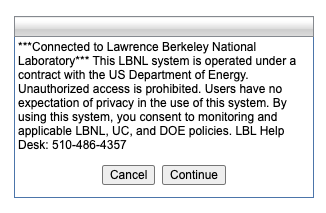
Accept the Banner:
11
Click OK on the verification that security policies were applied:
12
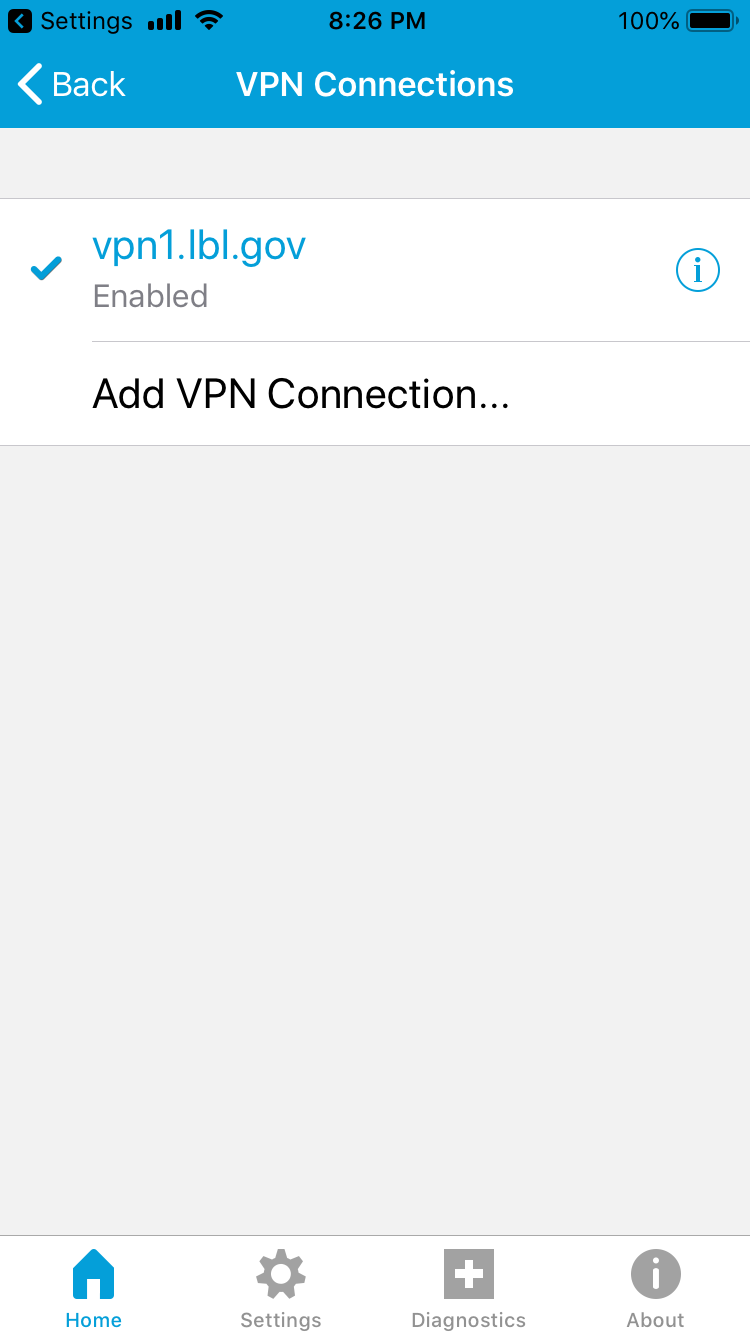
The VPN connection can now also be managed using the Settings app, under VPN
How to install VPN on Android
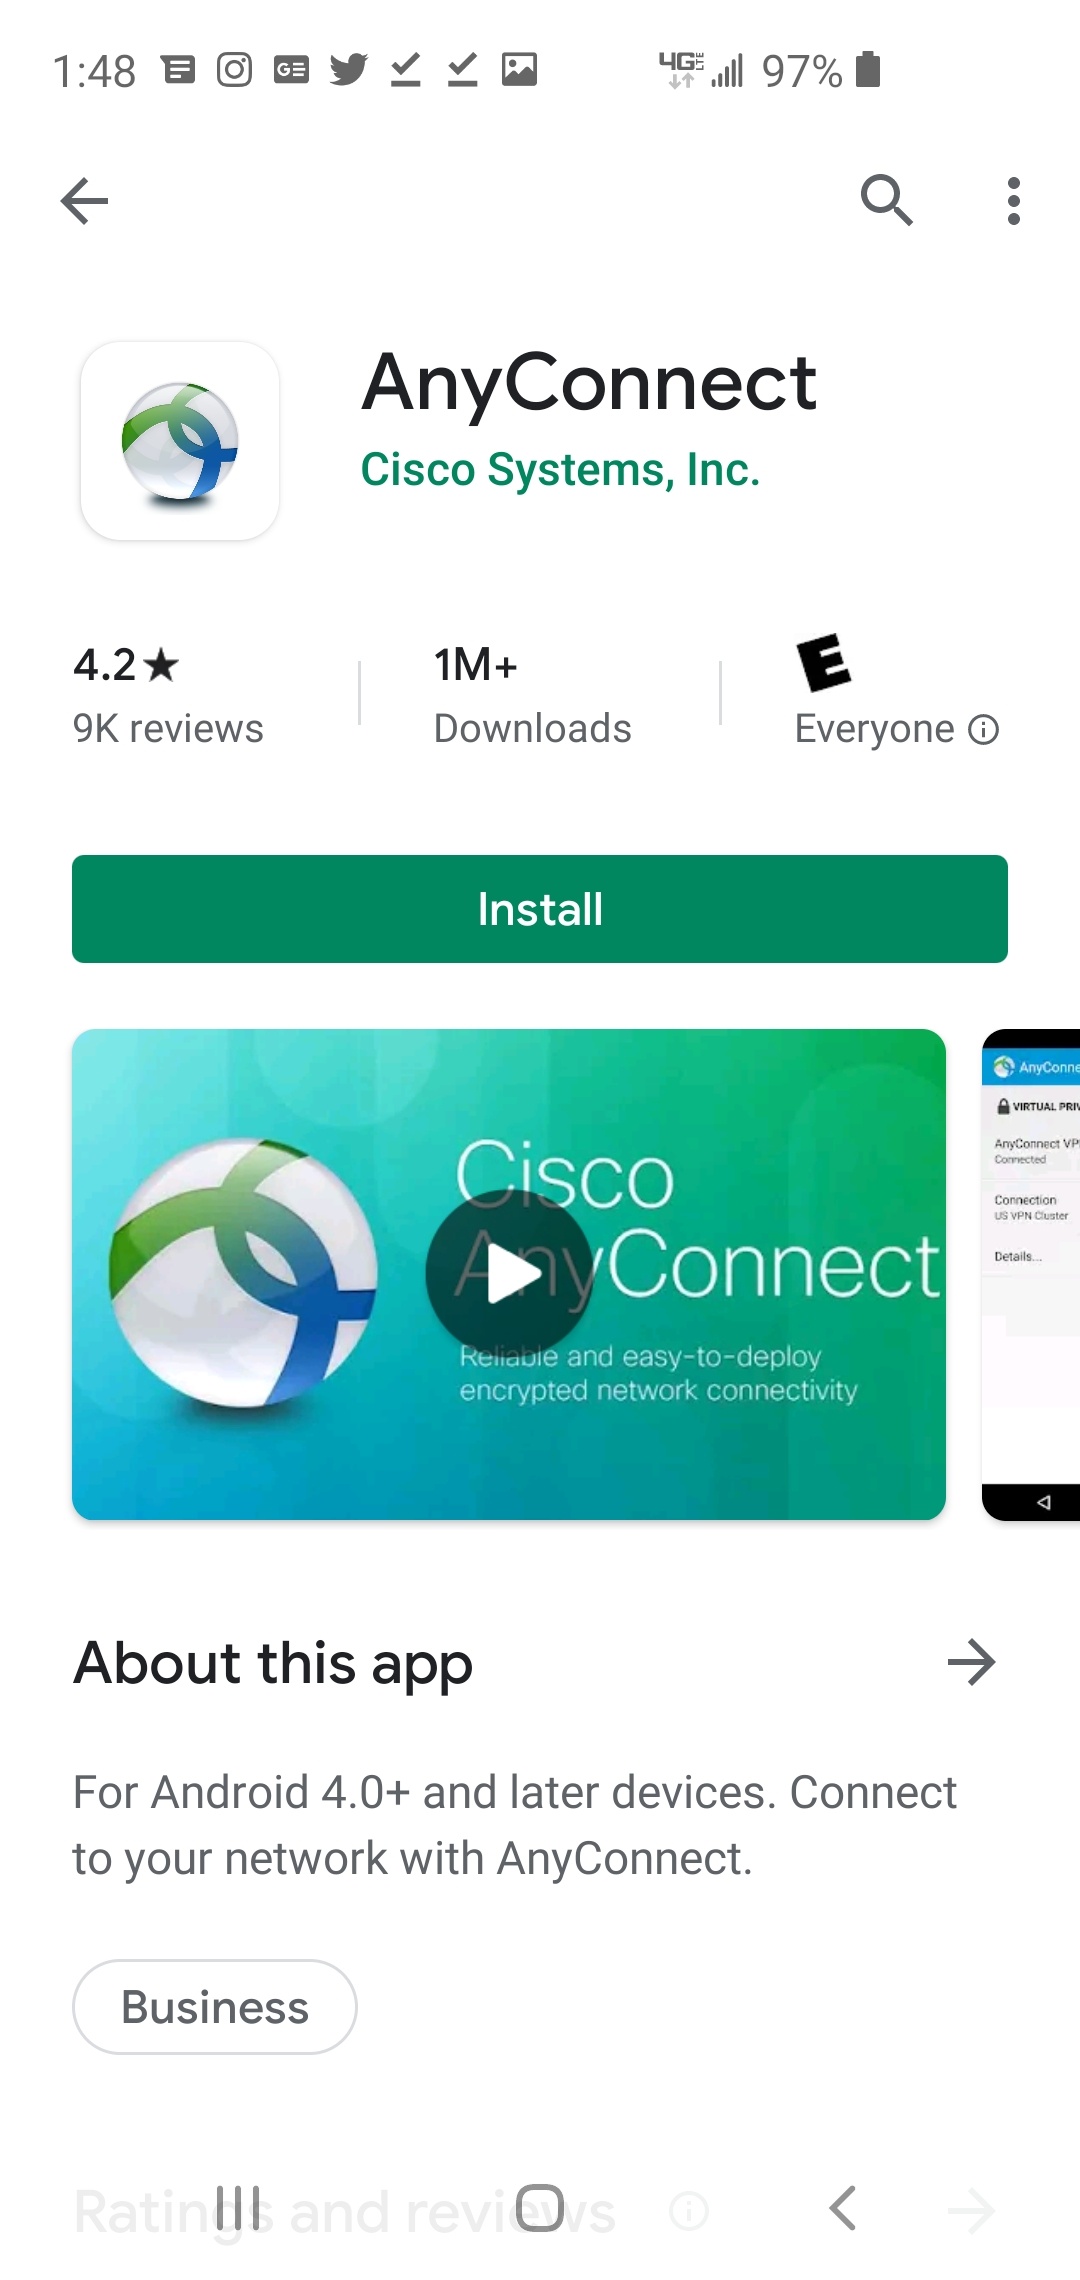
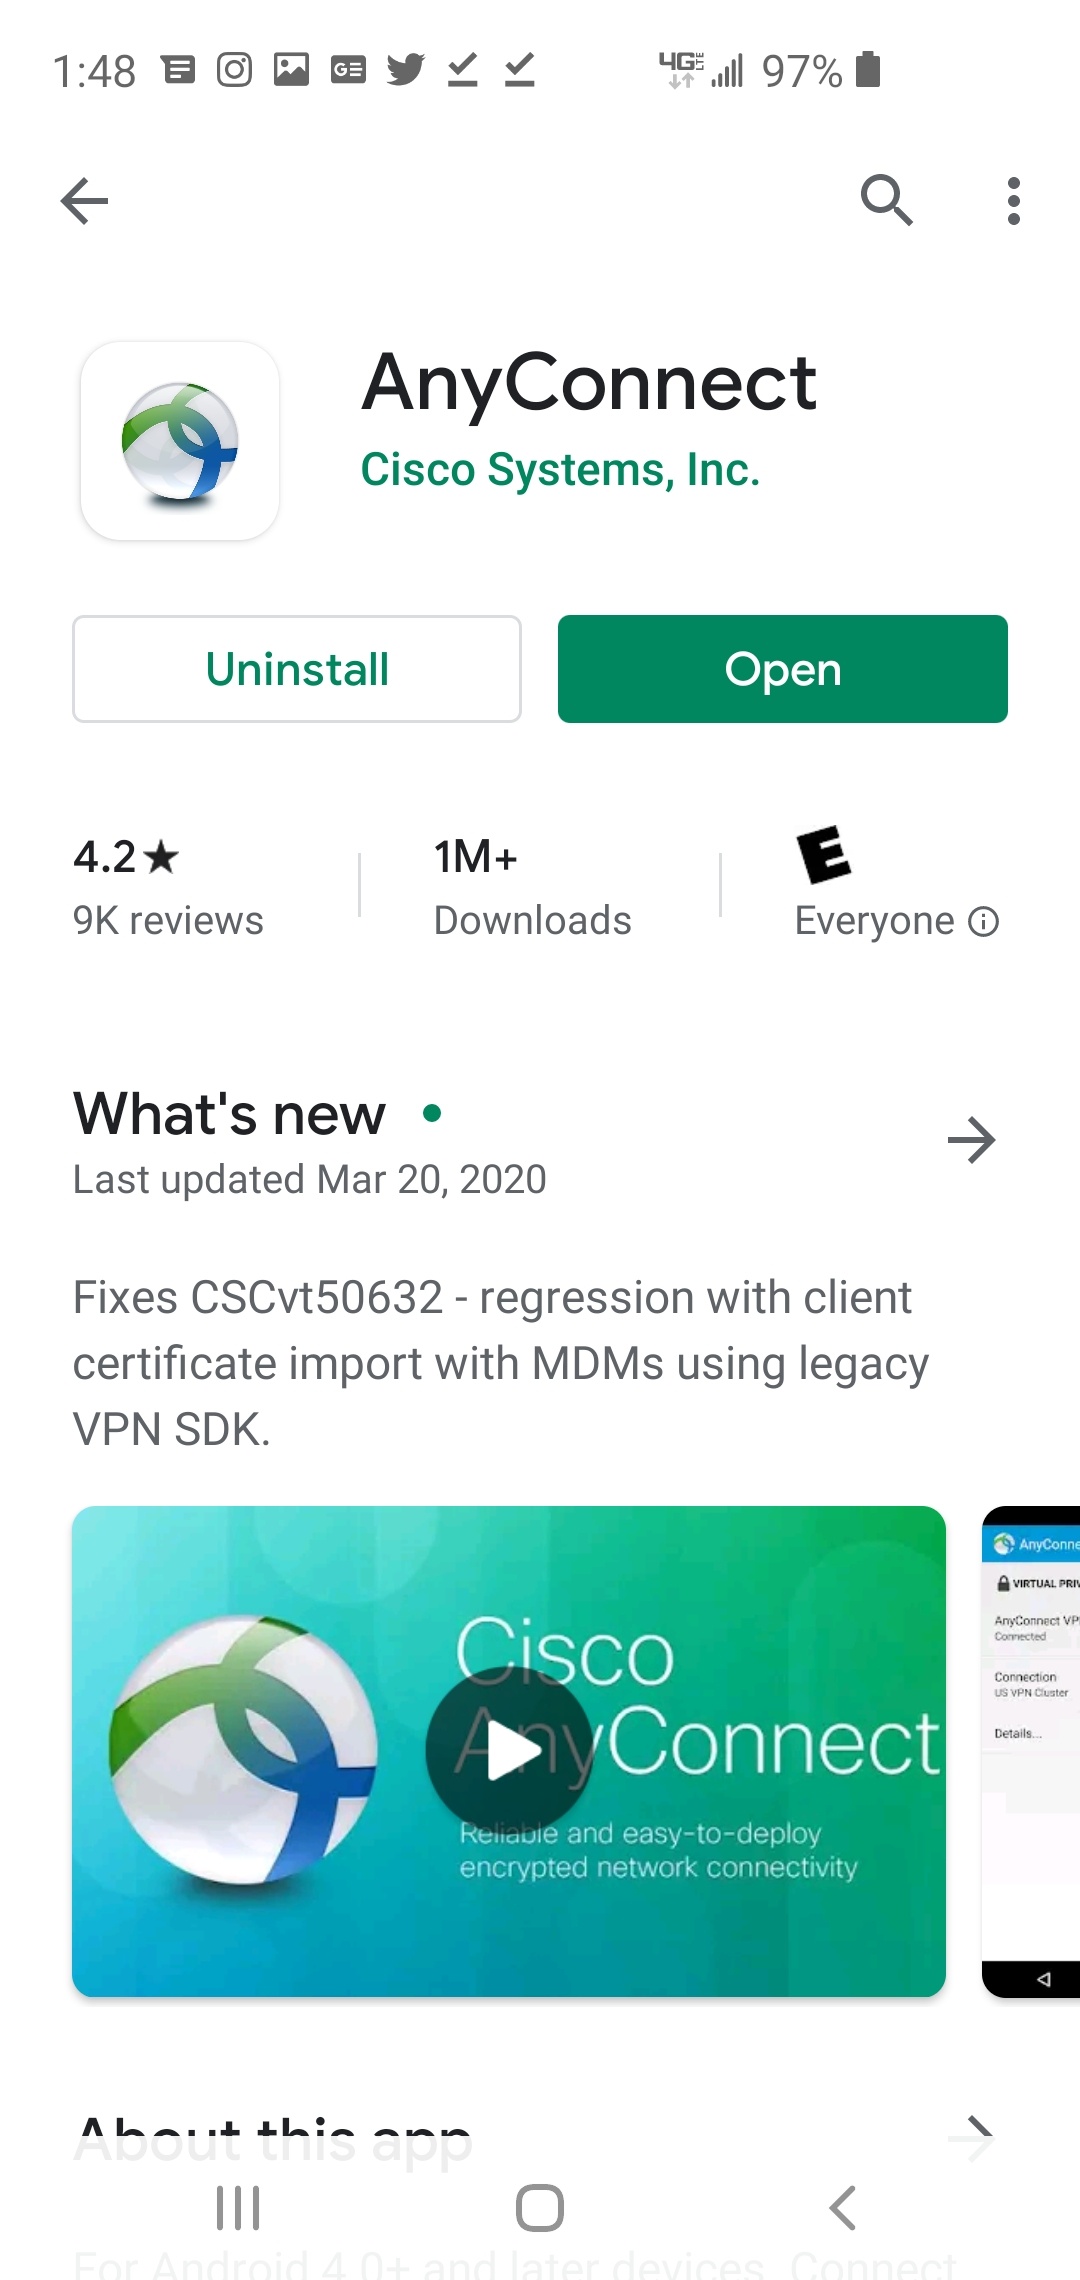
1
Download and Install the AnyConnect client software from the Google Play Store (or equivalent).
2
Launch the AnyConnect application by pressing Open.
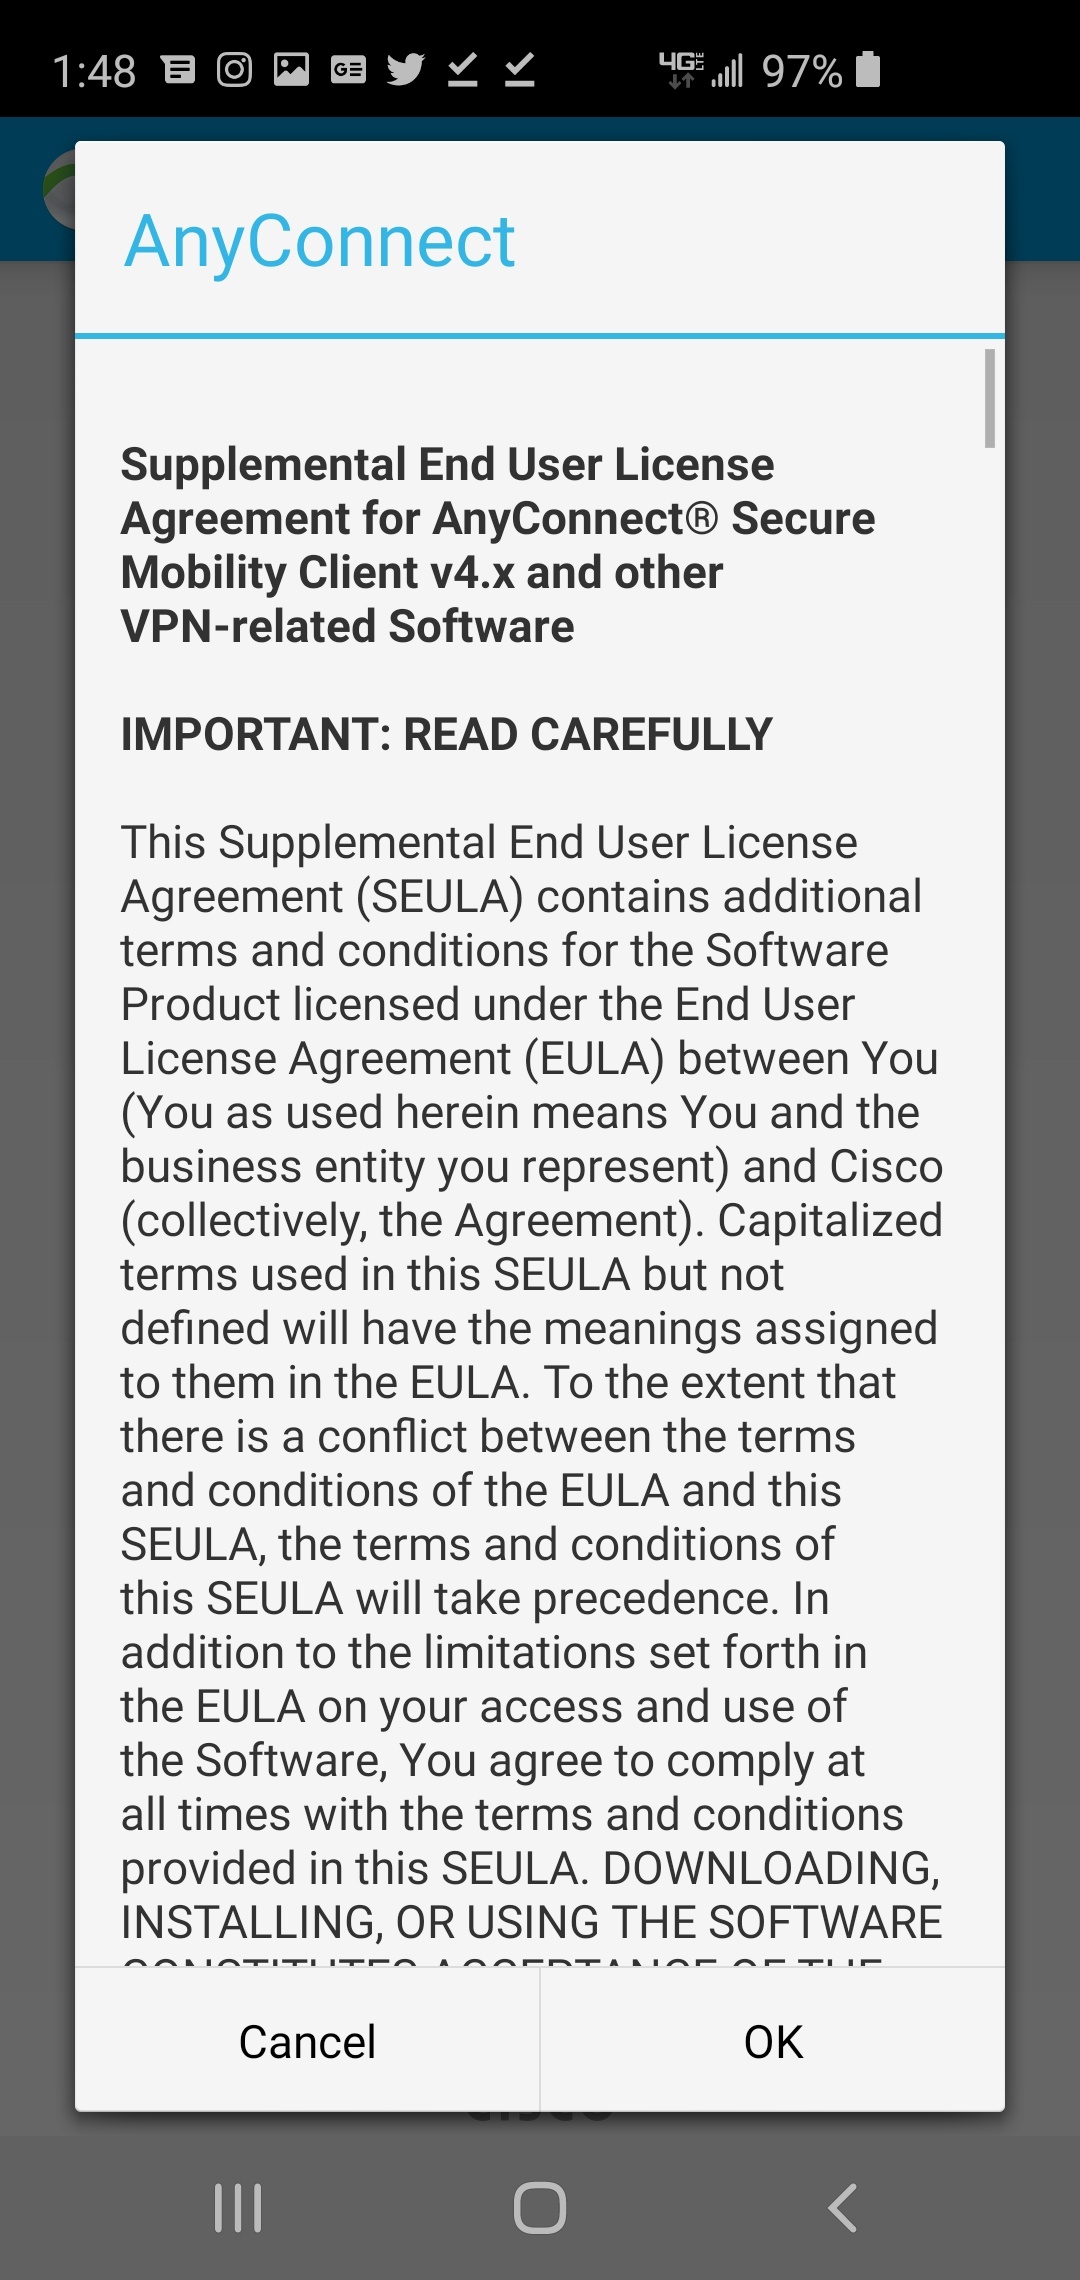
3
Read and accept the End User Licence Agreement (IMPORTANT:READ CAREFULLY) by scrolling through and pressing OK
4
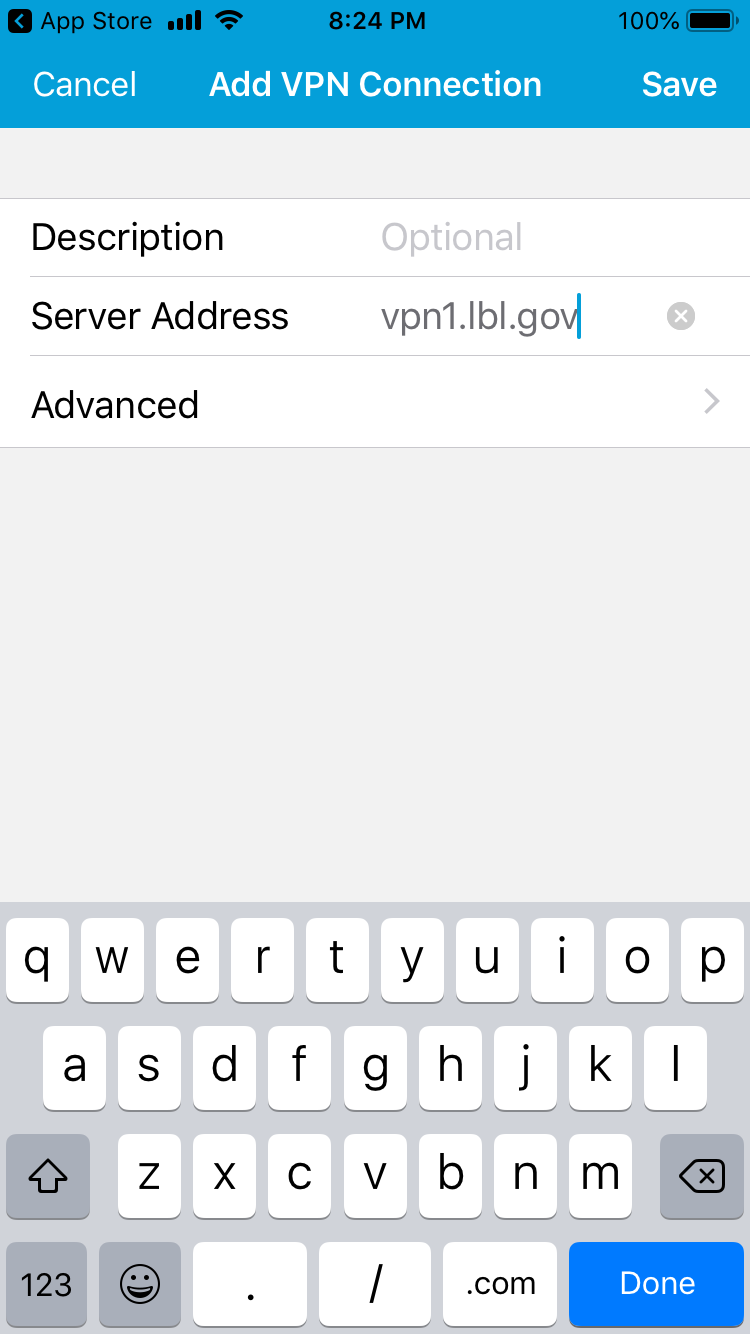
Press Add New VPN Connection.
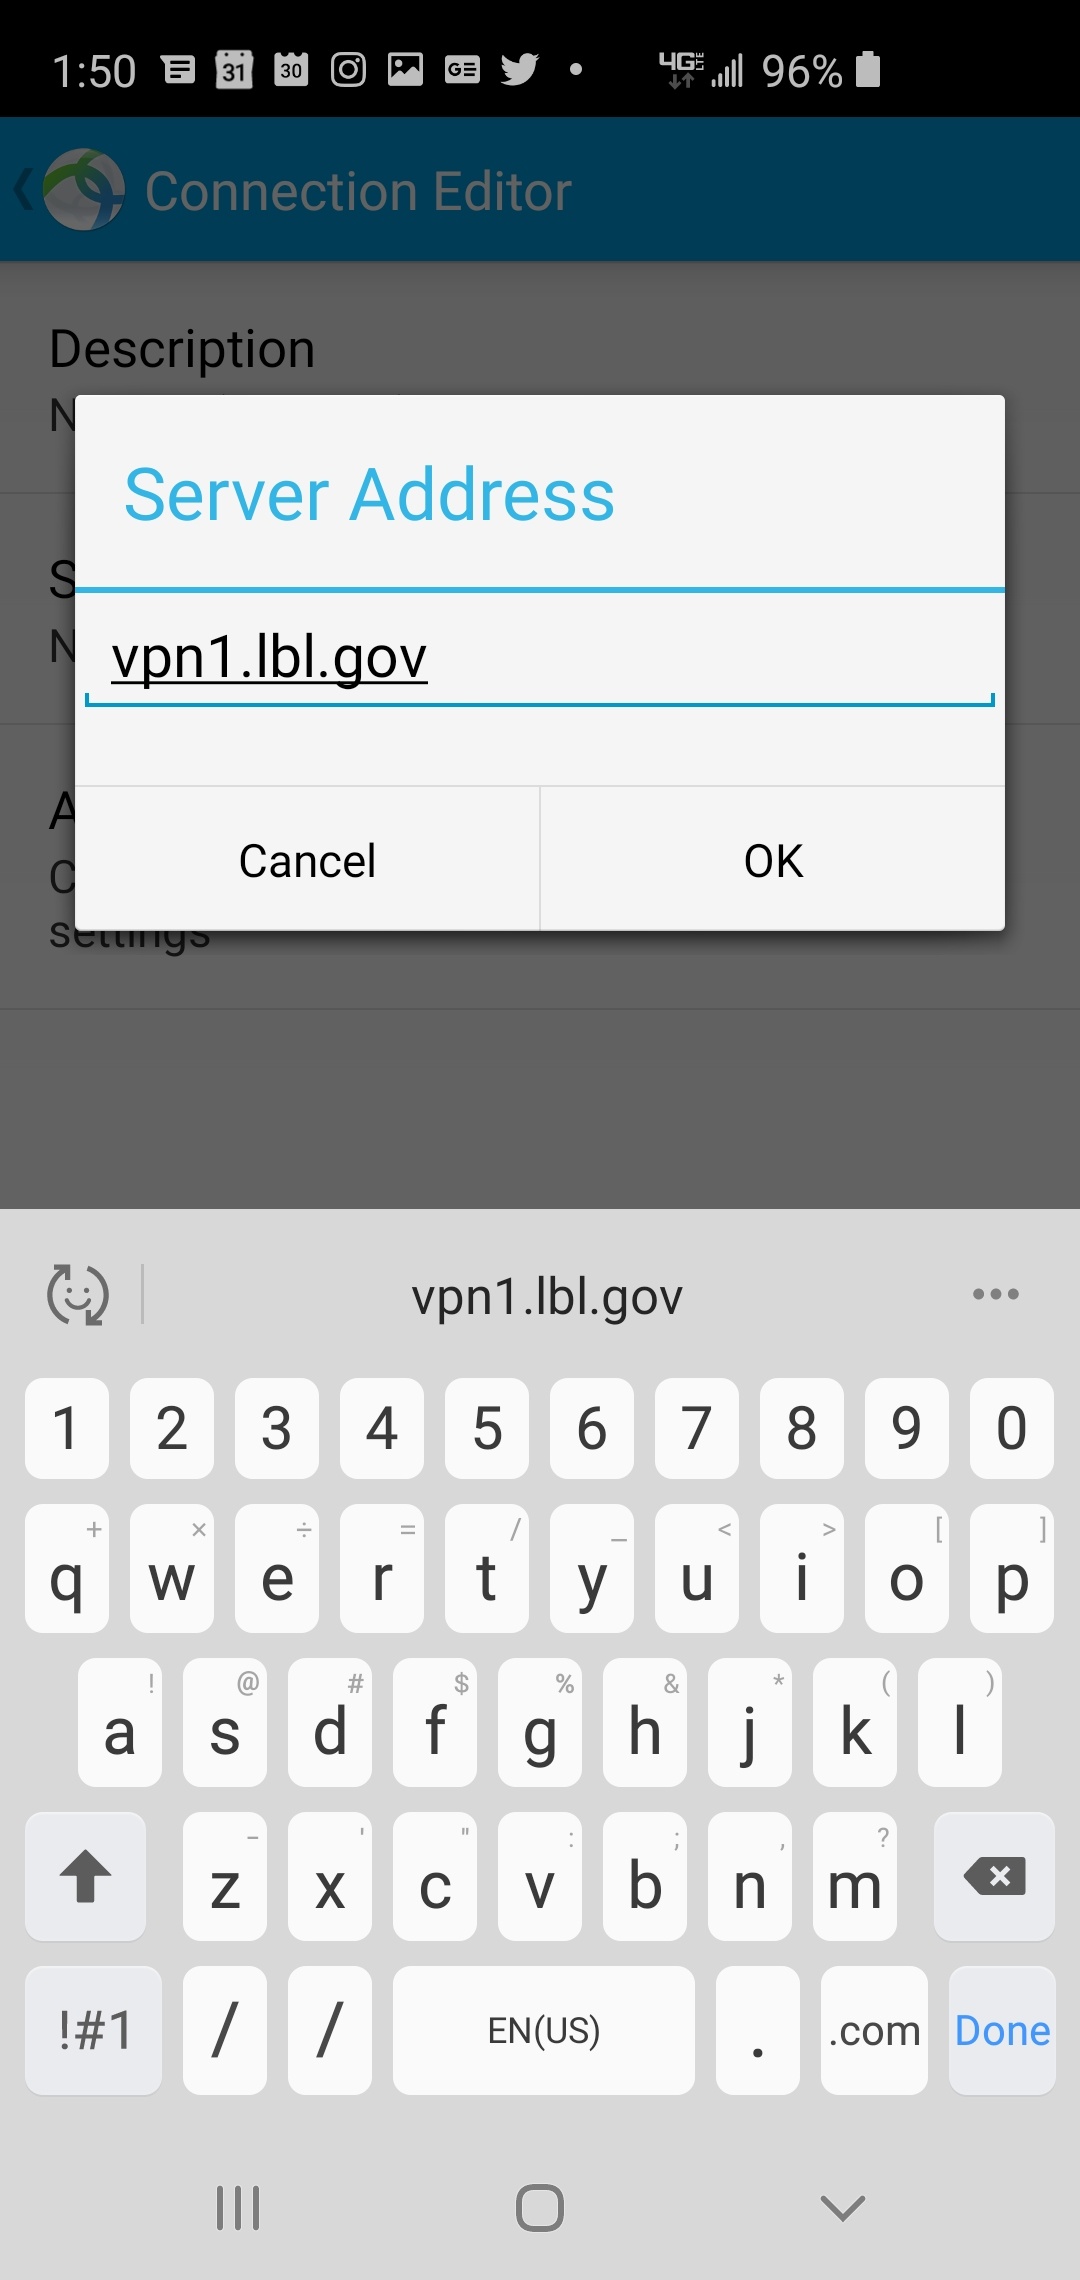
5
In the server address field, type vpn1.lbl.gov then press OK
6
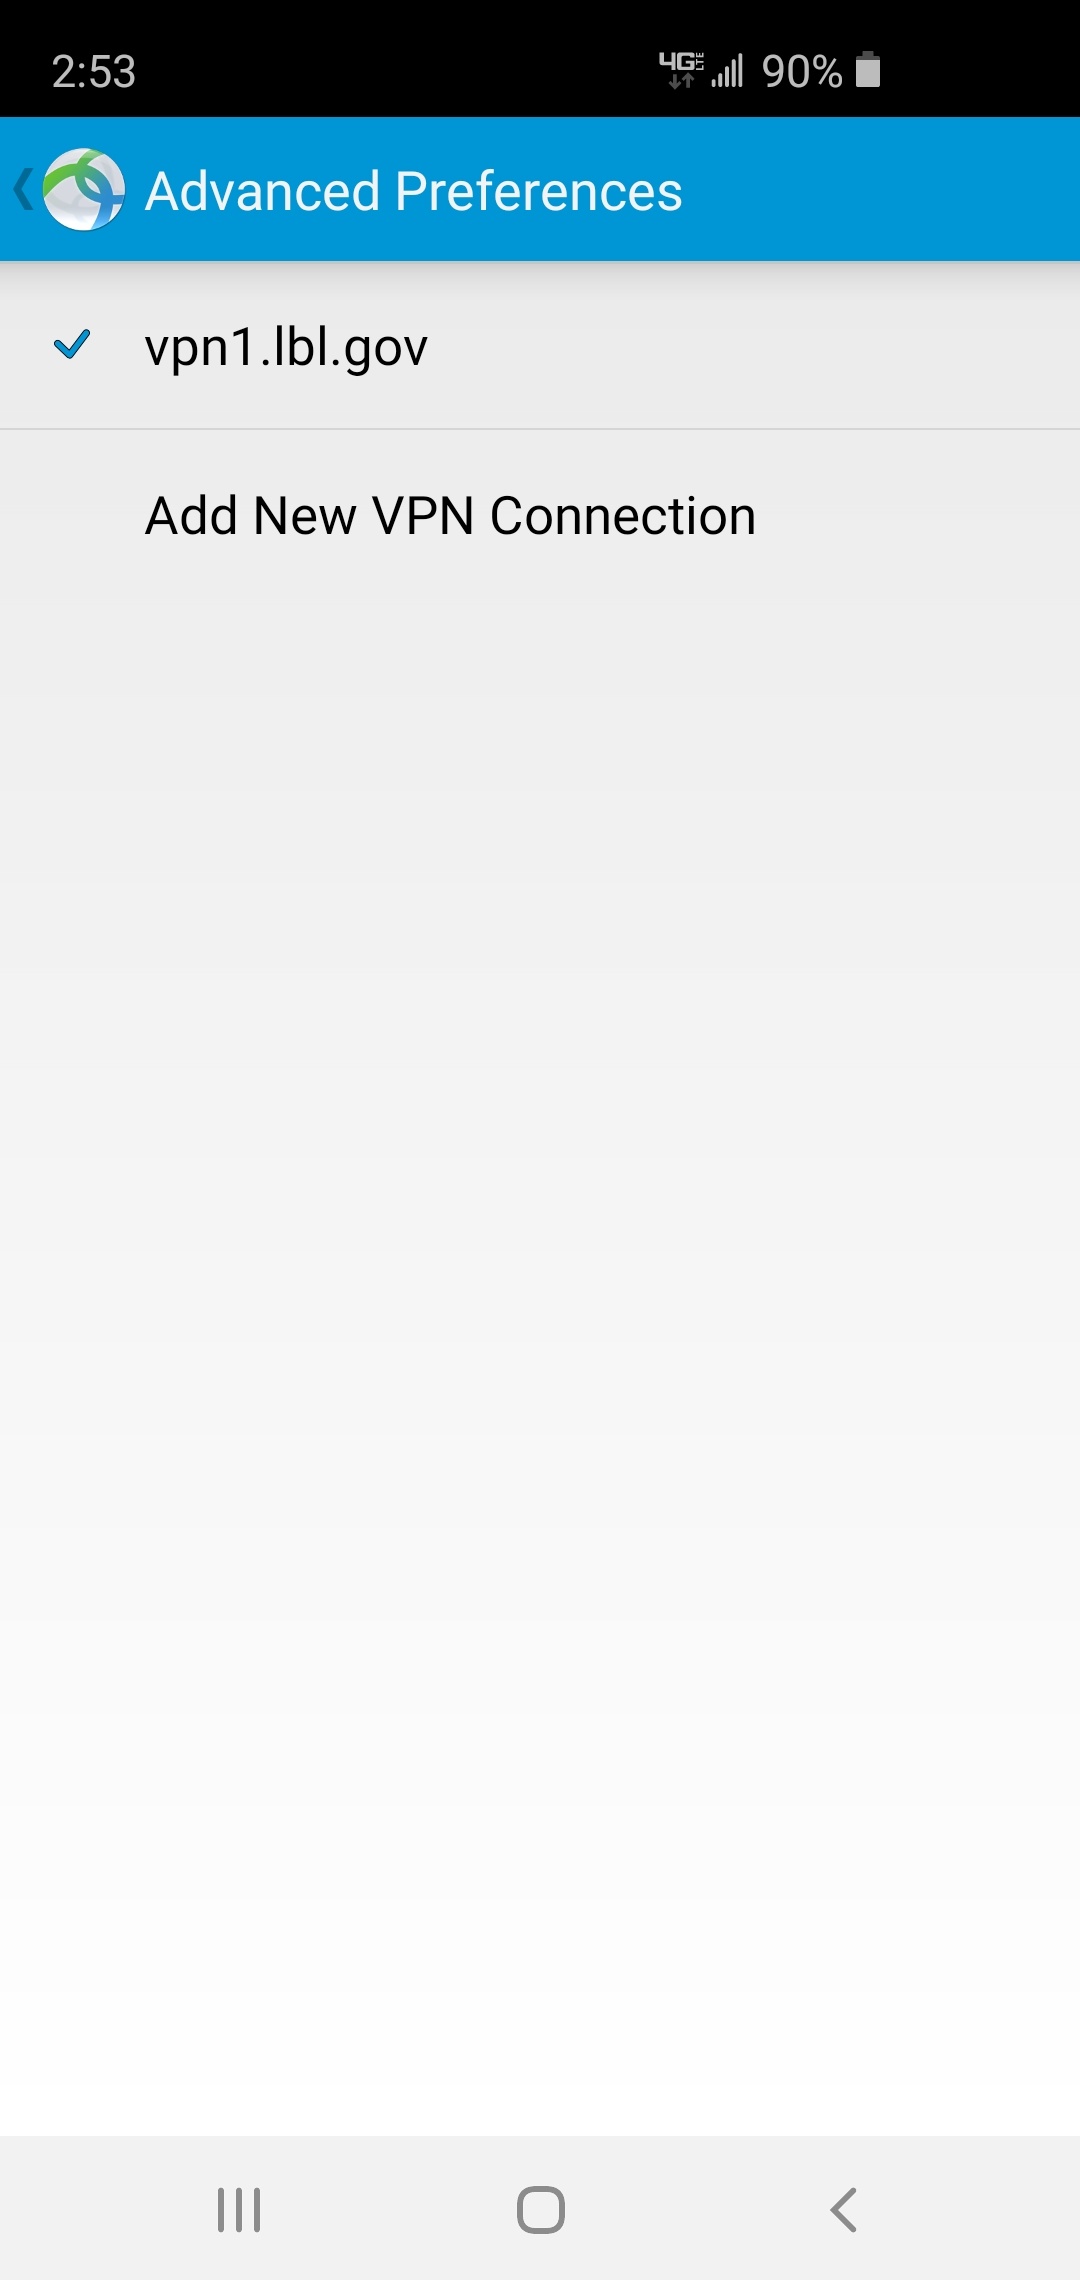
Return to main AnyConnect screen and select the newly created profile to connect.
7
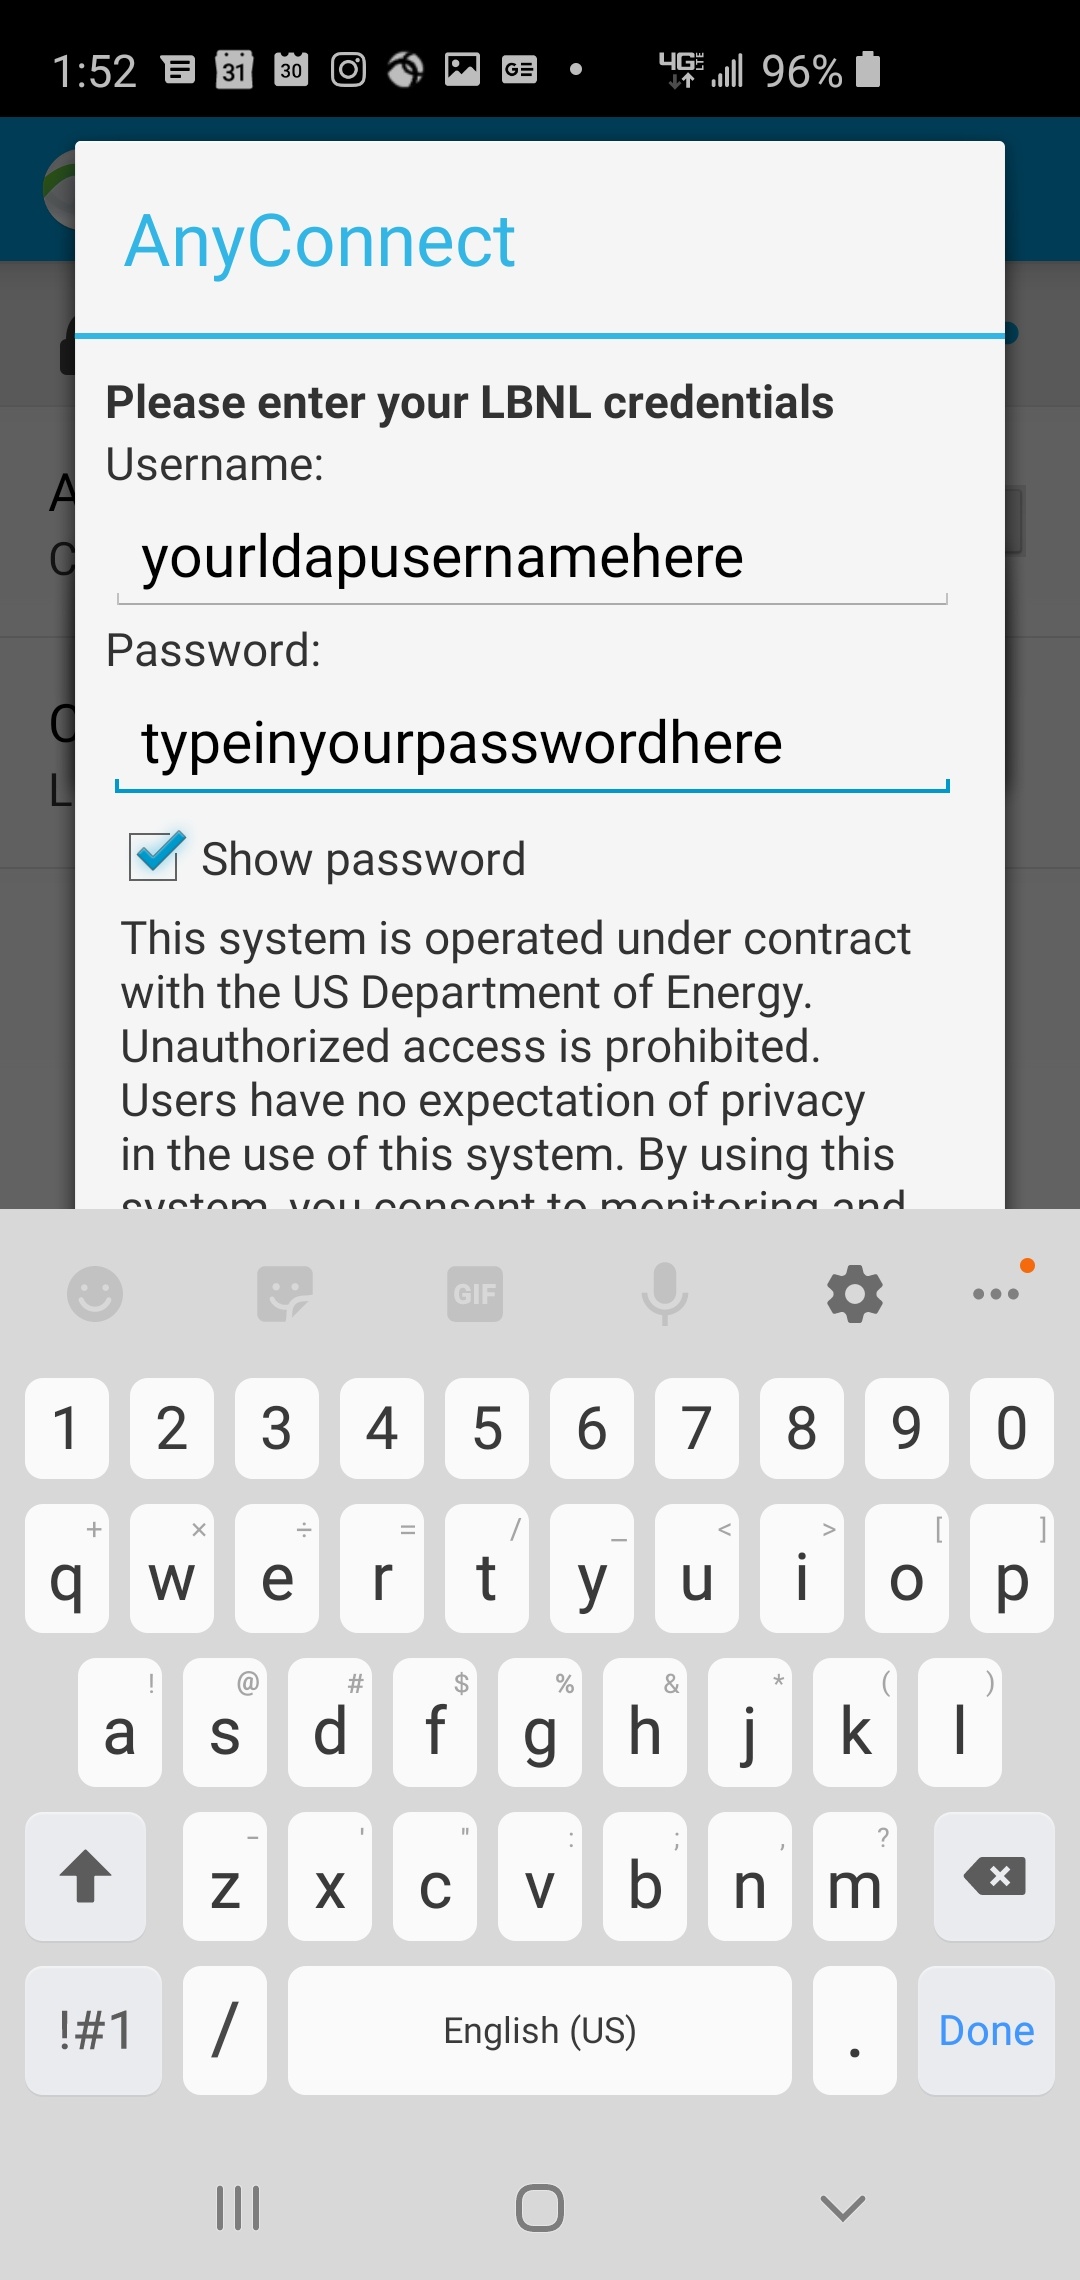
Log in using your LDAP username and password then press Connect.
8
Please Respond to Banner by pressing Accept.
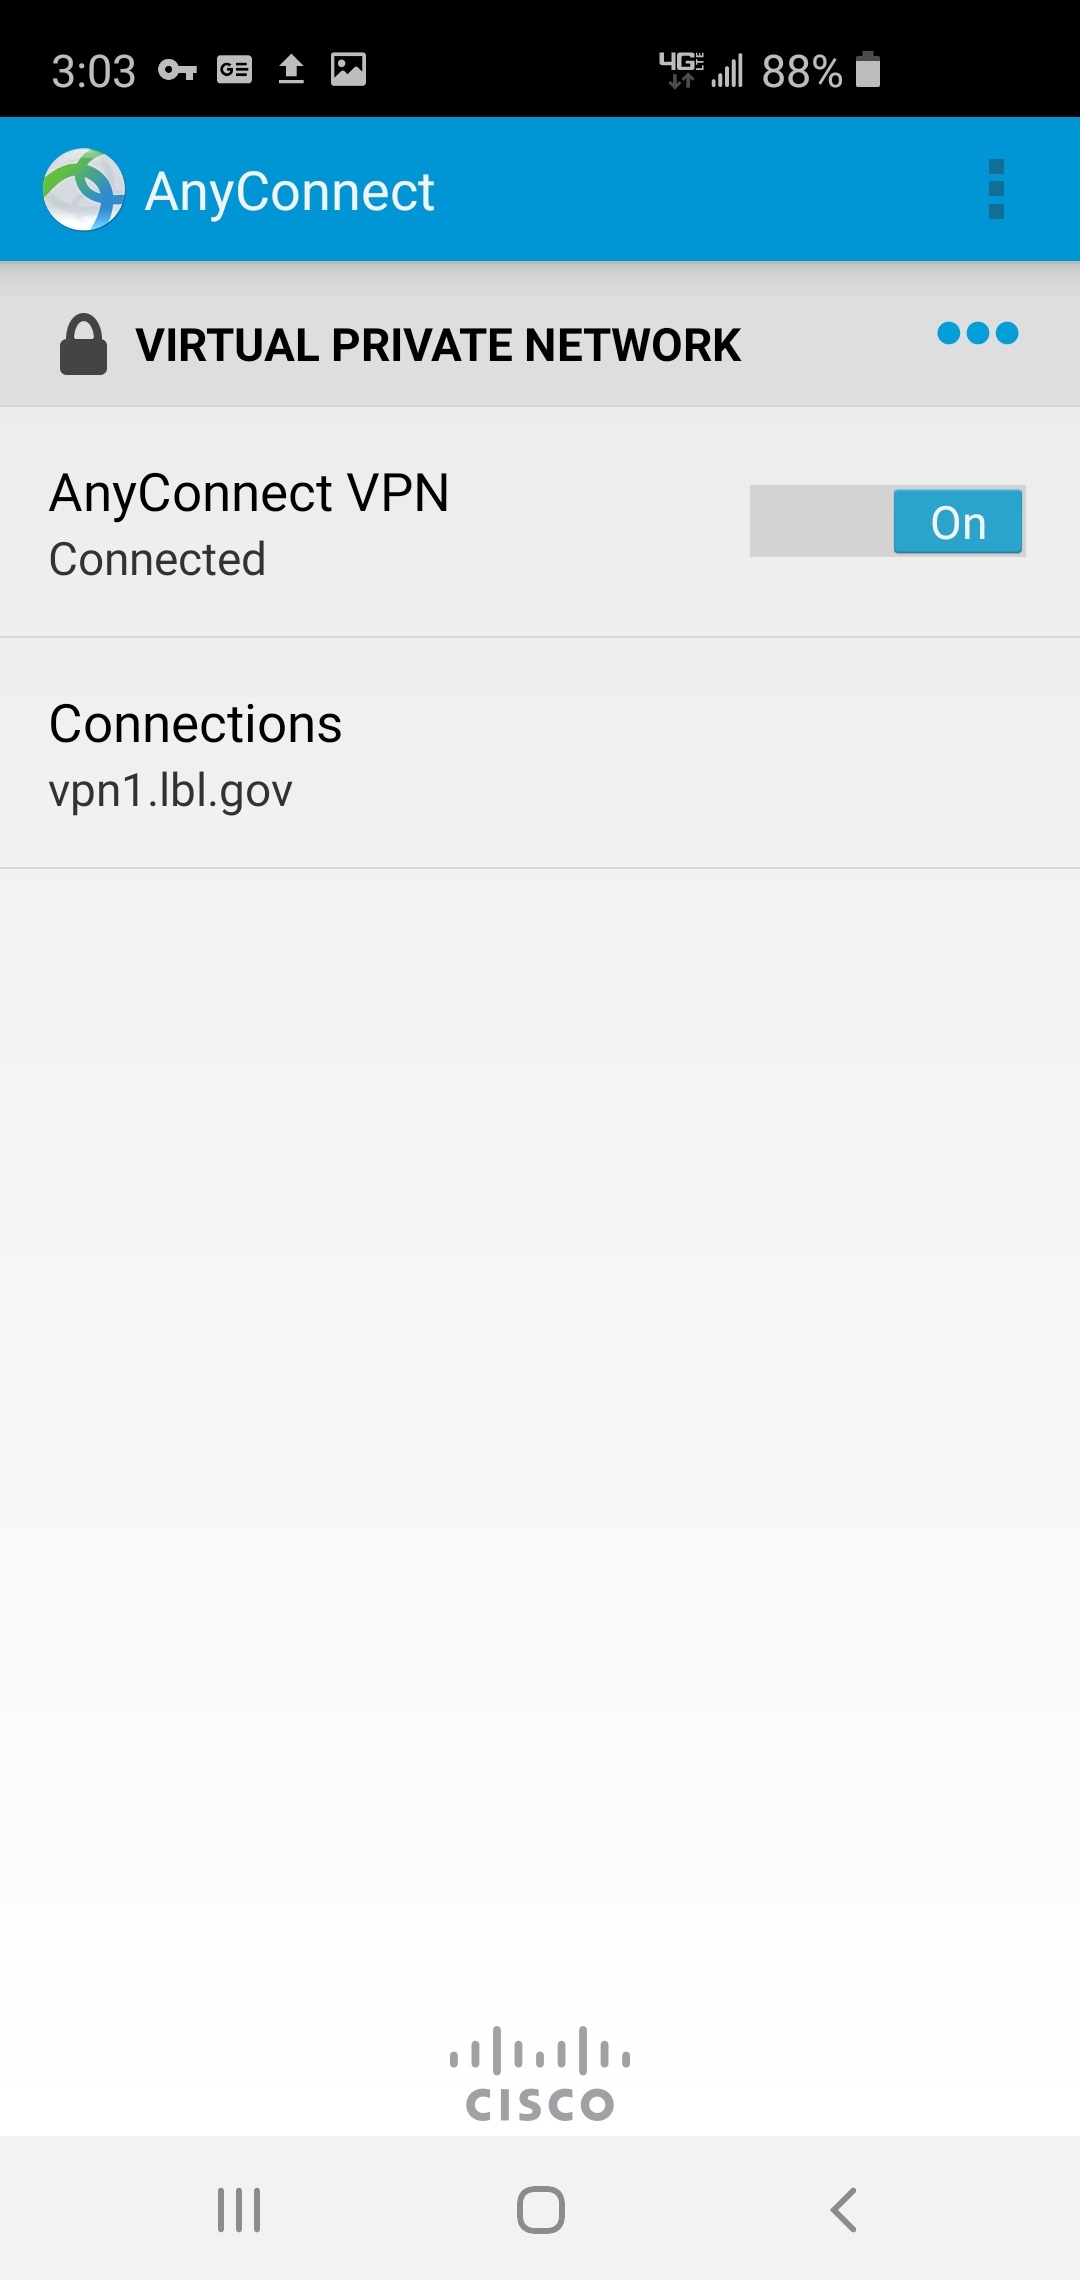
9
AnyConnect status will show as On and vpn1.lbl.gov will show under Connections. (Description name might show instead if you used the optional description name).
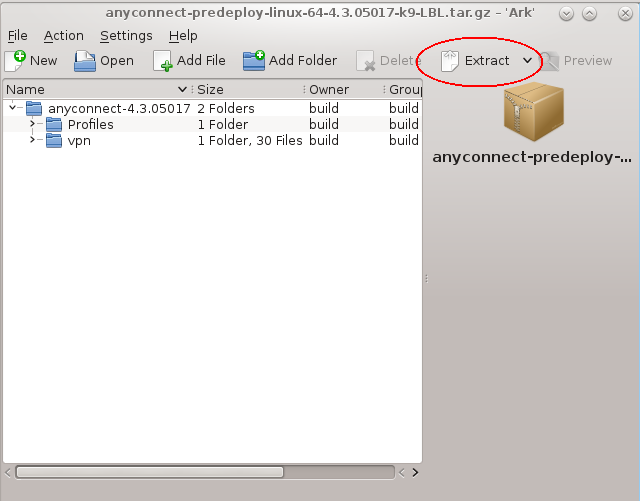
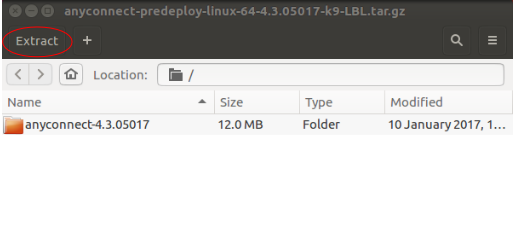
An Extract window appears. Select where you want the extracted folder to go and click OK
3
Open Konsole (under Applications→ System) or another terminal emulator.
From the terminal emulator, go inside the vpn directory under the anyconnect-4.x.xxxxx directory (where the folder was extracted in Step 9) and execute the installation script as root: # ./vpn_install.sh
Accept license agreement
After installation is done, type exit twice to close the terminal emulator
4
Go to Applications→ Internet→ Cisco AnyConnect Secure Mobility Client→ Cisco AnyConnect Secure Mobility Client to start the client
If the application does not start (the icon bounces for a bit and goes away), bring up a terminal emulator and install these two items:
yum install epel-release
yum install pangox-compat
5
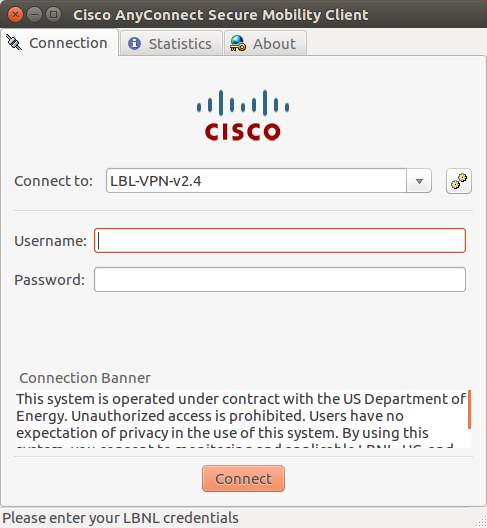
Launch Cisco AnyConnect Secure Mobility Client again. Enter your LDAP name and password to connect
An Extract window appears. Select where you want the extracted folder to go and click Extract
Open Terminal or another terminal emulator
3
From the terminal emulator, go inside the vpn directory under the anyconnect-4.x.xxxxx directory (where the folder was extracted) and execute the installation script as root: # ./vpn_install.sh
Accept license agreement
After installation is done, type exit twice to close the terminal emulator
4
Launch Cisco AnyConnect Secure Mobility Client
If the application does not start, bring up a terminal emulator and you may need to install the following packages:
apt-get install libpangox-1.0-0
apt-get install libpangoxft-1.0-0
sudo apt-get install -y libwebkit2gtk-4.0-37
If the application still does not start, install the following packages:
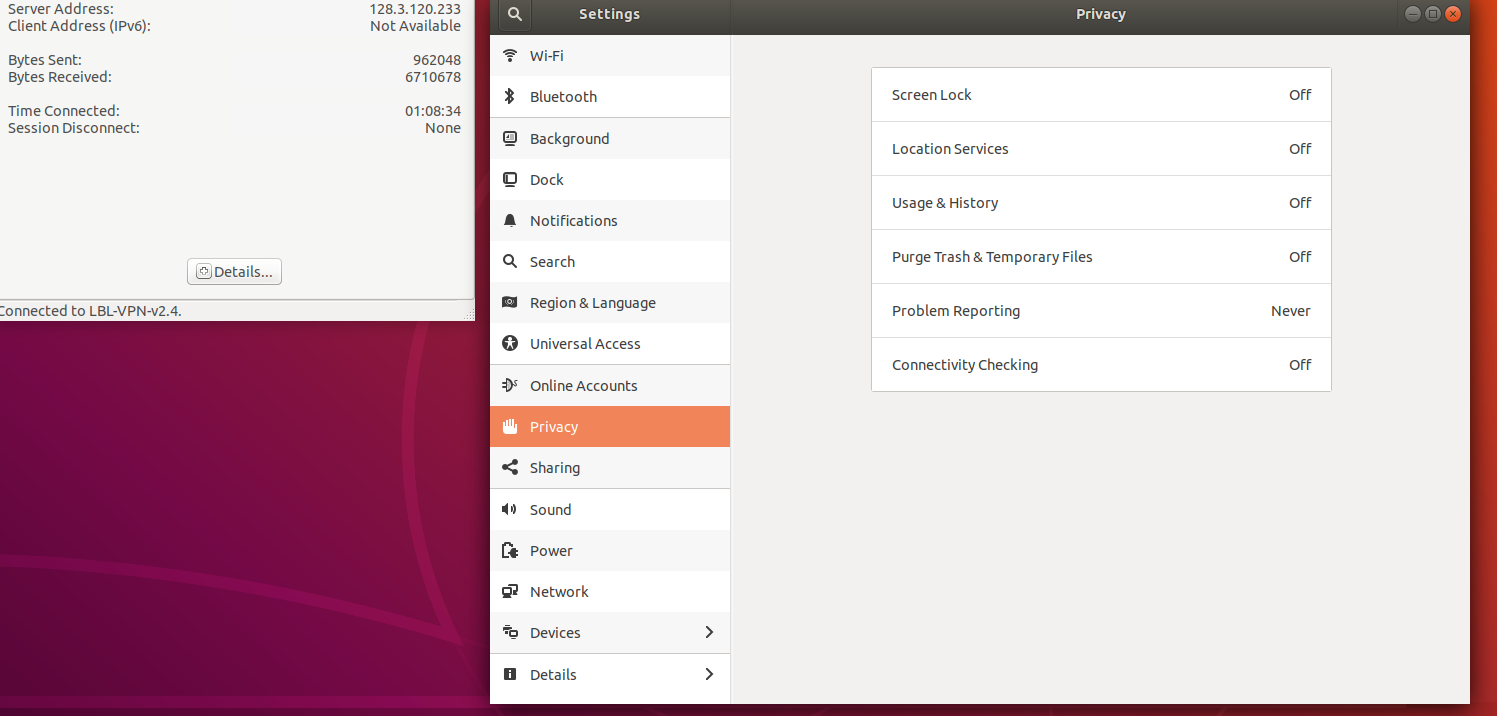
When using Ubuntu version 18.04 or 19.10, Cisco Anyconnect VPN disconnects, and you are unable to reconnect.
Explanation
This issue is caused when DHCP attempts to renew the lease of the IP address attached to the device that you are using. The renew process happens every 10 to 15 minutes for wireless devices and every 11 hours for wired devices.
Fix
Go to Settings and the scroll down to Privacy. Once in the Privacy section, turn off Connectivity Checking.