In order to use Chrome Remote Desktop, you will need to have Chrome Browser installed, and have already gone through the following setup process. This must be done ahead of time!
If you are planning on using this for telecommuting, you must complete the setup before leaving the office.
Installation Instructions
Preparation
Make sure the target/remote computer is plugged in using a wired connection.
Make sure that power settings are configured to prevent it from going to sleep.
You may want to disconnect extra monitors. This will make it much easier to read the screen when using Chrome Remote Desktop.
Make sure that ALL security updates have been installed. Failure to do so may result in your system being blocked form the network, and inaccessible. Don't forget to reboot!
Remote/Target Computer (eg your Office computer)
For Google's documentation, see https://support.google.com/chrome/answer/1649523?co=GENIE.Platform%3DDesktop&hl=en-GB.
The following tables include detailed instructions for Windows and Mac.
Windows Instructions
Click and launch Chrome Browser |
|
Go to https://remotedesktop.google.com/home and select “Remote Access” | |
Click on the download button to set up remote access | |
Click on “Add Extension” | |
Select “Add to Chrome” | |
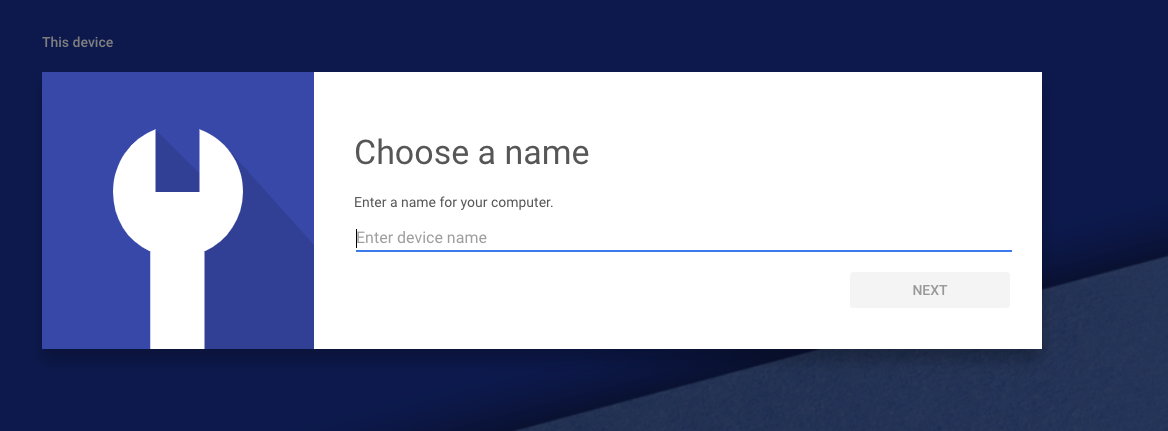
Create a computer name and then select “Next” |
MacOS Instructions
In order to install the Chrome Remote Access components on newer versions of Mac, you need to change your security settings.
| |
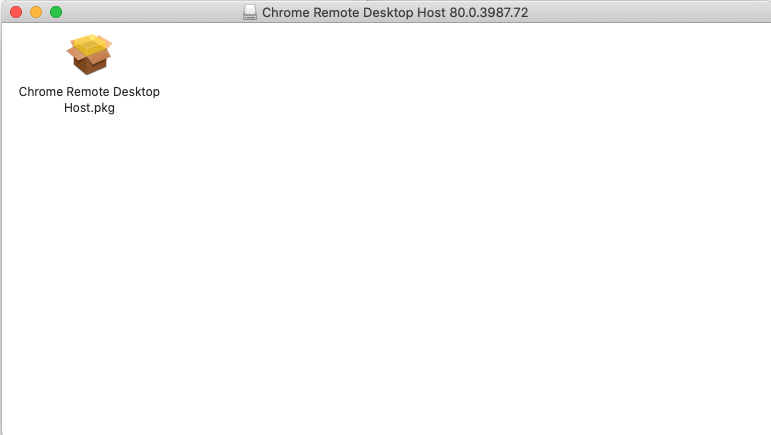
| Run the install package downloaded by Chrome | |
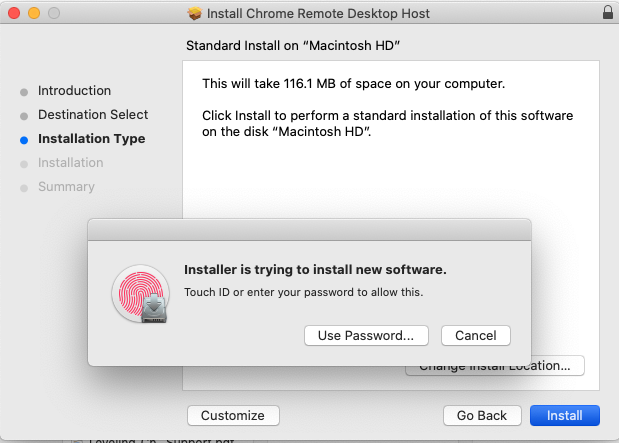
| Enter your password (or fingerprint) when prompted | |
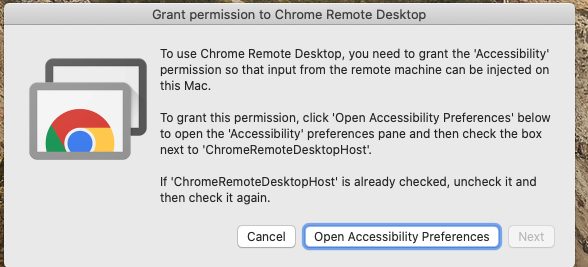
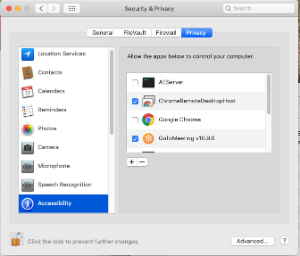
| After installation, Chrome will request extra permissions. Click 'Open Accessibility Preferences'. | |
| |
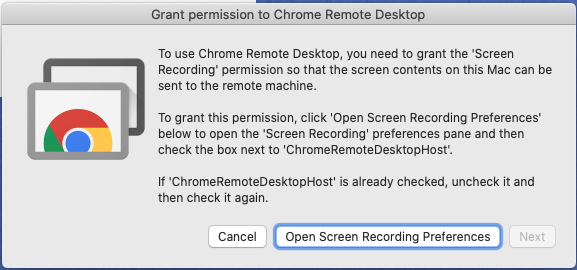
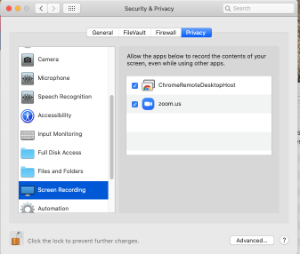
Next, Chrome will ask for screen recording permissions. Click 'Open Screen Recording Settings'. | |
| |
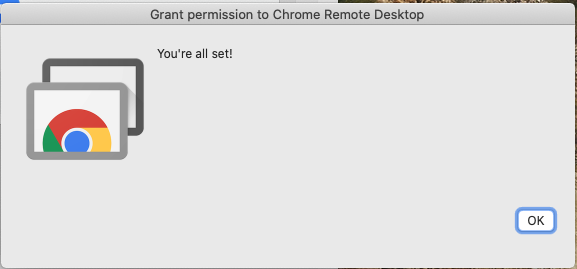
| Installation complete. Next, activate it. | |
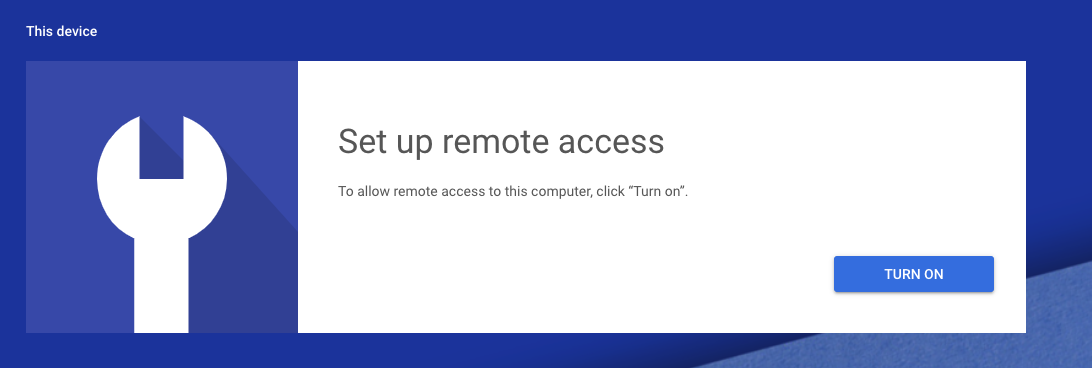
Chrome will return you to remotedesktop.google.com/access. Click 'Setup Remote Access', and then 'Next' | |
| Enter the name you want. The default is the host name. Press 'Next'. | |
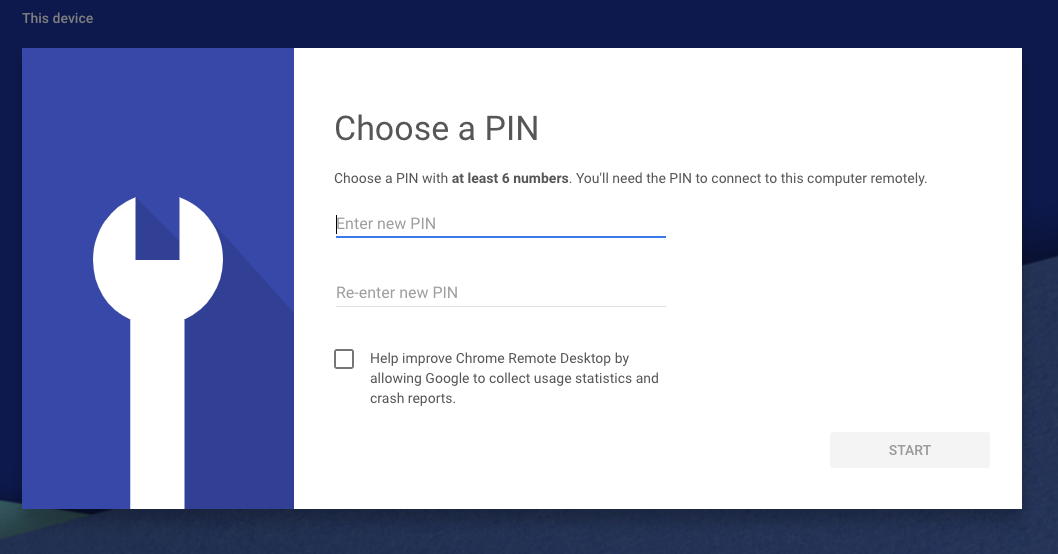
| Choose an easy-to-remember PIN, and click 'Start' | |
| You should see a screen like this: | |
| Done! | |
Initiate a Remote Connection
On your the computer you will be connecting FROM:
--or--
| |
Click on your remote device you wish to log into | |
Enter the six digit numerical pin you created and click on the arrow key |
Send Ctrl-Alt-Del
Click on the blue arrow located at the right side of the screen | |
Keyboard controls are also located in the side pullout menu. i.e. “CTRL+ALT+DEL” |
Adjusting Window Size
This next step is optional but useful to enlarge the remote session window size. Check the “Full-screen” box and uncheck the “Scale to fit” box | |
If the desktop is has a dual monitor setup - you can select to either display both monitors or select a single display. |
Disconnect a Remote Session
To disconnect the remote session, click on “Disconnect” located in the blue box - top of the session options While a remote session is still established, lock your screen on the target client before ending the session to ensure your desktop is not open for anyone to access freely. |
