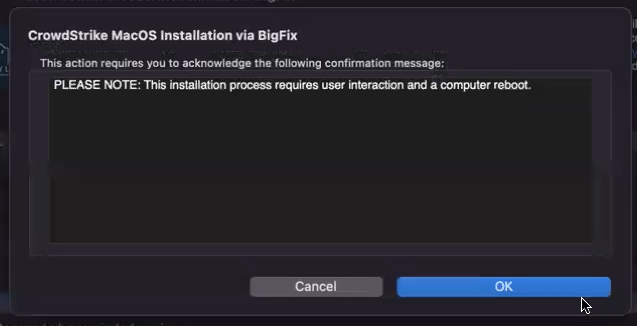
Purpose of Knowledge Article
- A guide on CrowdStrike Falcon installed via BigFix Offer for macOS system
Resolution
| 1 | Click Dismiss when you see the BigFix CrowdStrike Falcon offer | |||||
| 2 | Click on BigFix icon on the top right corner of the menu bar | |||||
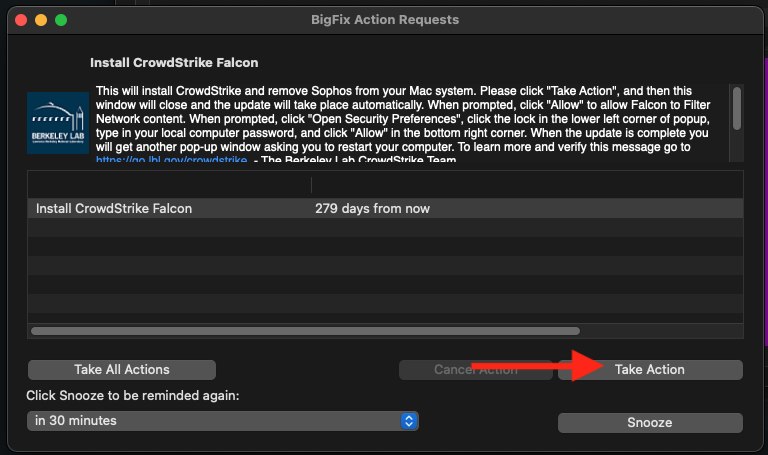
| 3 | Select "Install CrowdStrike Falcon" | |||||
| 4 | Click Accept | |||||
| 5 | Click Take Action The installation will run in the background and it will take a few minutes before you see the next window. You can click on the Progress tab in BigFix to see the status. | |||||
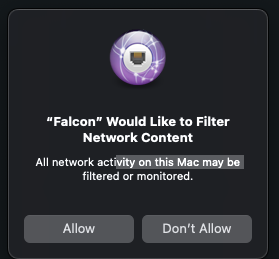
| 6 | Click Allow to the popup saying "com.crowdstrike.falcon.app would like to filter network content" OR Click Allow to the popup saying "Falcon would like to filter network content" Note: you may see this popup more than once | |||||
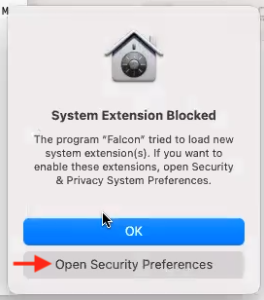
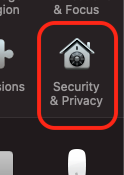
| 7 | macOS 11 Big Sur/12 Monterey:
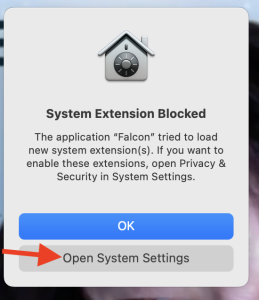
macOS 13 Ventura:
|
| ||||
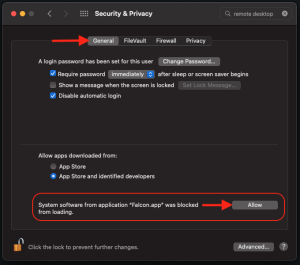
| 8 | macOS 11 Big Sur/12 Monterey:
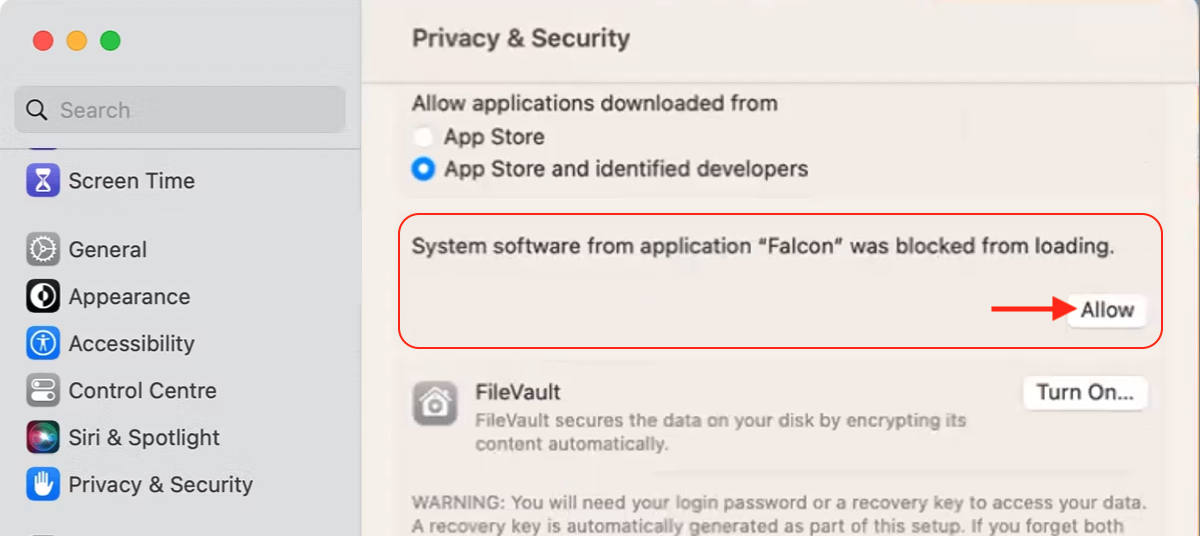
macOS 13 Ventura:
|
| ||||
| 9 | macOS 11 Big Sur/12 Monterey:
macOS 13 Ventura:
|
| ||||
| 10 | Click Dismiss | |||||
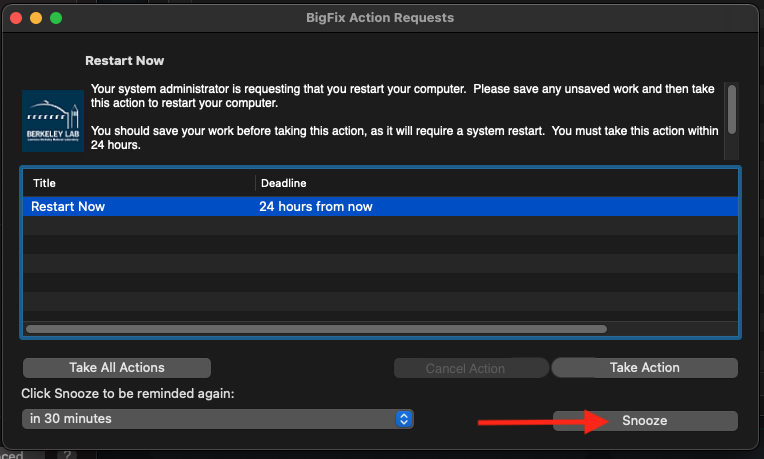
| 11 | BigFix will prompt you to restart the computer, click Take Action | |||||
| 12 | A Restart Now window will appear asking you to save all your work before restarting. Be sure to save all your work then click Restart Now |


