Chrome Remote Desktop:
*Chrome Browser needs to be installed and updated for devices running the remote client application.
On the Desktop/target system you wish to remote into: Click and launch Chrome Browser | |
Go to https://remotedesktop.google.com/home and select “Remote Access” | |
Click on the download button to set up remote access | |
Click on “Add Extension” | |
Select “Add to Chrome” | |
Create a computer name and then select “Next” | |
Create a six digit numerical pin code, verify, and then select “Start” | |
Now your desktop or laptop PC is now set up for remote access. The next few steps will be done on your Chromebook. | |
On your Chromebook, click and launch your Chrome browser and select the Chrome Remote Desktop Extension | |
Click on your remote device you wish to log into | |
Enter the six digit numerical pin you created and click on the arrow key | |
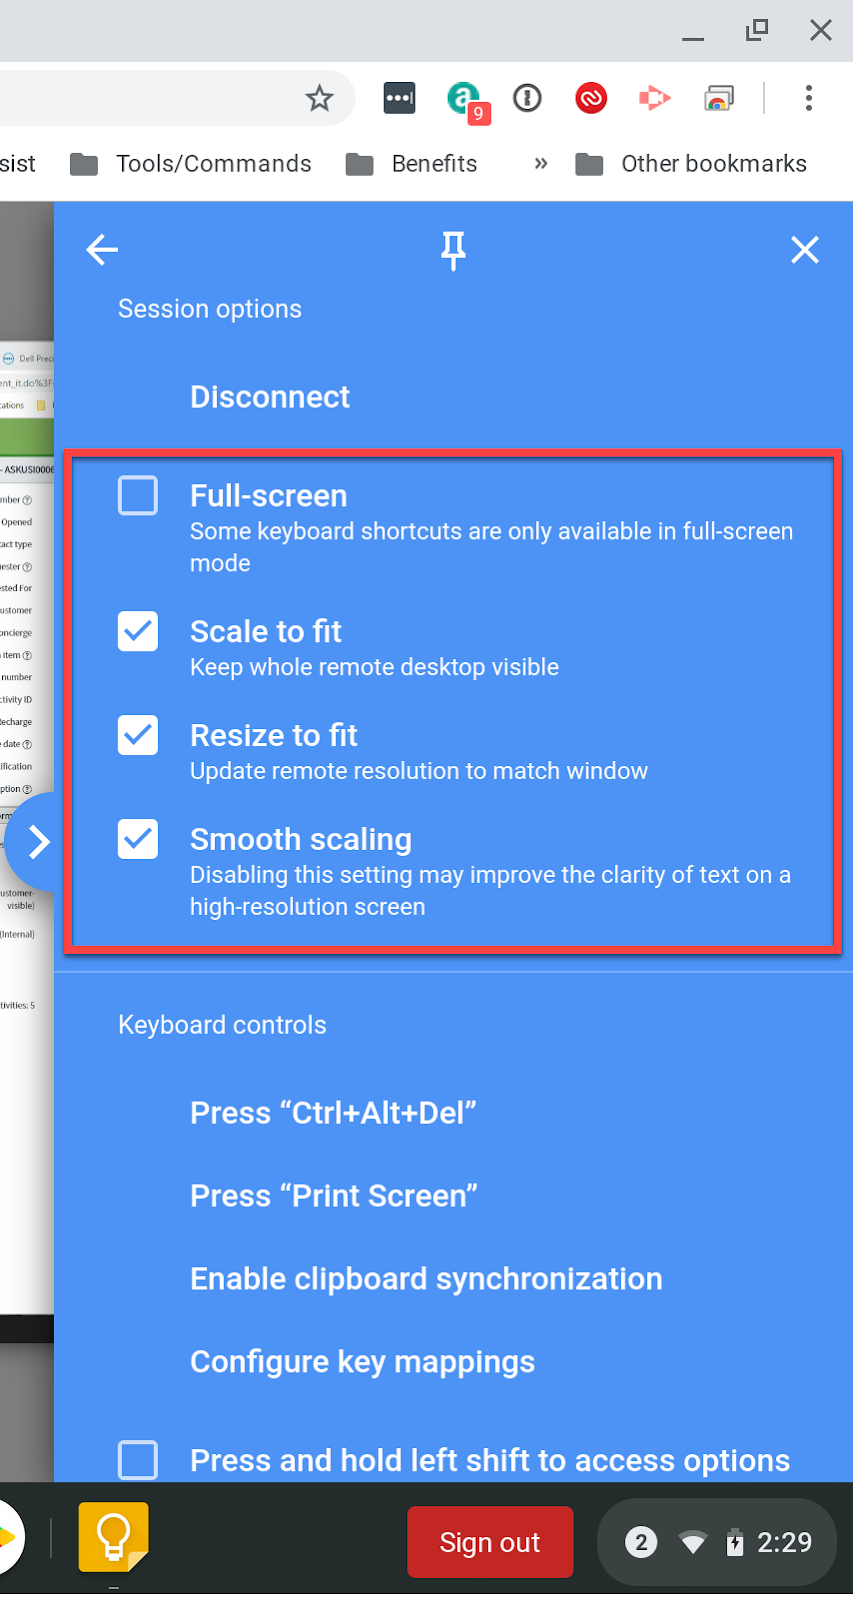
You now should now have established a successful remote session to your target system. The next few steps will show you how you can choose to adjust the screen size and settings of the remote desktop window. | |
Click on the blue arrow located at the right side of the screen | |
Keyboard controls are also located in the side pullout menu. i.e. “CTRL+ALT+DEL” | |
This next step is optional but useful to enlarge the remote session window size. Check the “Full-screen” box and uncheck the “Scale to fit” box | |
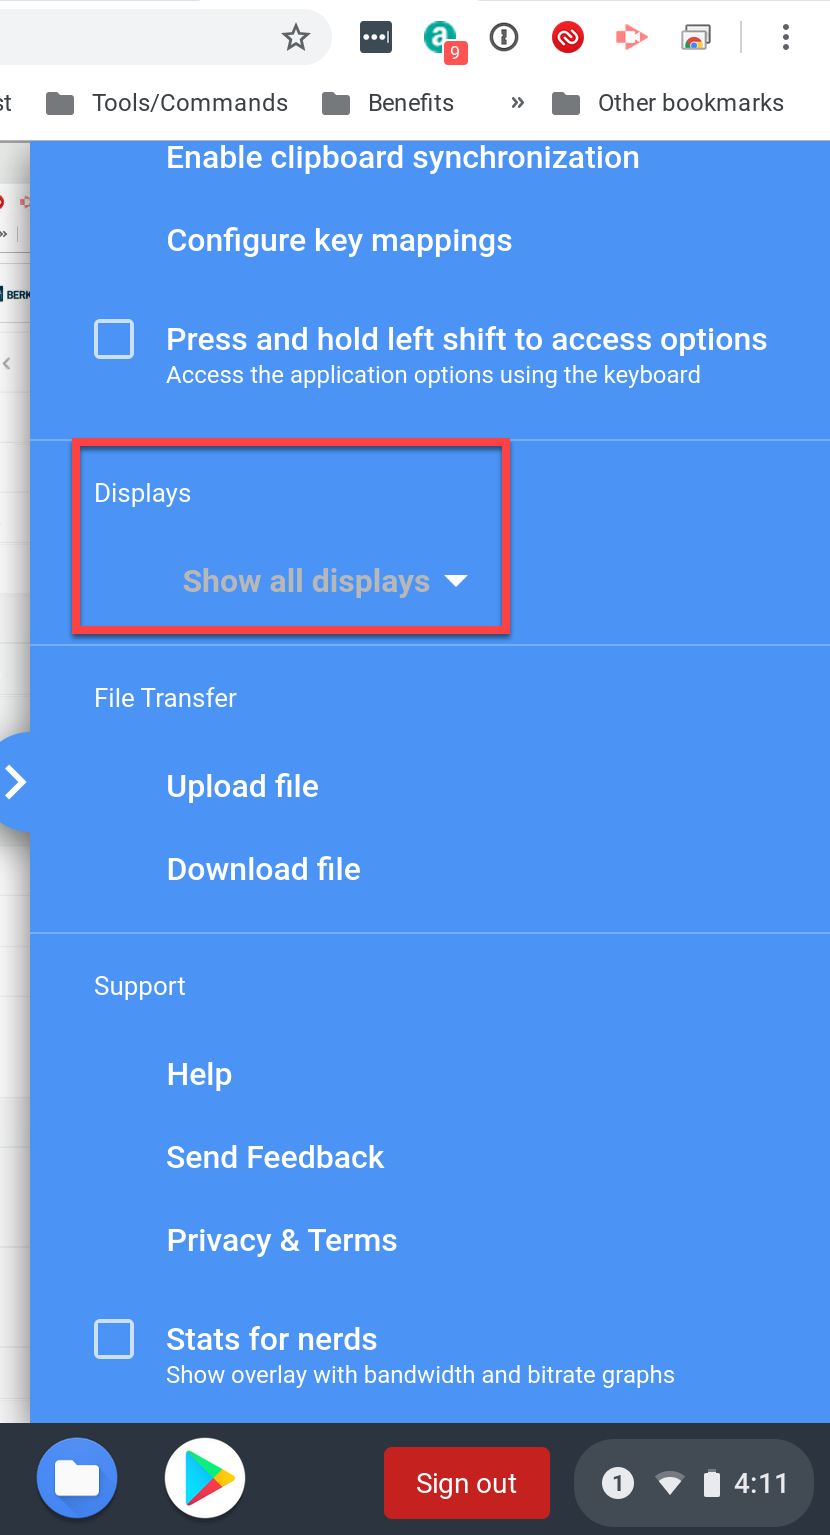
If the desktop is has a dual monitor setup - you can select to either display both monitors or select a single display. | |
To disconnect the remote session, click on “Disconnect” located in the blue box - top of the session options While a remote session is still established, lock your screen on the target client before ending the session to ensure your desktop is not open for anyone to access freely. |