Viewable by the world

Purpose of Knowledge Article:

A guide to how to install the Google Authenticator on your mobile device and set up an MFA token in the Google Authenticator app.

If you use Google Authenticator on your personal or Lab-issued mobile device, Lab policy requires that the device must be configured to use a lock screen (PIN, pattern, fingerprint, etc.).

Resolution:

These instructions must be followed on a computer so that the mobile device can be used to scan a barcode off of the computer's monitor. Try using Google Chrome in Incognito window mode or Firefox in Private window mode if you are having some trouble.

    1

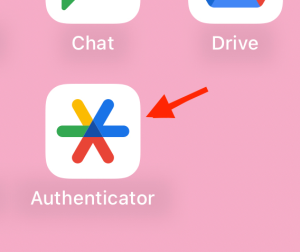
    On your mobile device, find the Google Authenticator application in the Google Play Store.

    Install and open the app.


    no image

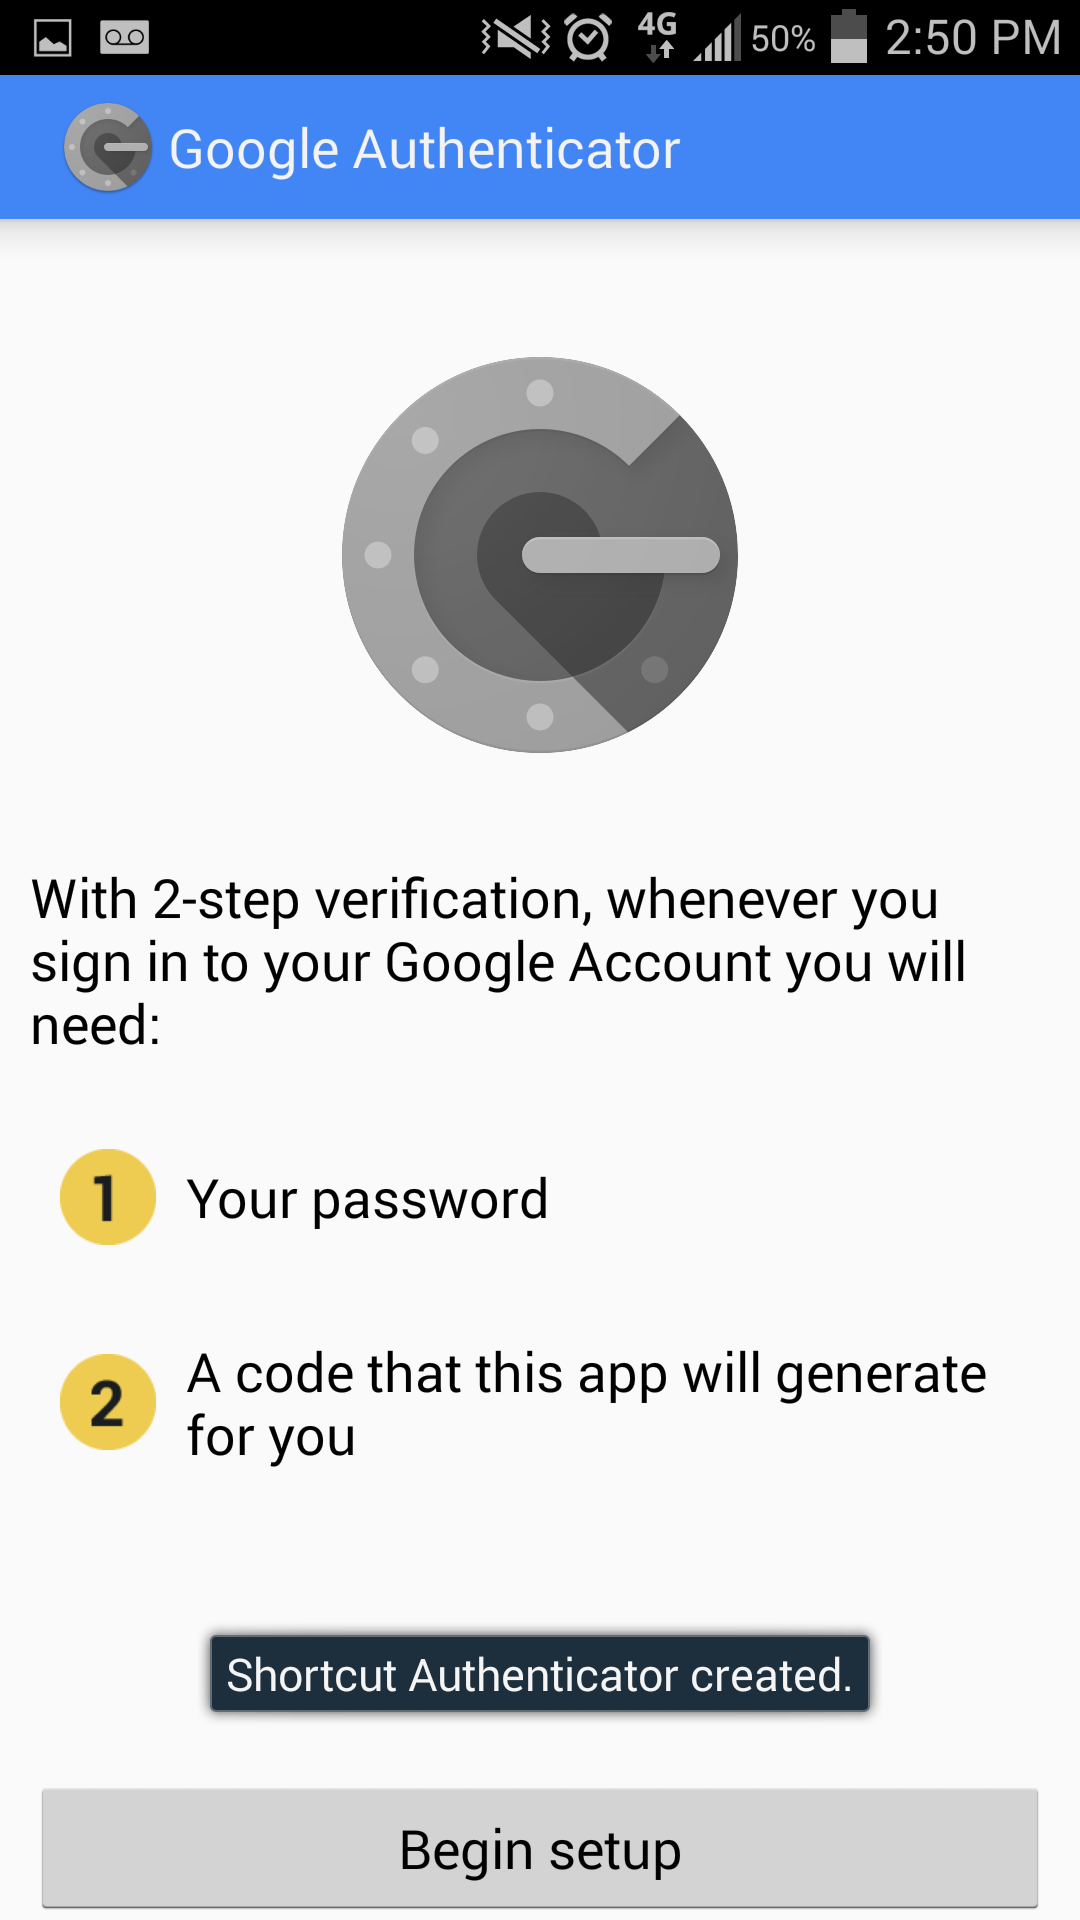
    2 On your mobile device, tap "Begin setup".

    3

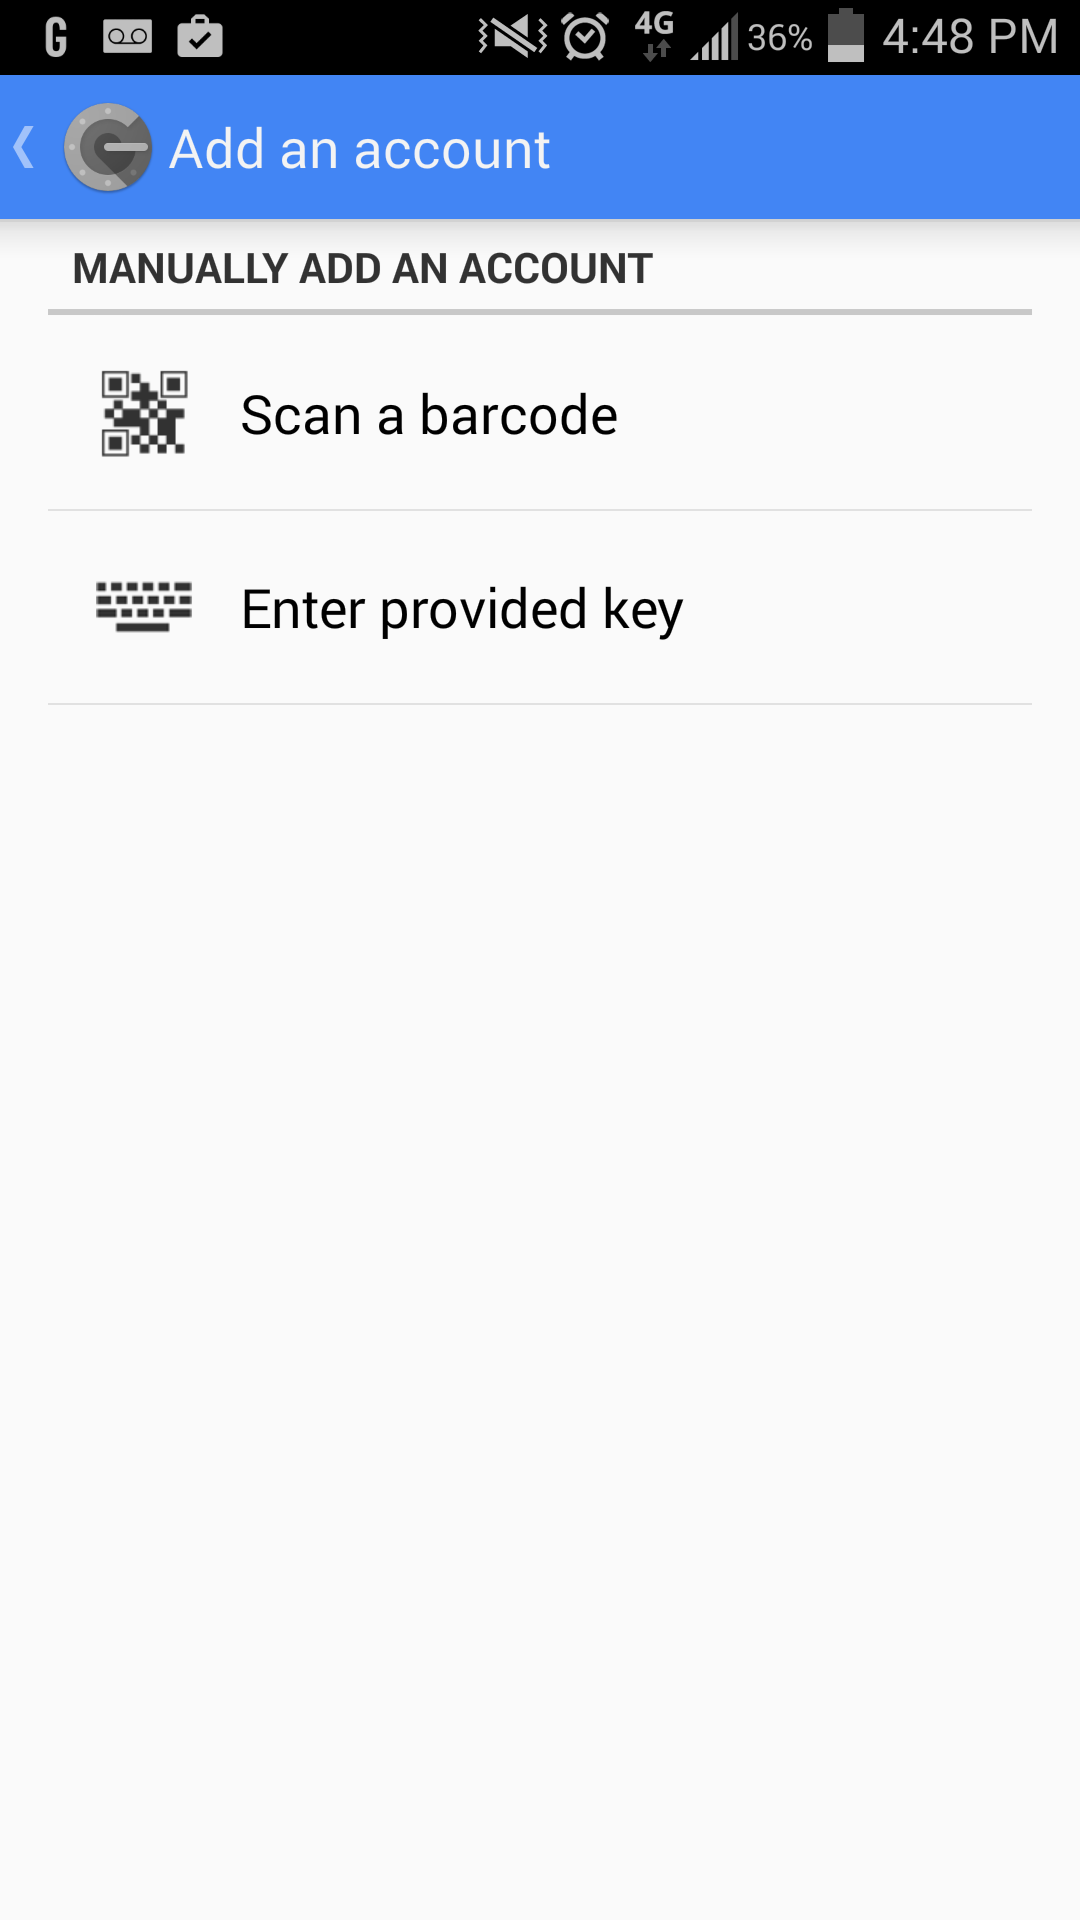
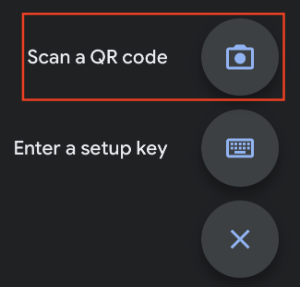
    On your mobile device, tap "Scan a barcode" and leave it here and go to your computer.

    If you are missing a "Barcode Scanner", the app will prompt you to install a suggested app. Tap "Install" to install. After installation has completed, click "Scan a barcode" once more on Google Authenticator.

    4

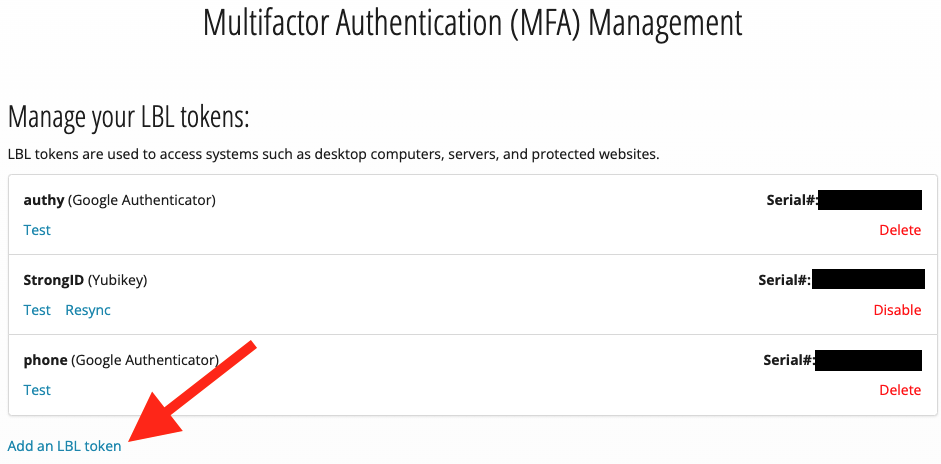
    On your computer, go to https://identity.lbl.gov/mfa to add a token and create a barcode.

    You must generate a barcode at the above link to continue installation. This step must be done on a computer, as you will need to scan the barcode with your mobile device.

    Click the "Add an LBL token" link.


    4a

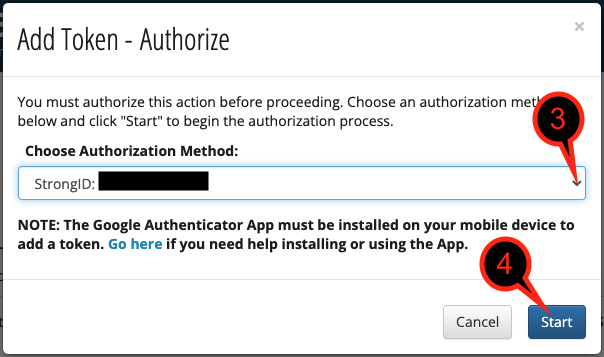
    Select the method by which you can receive an authorization code.

    Select either:

    • Email: <personal email address on record>
    • SMS (text message): <personal phone number on record>

    Click the "Start" button to receive a text or email with the authorization code.

    4b

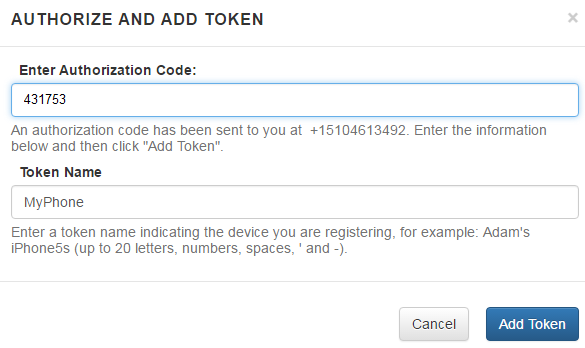
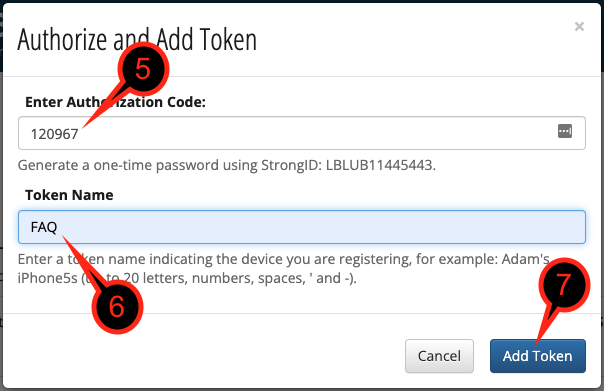
    Type the authorization code you received in your email or mobile device into the "Enter Authorization Code" field on the computer and give the registered device a meaningful nickname in the "Token Name" field. We recommend including the month, year, and model to easily identify the device. Example: Jay's iPhone 11, August 2020

    Click "Add Token." Note, there is a time limit that you must complete this step by.

    If time has expired, "Cancel" and retrieve a re-issued token.

    4c

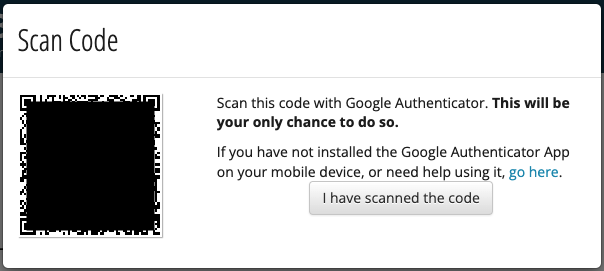
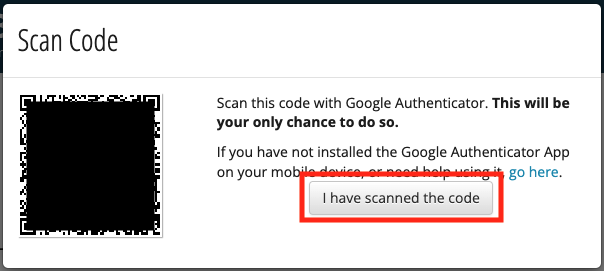
    You will see a QR code on the computer screen that you must scan with Google Authenticator on your mobile device.

    You only have ONE CHANCE to scan this code. Do not close this window until you have successfully scanned the code.

    no image
    5

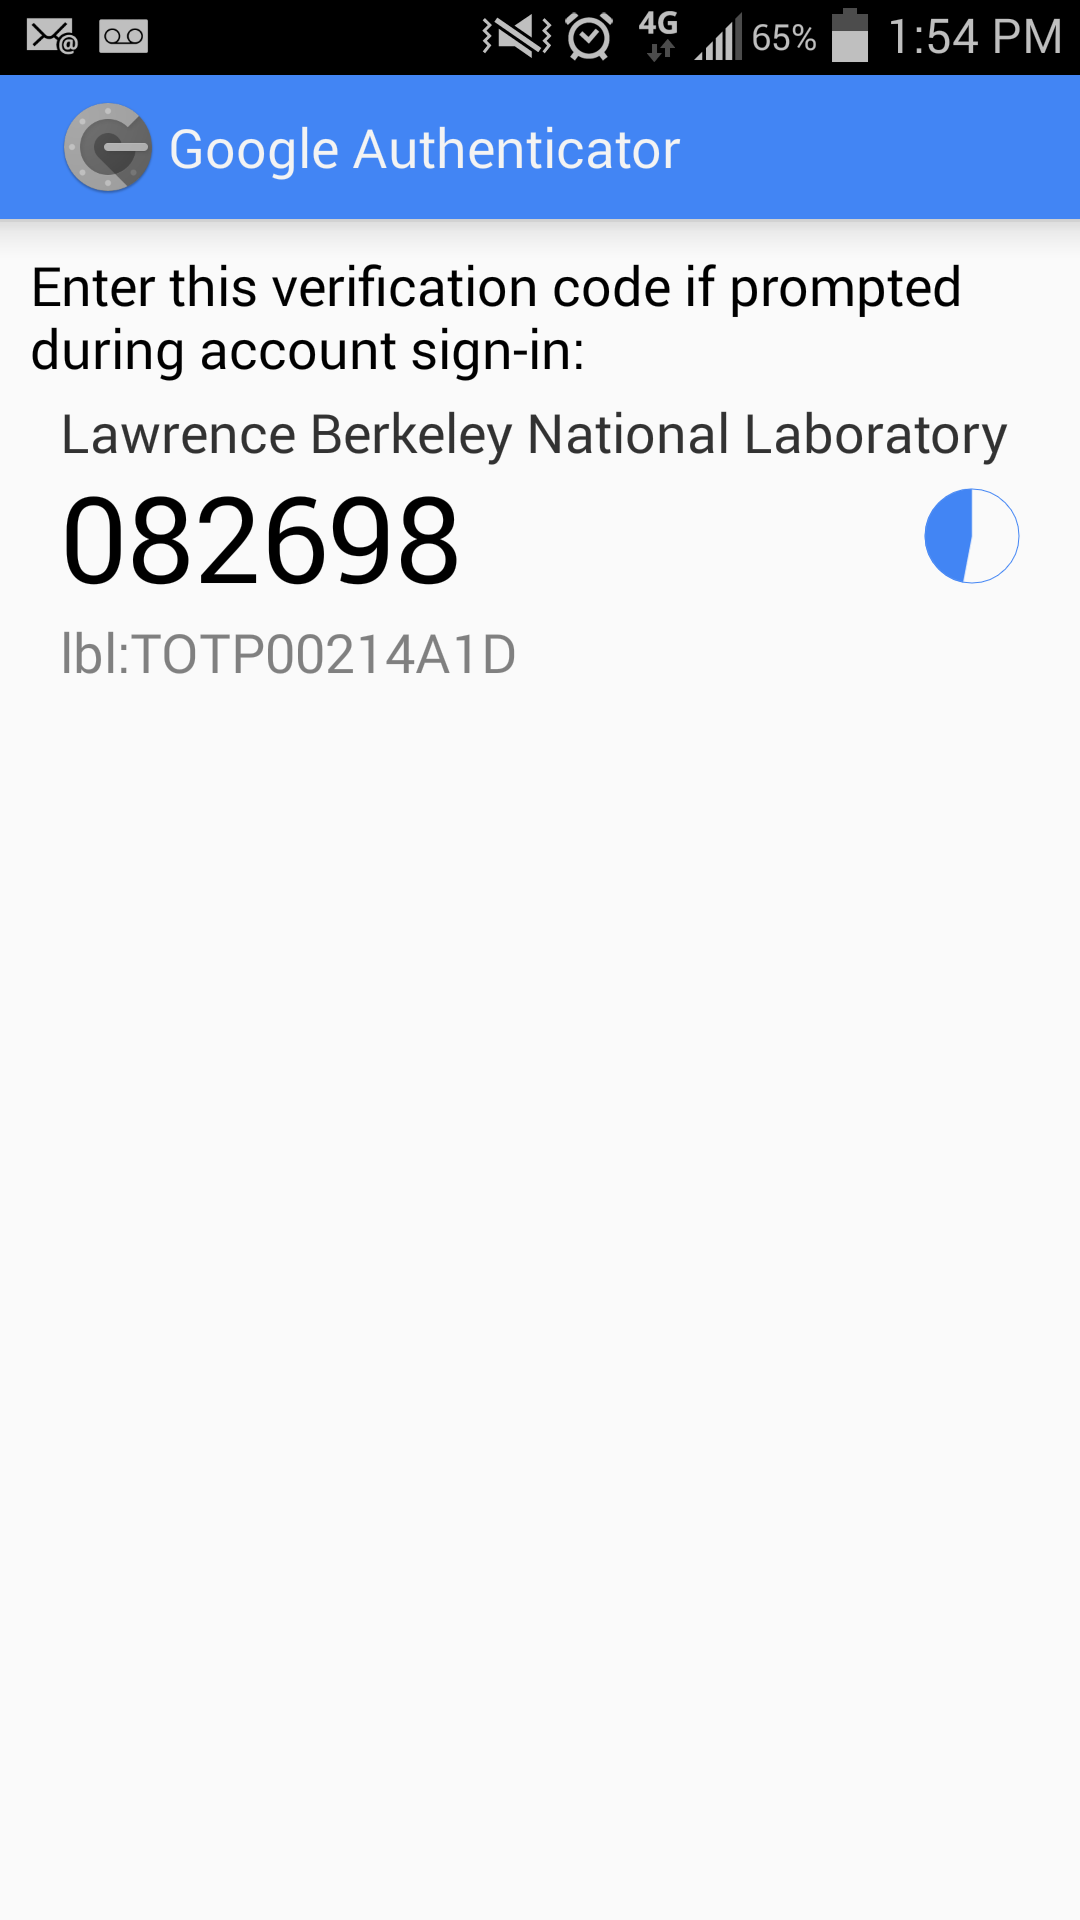
    If the barcode scan is successful, you will see the 6-digit OTP (One-Time-Password) on your mobile device.

    This code is valid for 30-seconds only. As the time limit approaches, you may see the code turn red. If you cannot enter it immediately, then wait a few seconds until the next code appears.

    Once you scanned the code, click on I have scan the code next to the QR code

    Click to expand the instruction you want to see:

    1

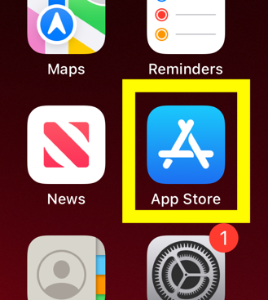
    On your iOS device (iPhone/iPad), open the App Store

    2

    At the bottom, click the Search icon

    3

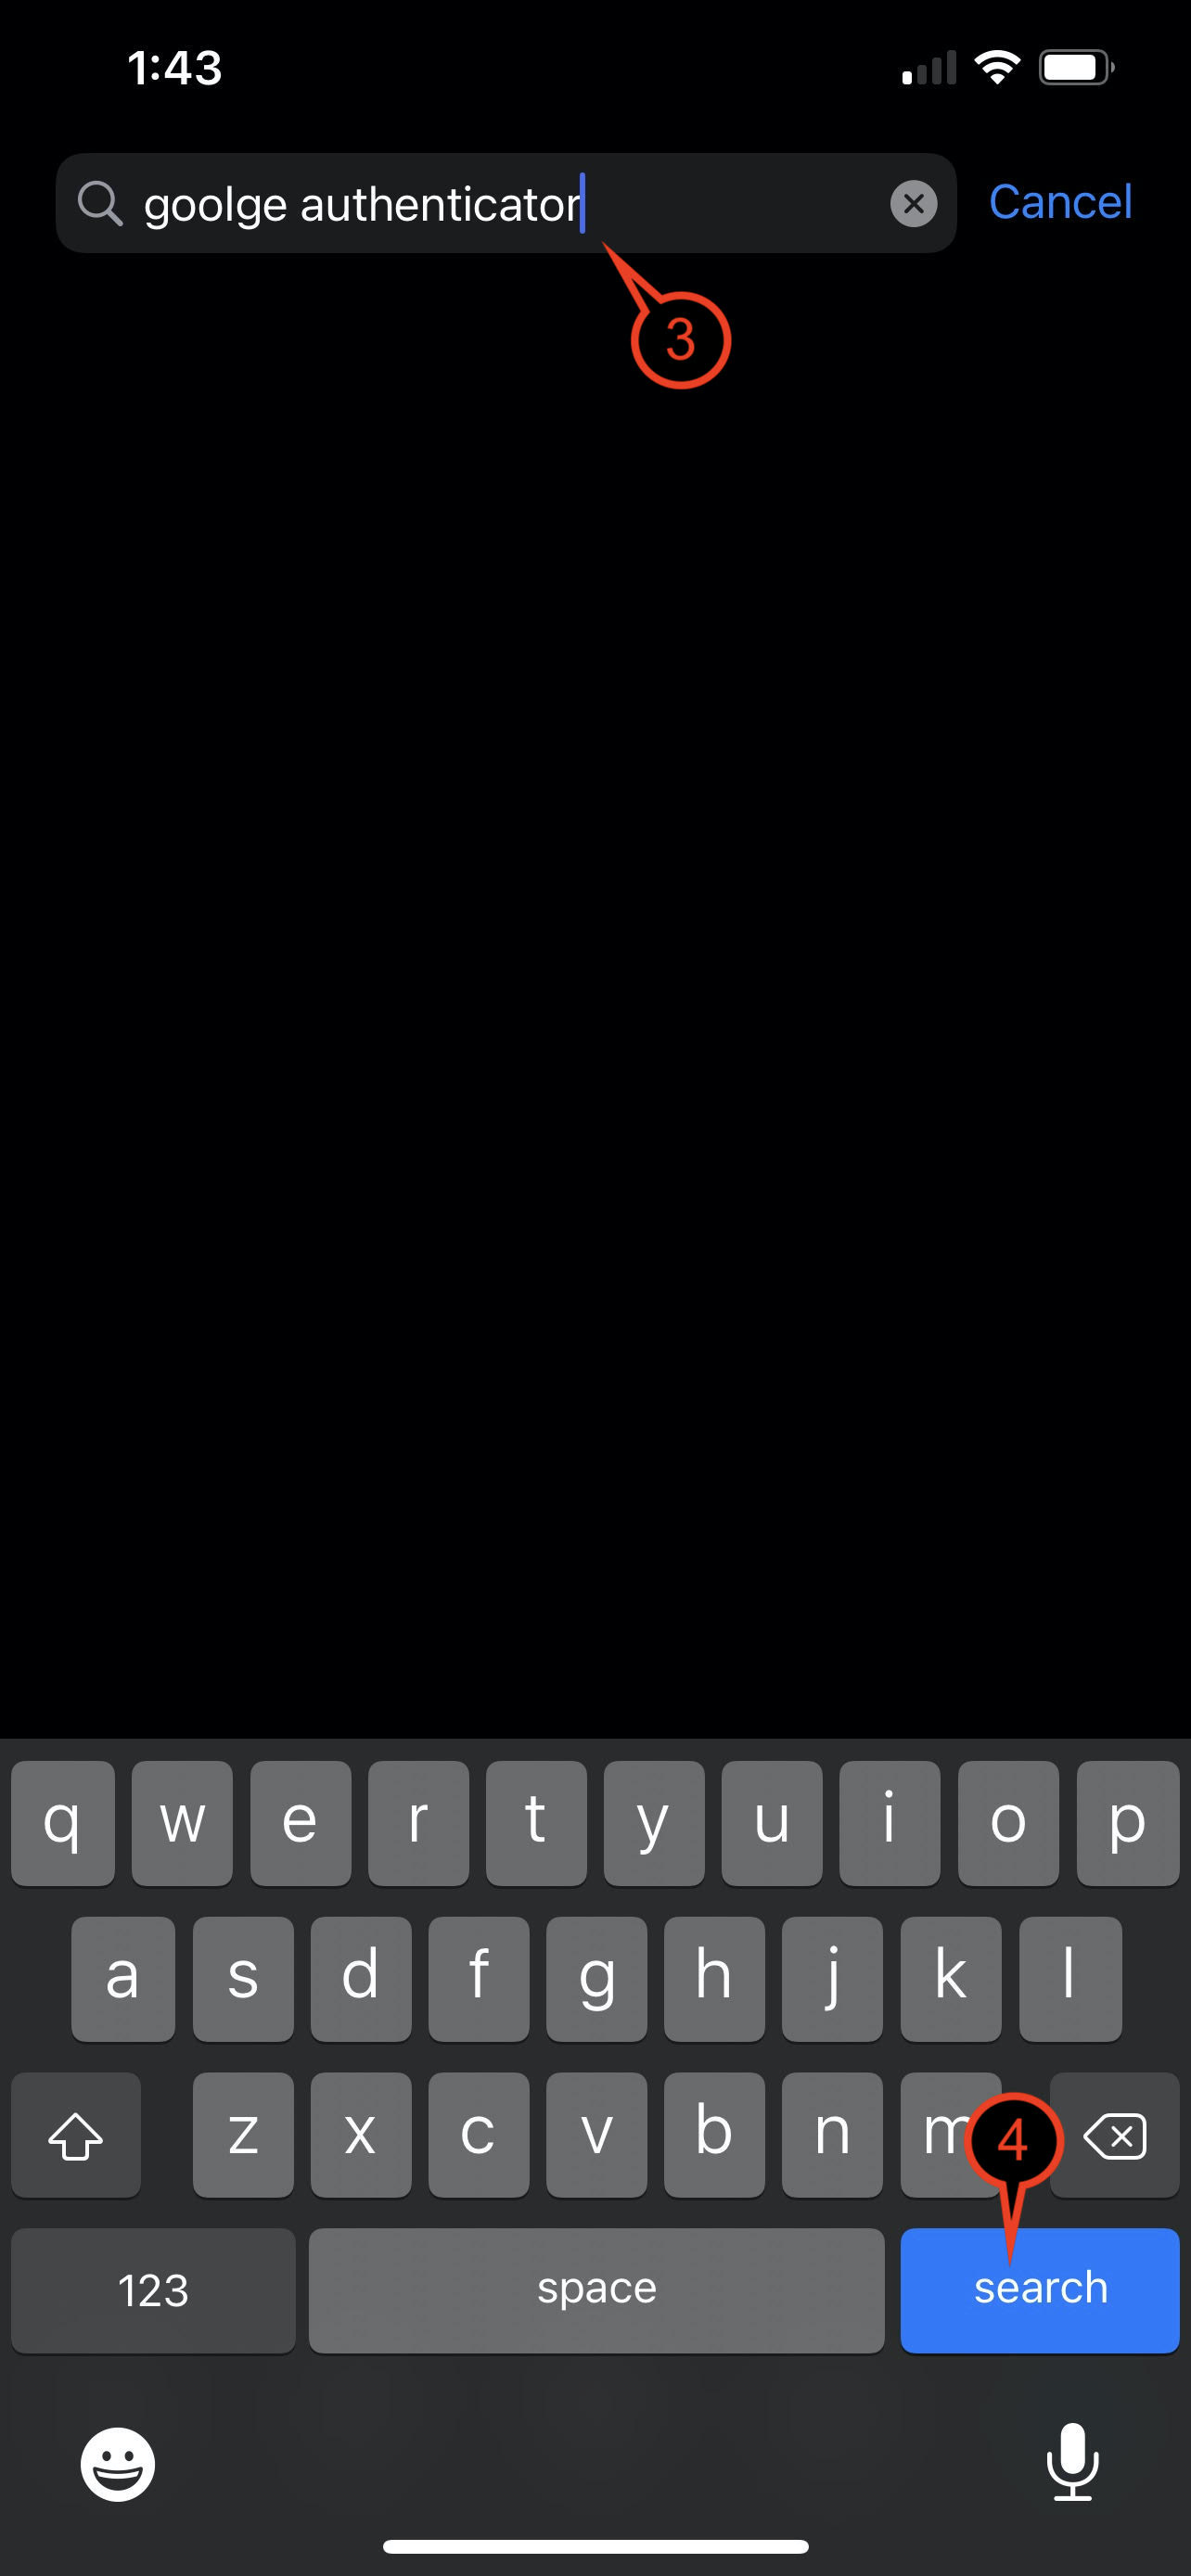
    In the search field, type in Google Authenticator

    4

    Click Search

    5

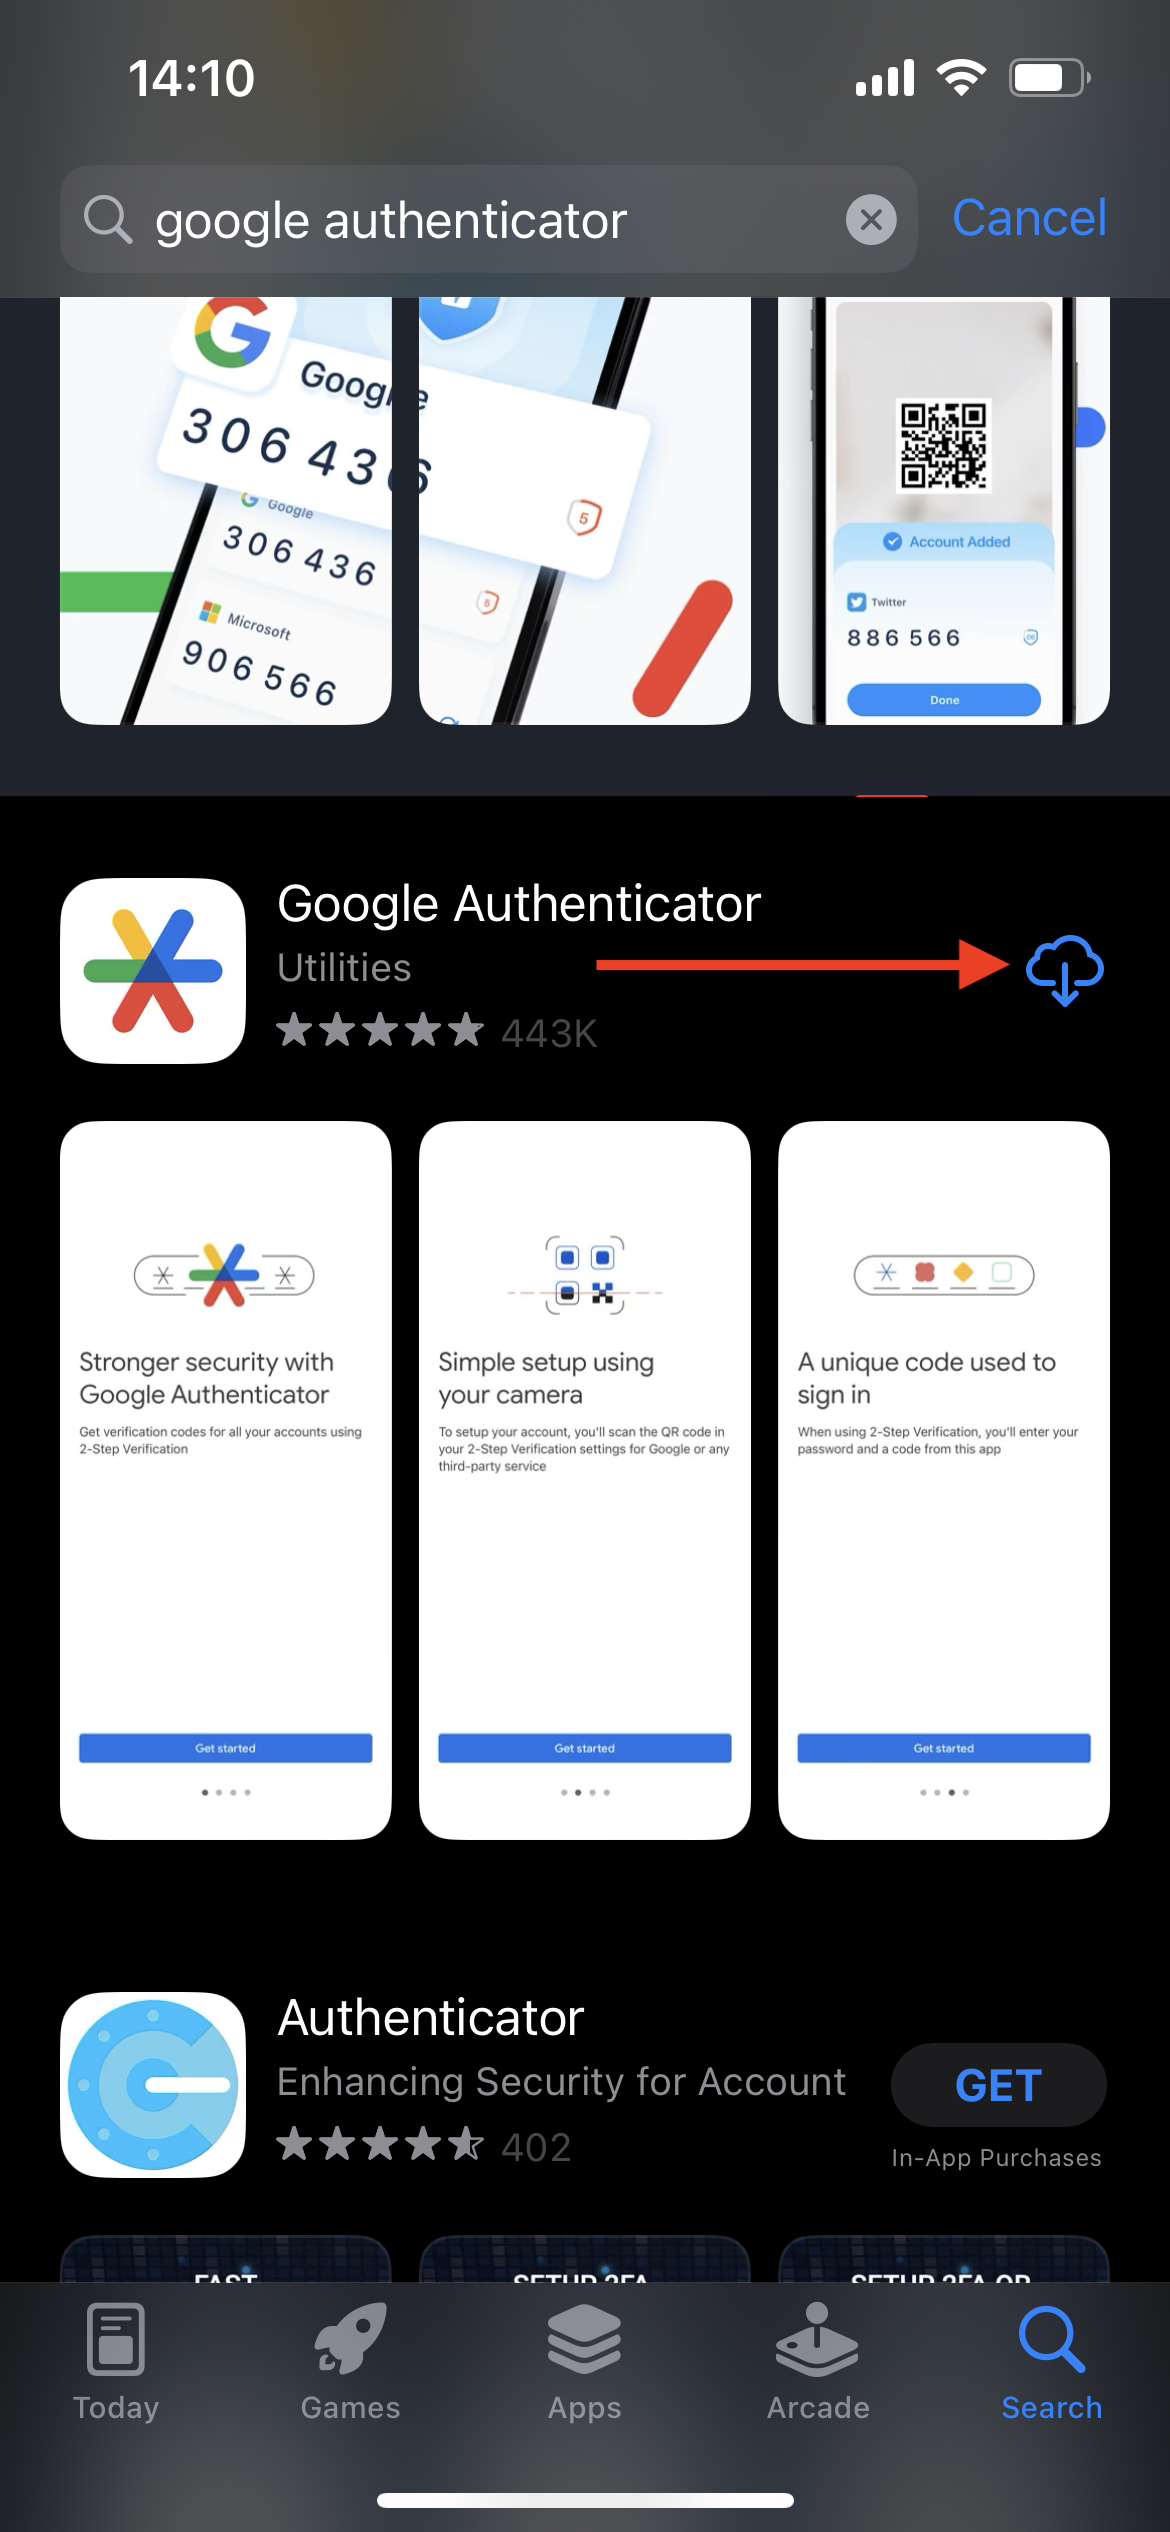
    In the result, click Get or the icon for Google Authenticator

    6

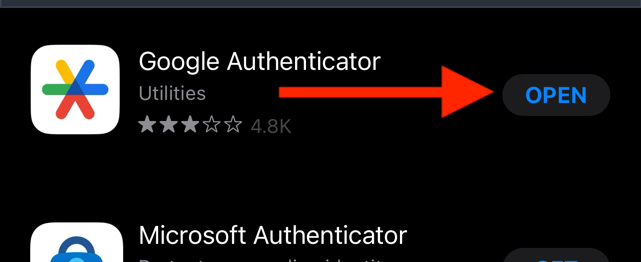
    Once it is finished downloading. Click on Open and continue to 2. Setup MFA Token section of the instruction

    1

    On a computer with internet access go to https://identity.lbl.gov/mfa. If you are prompted to log in with your Berkeley Lab Identity account, do so

    no image

    2

    In the Multifactor Authentication (MFA) Management page, click Add an LBL token in the bottom left corner of the page

    3

    Select your preferred Authorization Method that is available to you using the drop-down menu:

    • Email

    • SMS

    • StrongID

    Be sure you have access to the Authorization Method you selected

    4

    Click Start

    5

    Provide the Authorization Code you received from Step 3

    6

    Type in a Token Name you would like to use. For example:

    • Pixel6

    • iphone12

    • Uranus

    • Pizza

    Note: the name acts as an identifier for you to know which device is the token on

    7

    Click Add Token

    8

    A QR code will appear

    9

    If you have not launched the Google Authenticator app, go ahead and launch the Google Authenticator app on your iPhone/iPad

    Note: If you do not have the Google Authenticator app installed, see previous section, 1. Install Google Authenticator section

    10

    Select Use Authenticator without an account

    11

    Click the colorful plus icon at the bottom right or Get Started first then the colorful plus icon

    12

    Select Scan a QR code to activate the camera

    Note: you may be prompted to give Google Authenticator app permission to access your phone, follow the prompt to allow it

    13

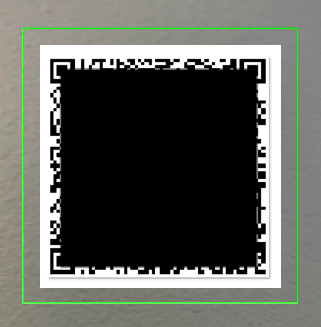
    Point the camera at the QR code, and make sure you adjust the camera so the QR code is within the green indicator box. It will automatically scan the QR code and the new token for Lawrence Berkeley National Laboratory with a 6-digit code will appear in your Google Authenticator app on your phone

    14

    Click I have scanned the code

    15

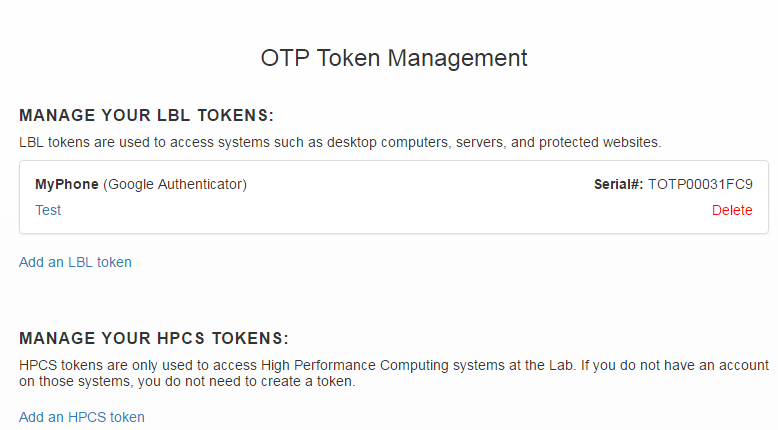
    On the Multifactor Authentication (MFA) Management page, you will see your new token listed

    16

    You're done

    no image

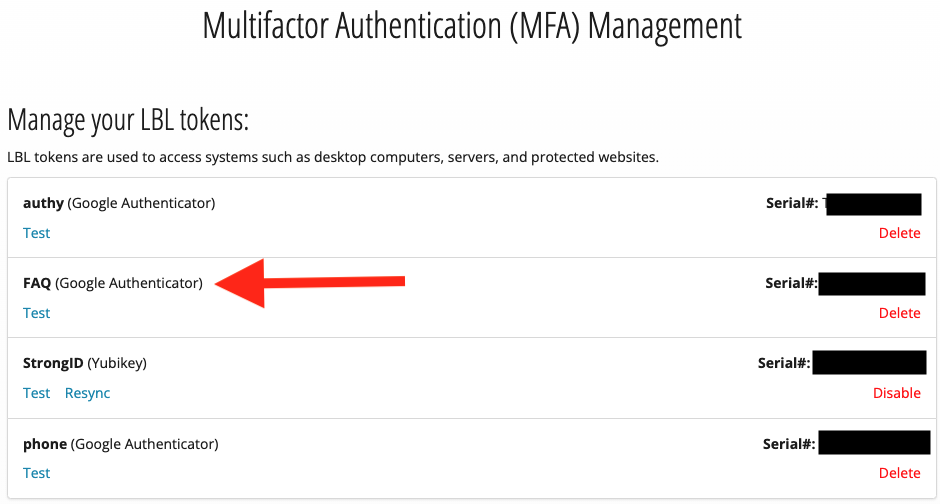
    1 Go to https://identity.lbl.gov/mfa/ to verify if your OTP is working by clicking on the "Test" link below your device's nickname.

    2

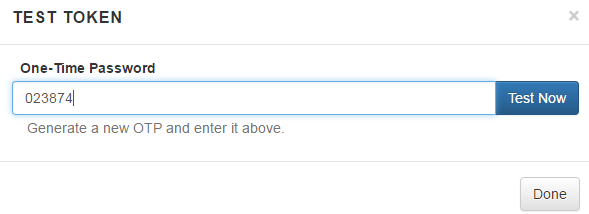
    Enter the Google Authenticator's OTP from your device into the "One-Time Password" field and click "Test Now".

    Only the newest OTP should be entered into the field for verification, expired codes will not work.

    3

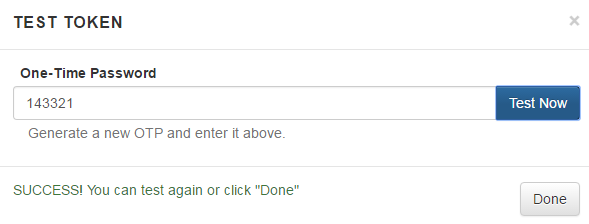
    You should see a Success! You can test again or click "Done" message if successful.

    If there is a problem, you may restart the registration or call the help desk at x4357.

    Ensure you have another form of MFA setup before removing a token.

    1

    Go to https://identity.lbl.gov/mfa/ and identify the device that you want to permanently stop using.

    Ensure you have another form of OTP to use before removing your device. This does not remove the requirement for OTP on certain logins.

    2 Click "Delete" to confirm the deletion.