Overview
The Zoom Calendar Extension for Browsers is a useful tool to quickly add Zoom meeting information to a Google Calendar event.
Description
The Google Calendar Chrome Extension adds the "Make it a Zoom Meeting" button to Google Calendar and Zoom scheduler icon to the top right corner of your Chrome browser.
To download, configure, and use the plug-in correctly, follow these steps:
- Go to zoom.lbl.gov
- Click Downloads
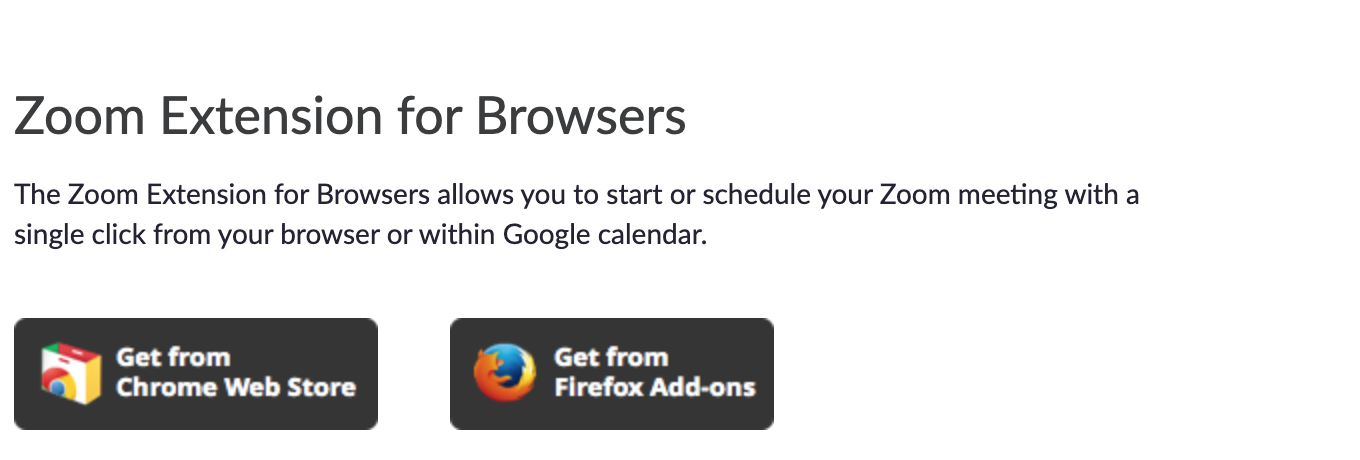
- Scroll down to Zoom Extension for Browsers
Install Zoom Extension for Browsers |
|---|
| |
- Install the Chrome Browser (this extension only works on the Chrome Browser).
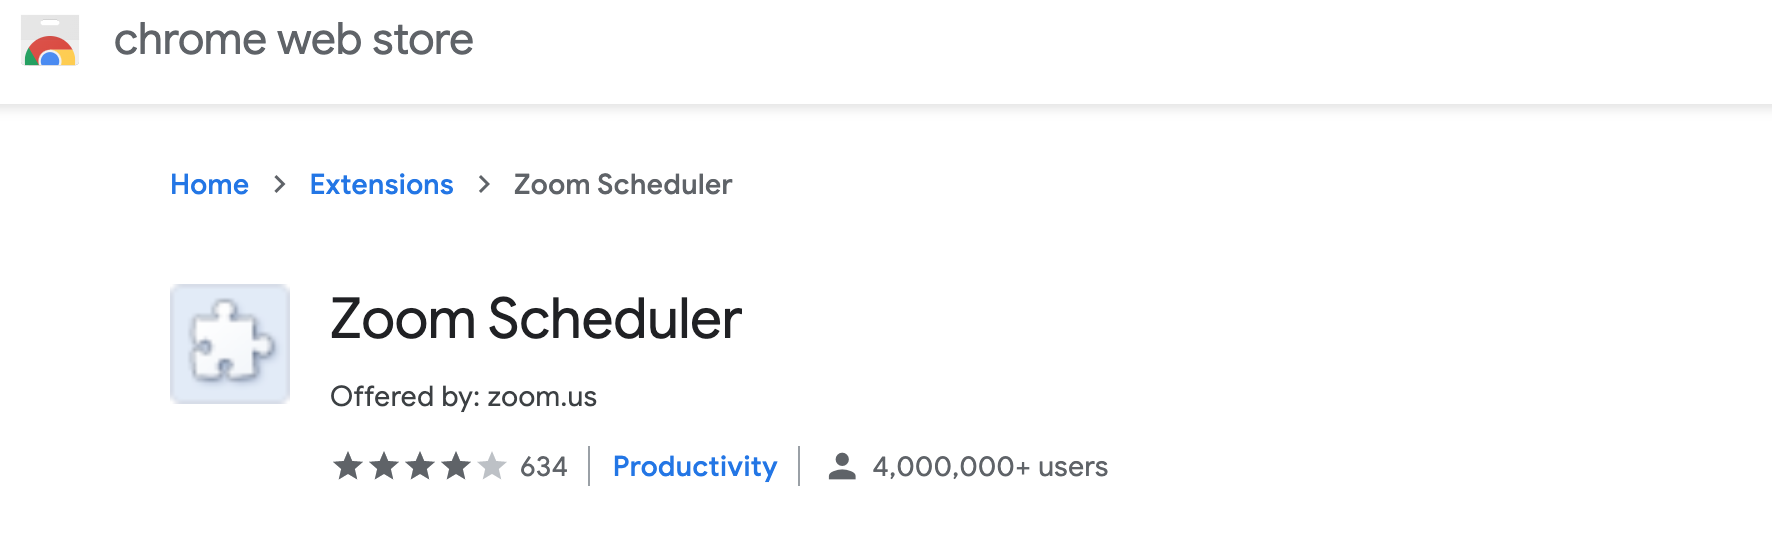
- Click on Get from Chrome Web Store, you should see this page:
|  |
- Click on the Add to Chrome button on the right side of the page.
- Close and restart Chrome Browser
|  |
|
|
|
|---|
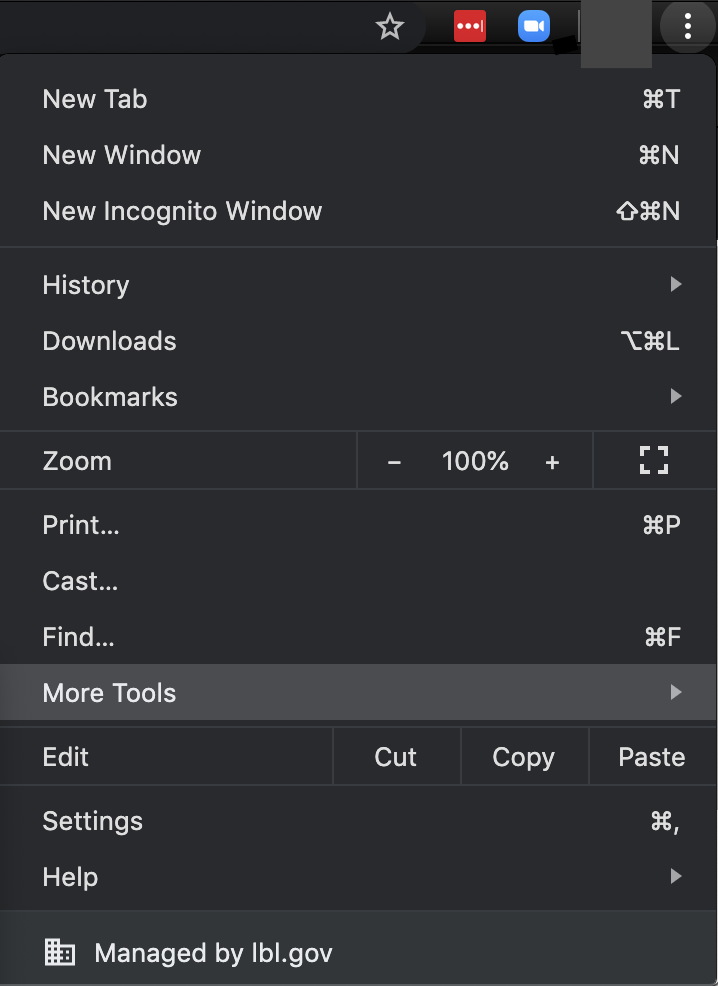
- Click the 3 dots icon in the upper right corner of your browser window next to your photo.
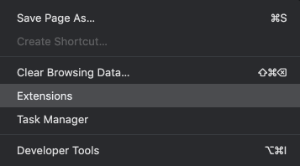
- Scroll down and click "More Tools" then select "Extensions"
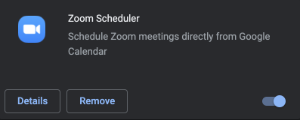
- Find the Zoom Scheduler in the list of extensions and click the slider icon in the lower right corner to enable it.
| |
- The Zoom Scheduler is now enabled. Click the Zoom icon in the upper right corner of your browser window.
| |
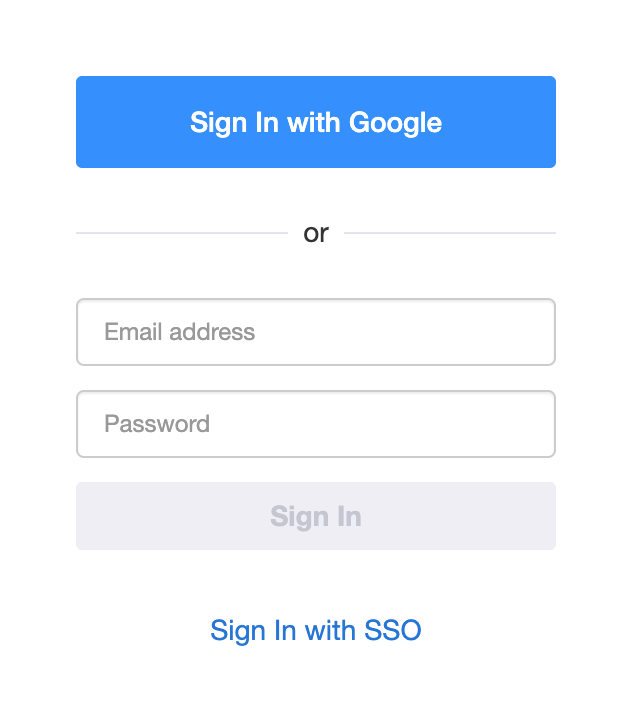
- Select "Sign In with Google" to authenticate using Google services.
- Or choose "Sign in with SSO" and enter your Berkeley Lab email address.
|  |
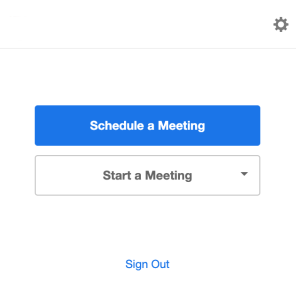
- Now that you're logged in, click the Zoom scheduler icon again.
- Click the gear icon in the upper right corner.
| |
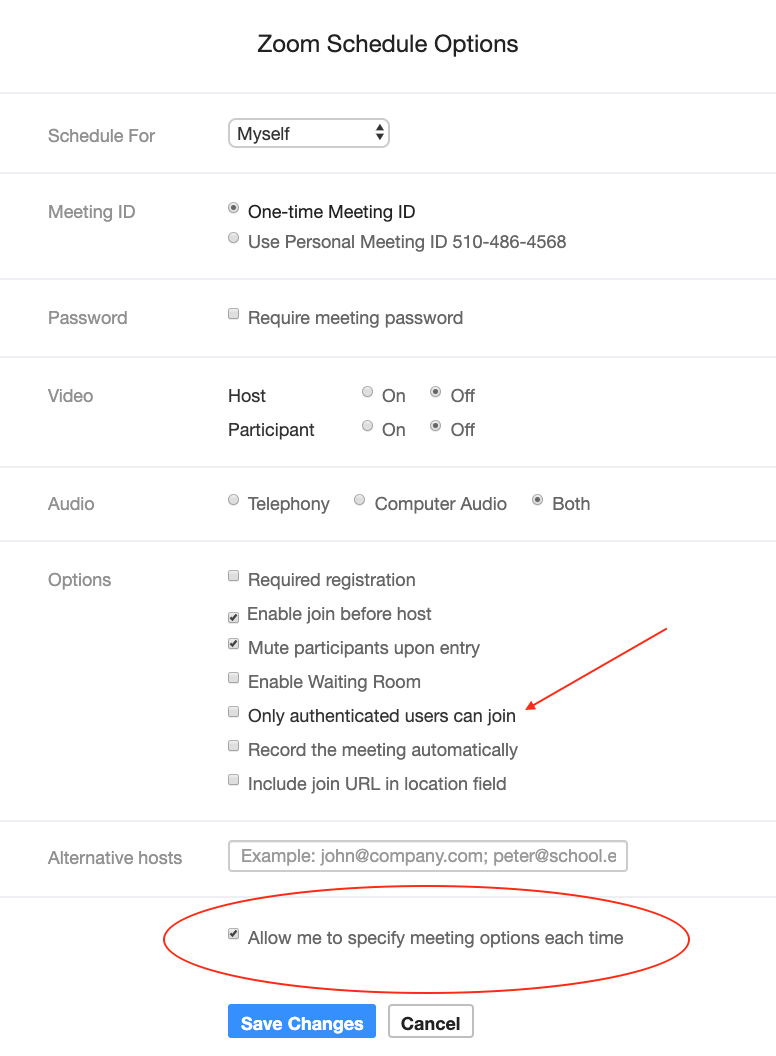
- Review your default settings in the Zoom Schedule Options window.
- These settings will apply each time you click "Make it a Zoom Meeting"
- Set the default calendar security settings using the 'Only authenticated users can join' option.
- Important: Check the "Allow me to specify meeting options each time" box.
- Click Save Changes
- Close the browser window completely and restart Google Calendar.
| |
Using the Zoom Extension for Browsers |
|---|
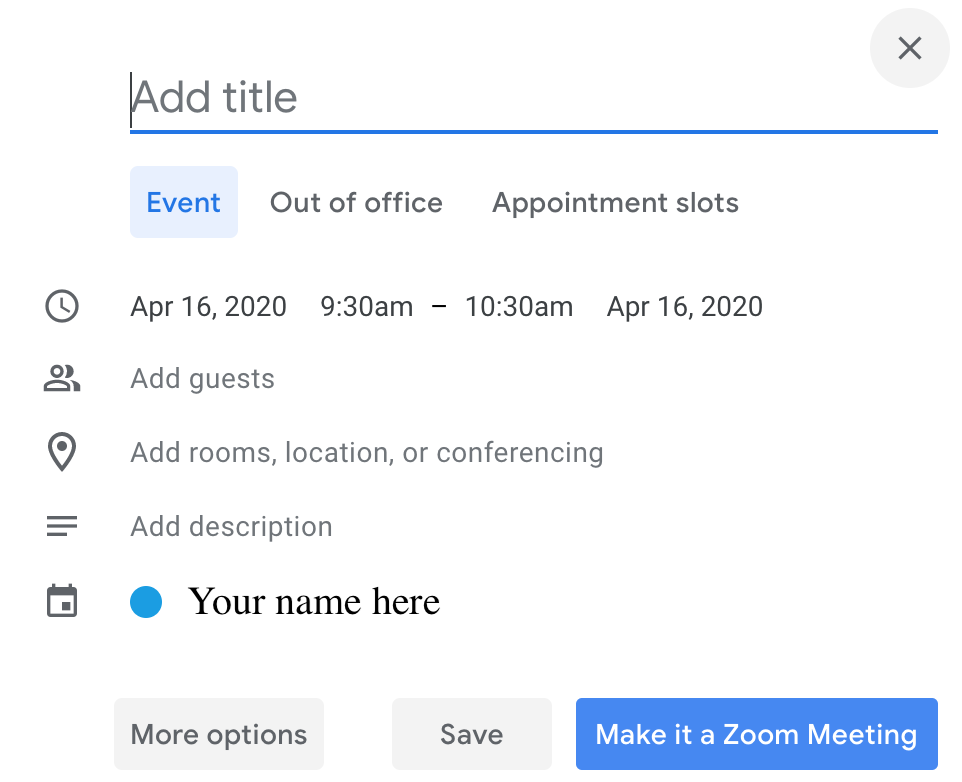
- Open Google Calendar and click "Create" to schedule a new meeting.
- You will now see the "Make it a Zoom Meeting" button
- Important: Click "More options" in the lower left corner.
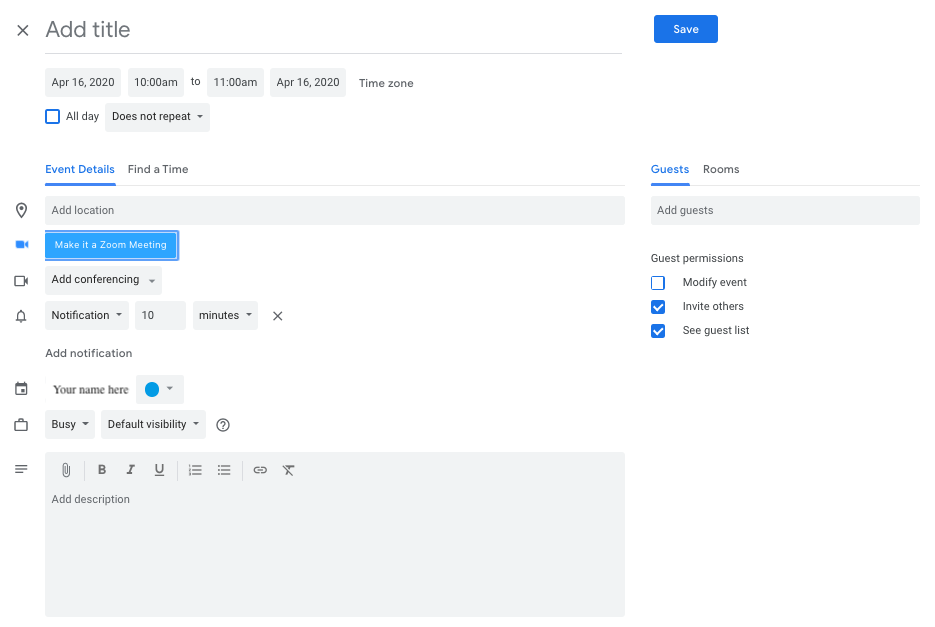
| |
- From this page, click "Make it a Zoom Meeting" and your default schedule options will appear.
| |
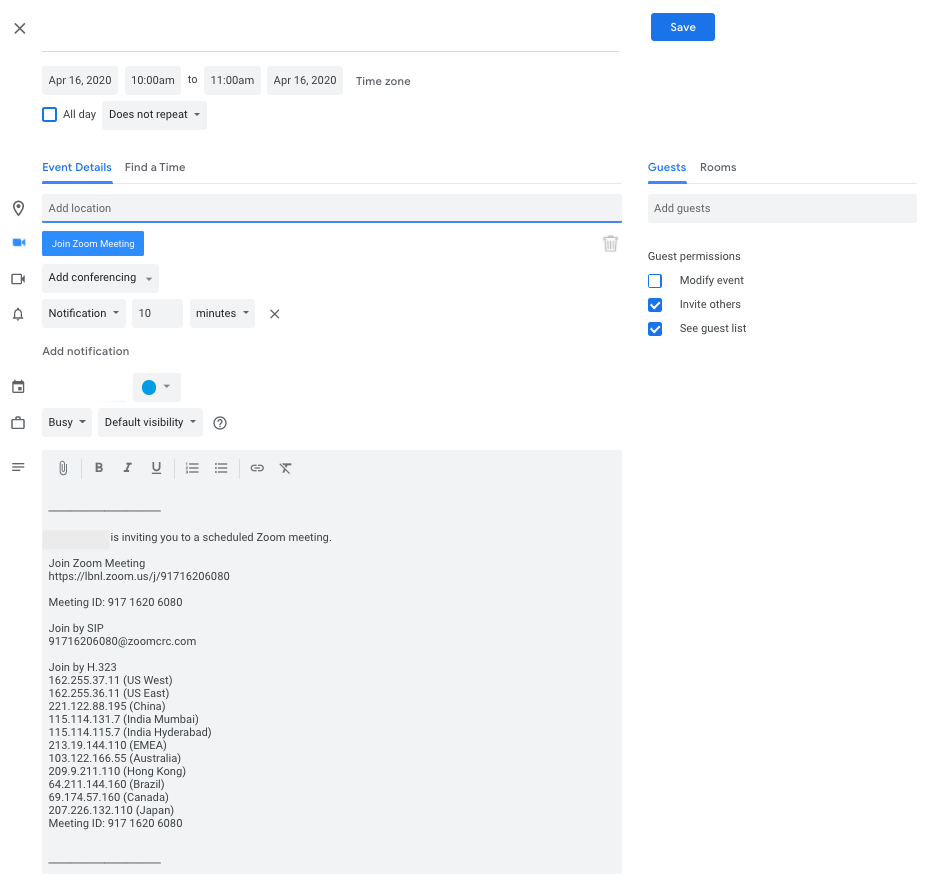
- Check the schedule options, set meeting options, establish security controls, designate alternative hosts, etc.
- When you are finished, click continue. The Zoom invitation will populate in the description window.
| 
|
- Now add your guests, room resource and any special instructions in the description and click the "Save" button.
| |
Still Need Help?