1
Take the computer out of the box and attach the power adapter to the power adapter plug cable.
 > Computer Set-Up and First Login > 1c.jpg")

2
Connect the power cord to the side of the computer and power the system on.
Warning: The computer must remain plugged in for certain steps in the configuration process.
Ergo Bonus: connect a mouse, keyboard, or monitor if you have them available.
And Wait for it to Begin the Setup


3
On the regional setup question,
Select; "United States"
then
Click: Yes
Wait for the next prompt


4
On the keyboard layout question
Select: “US”
then
Click: Yes

5
On the second keyboard layout question
Click: “Skip”
And wait for the next prompt


6
On the Licence agreement
Click: “Accept”
This will take a few minutes please wait for the next prompt, meanwhile do not turn of your device


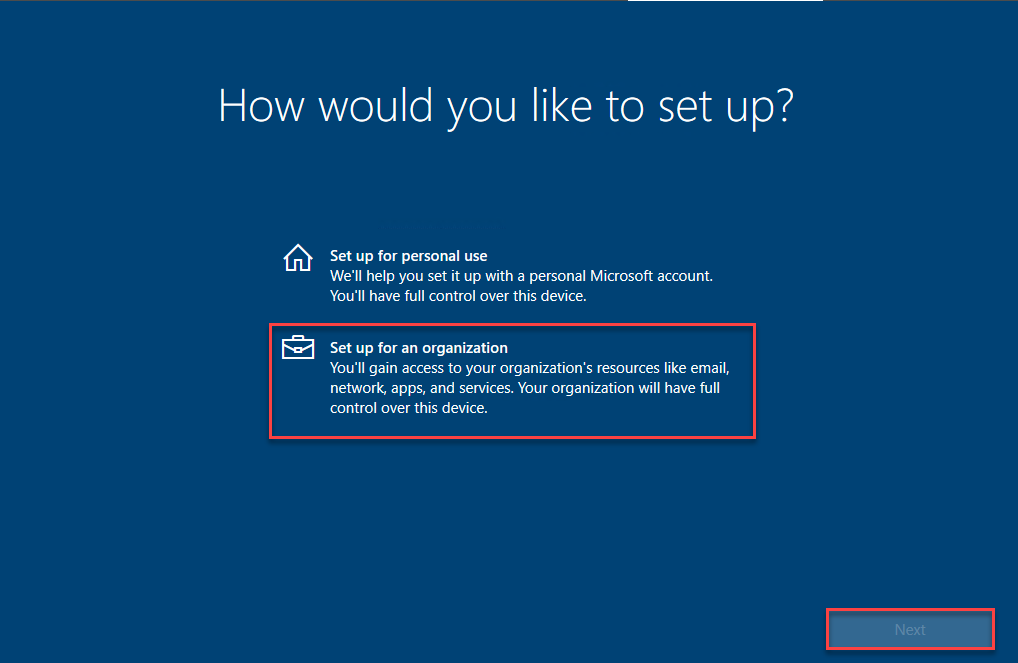
7
On setup screen
Select: “Setup for an organization”
then
Click: “Next”
8
On Sign in page
Select: Domain join instead (bottom left)
Click: Next

9
Please use your LDAP user name to create an account on this computer
Click: Next

10
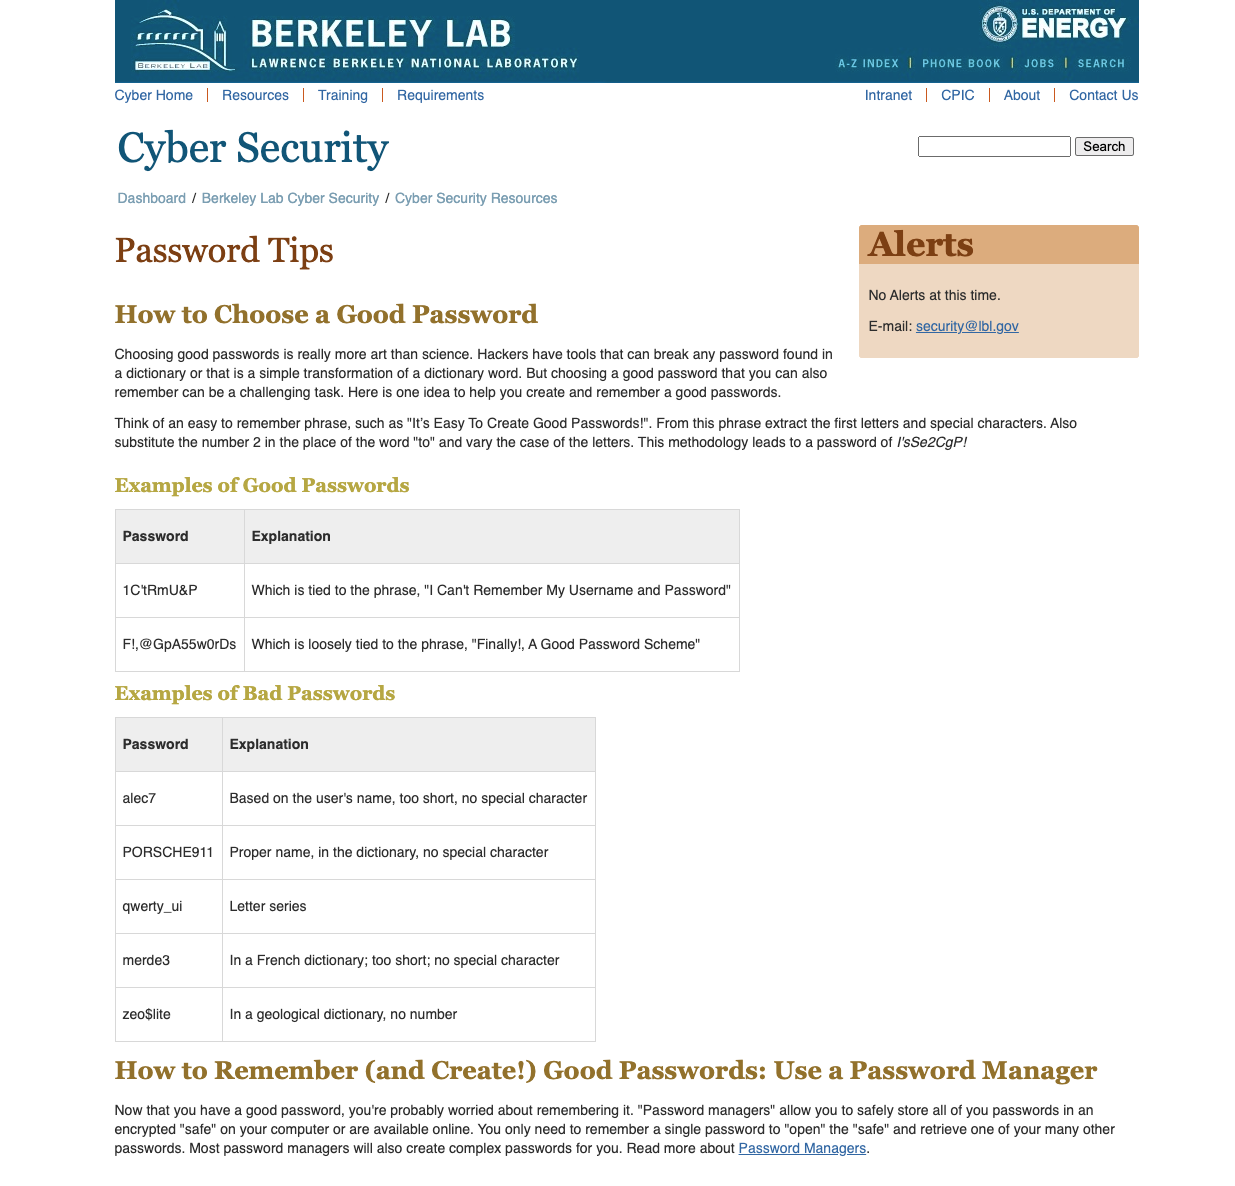
For Security Reasons we want you to create a strong Password.
This page will help you understand the difference between a good password and a bad password,
It also has a link to a password manager where you can securely store all your passwords.
https://commons.lbl.gov/display/cpp/Password+Tips
11
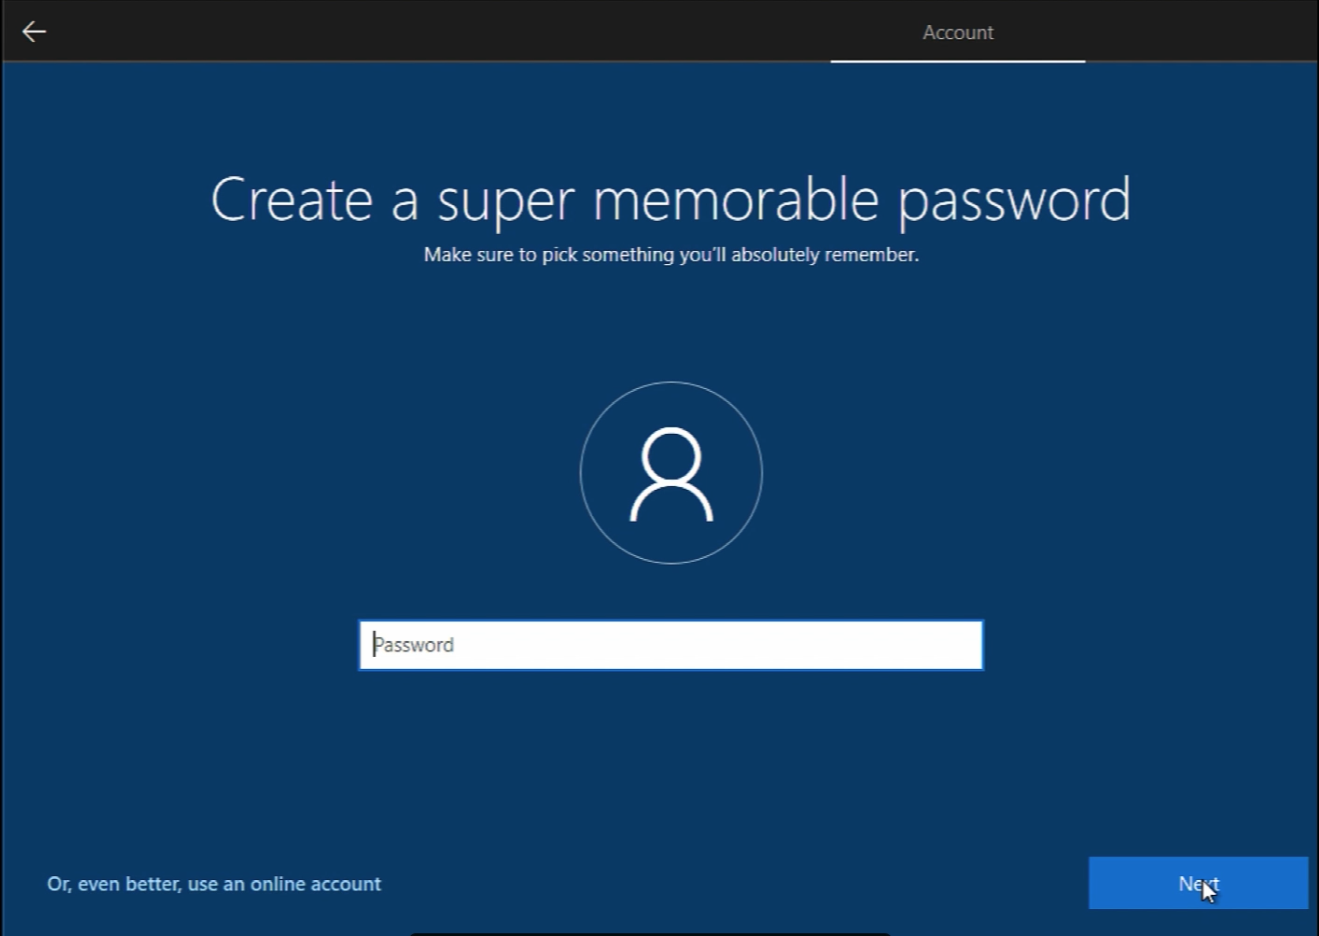
Enter the strong password that you just created, and then click next
12
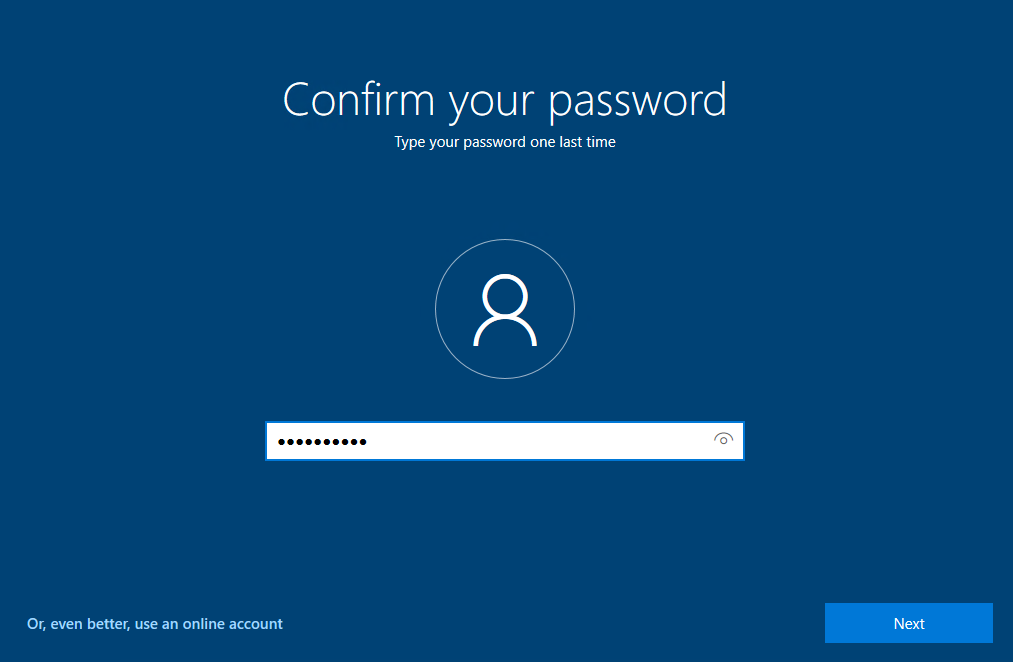
Confirm your password by typing it again, and then click "Next"
13
You will have to create three security questions for this account.
Pick a question from the drop-down menu
Enter your desired answer then
Click: Next
For each of the three questions.


14
For activity history the choice is yours
Click “Yes” or click “No”
This can also be done at a later time

15
Again the choice is yours
Click: Accept or Click Decline

16
On the privacy screen we want you to select "No" on all the radio buttons, and
then
click: "Accept"

17
To Personalize your computer
Right-Click: Anywhere on the desktop
Select: Personalize


Under themes
Click: Desktop icon settings

Here we want you to check boxes for
Computer
User’s files
Network
Recycle Bin
Click: OK
Click X to close the Window

Right-Click: This PC Icon
Select: Properties


Click: Remote tab.
Choose: Allow remote connections to this computer
Check or leave checked: Allow connections only from computers running Remote Desktop with Network Level Authentication (recommended)
Click: OK

Check Network Connection
Click: Click the network icon in the bottom right of your Windows taskbar.
Confirm: Confirm you either have a connected state in your Ethernet connection or your wireless connection.
